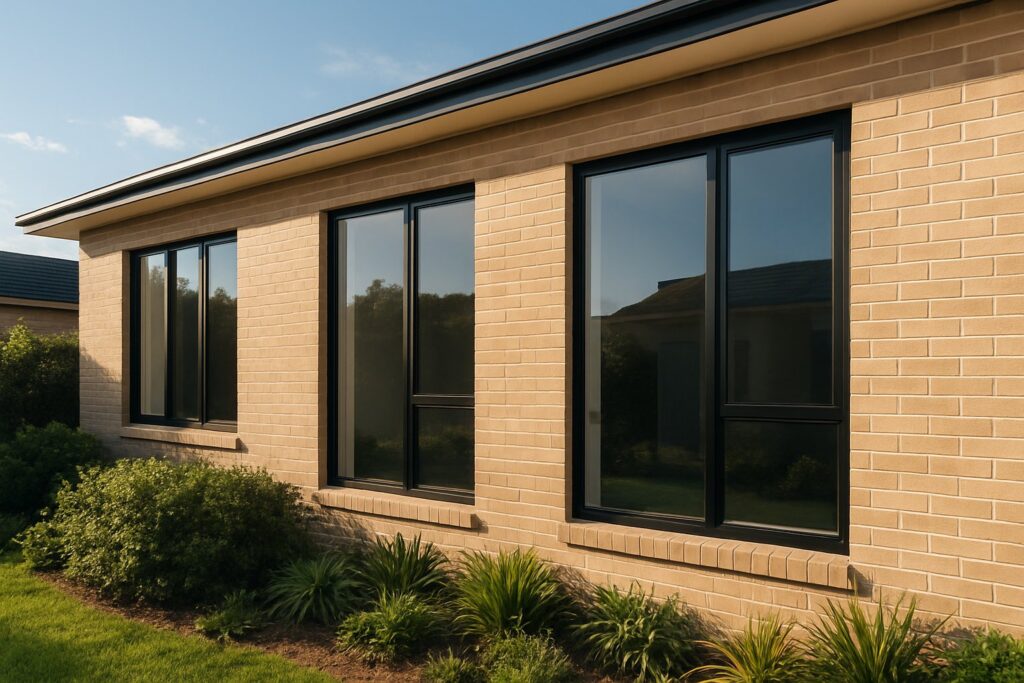
What Is a Picture Window and Why It Remains So Popular
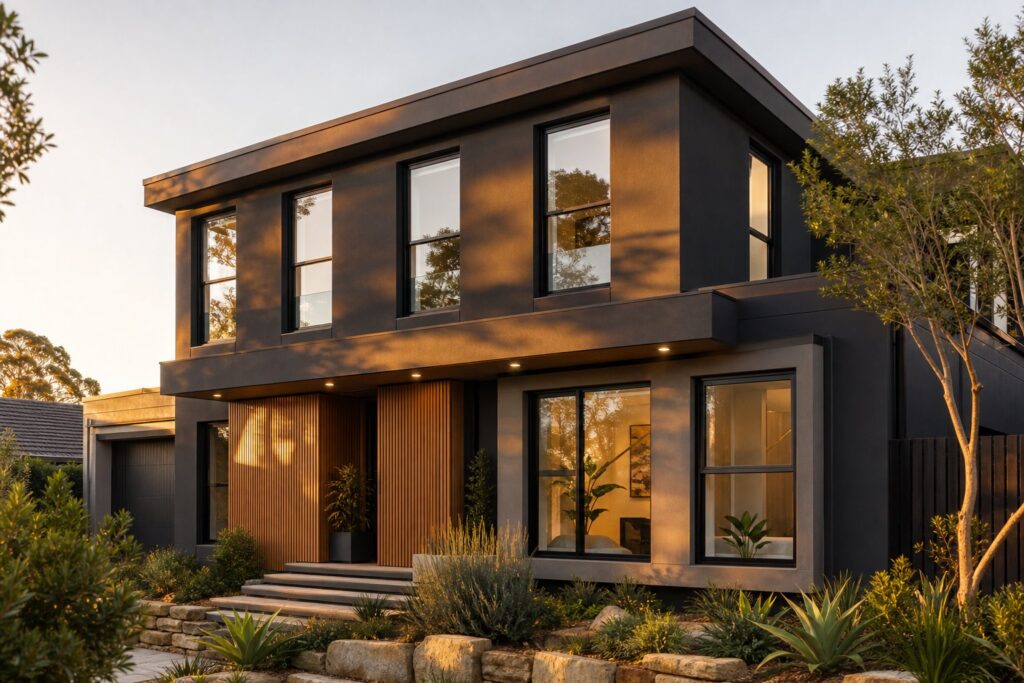
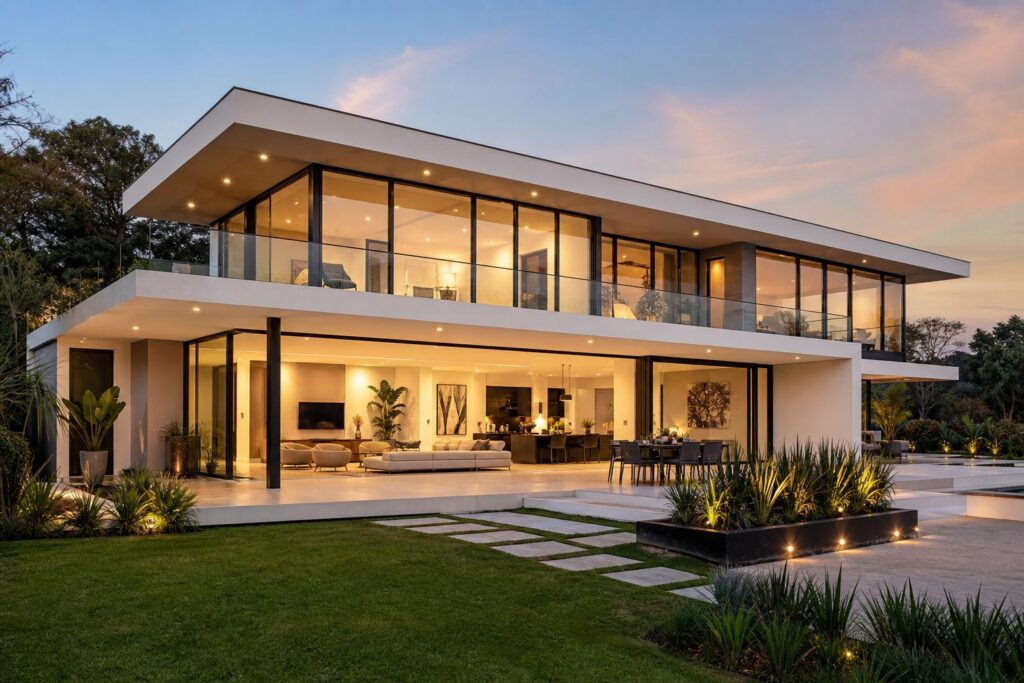
Imagine turning an entire wall into a seamless view of your backyard, a tree-lined street, or a distant skyline. That is exactly what a picture window does. It treats your window frame like a picture frame, turning the outdoor scenery into living artwork you get to enjoy every day.
What Exactly Is a Picture Window
A picture window is a large, fixed-pane window that does not open. It is designed to provide an unobstructed view of the outdoors while maximizing natural light, functioning much like a framed photograph or painting mounted on your wall.
The key word there is “fixed.” Unlike casement, double-hung, or sliding styles, picture windows have no sashes, cranks, or tracks. They do not open at all. That single detail is what separates them from every operable window type on the market, and it is also the source of their biggest advantages.
Because there are no moving parts, there are no gaps where air can sneak through. No hinges wear out. No weatherstripping degrades over time. The result is a sealed unit that delivers some of the tightest air-leakage ratings you will find in residential windows pictures and spec sheets alike.
Why Homeowners Choose Picture Windows
Three reasons keep picture windows at the top of homeowner wish lists, year after year:
- Maximum natural light. Without mullions or operable hardware eating into the glass area, these windows let in more sunlight per square foot than virtually any other style.
- Expansive, uninterrupted views. A single large pane creates a panoramic effect that smaller or divided windows simply cannot match.
- Superior energy performance. A sealed, non-operable design means minimal air leakage, which translates directly into lower heating and cooling costs.
Many homeowners also pair a central pane with operable flankers on each side. A picture window with double hung flankers is one of the most popular configurations because it preserves the wide view while adding ventilation where you need it. Even budget-friendly options like plastic windows can deliver solid performance in this setup.
Still, choosing the right one involves more than picking the biggest glass panel you can find. Frame material, glass technology, sizing, cost, and room placement all play a role, and getting any of them wrong can mean wasted money or a window that underperforms. The sections ahead break down each of those decisions so you can avoid the mistakes most buyers make.
Picture Windows vs Fixed Windows and Other Window Types
One of the most common mix-ups homeowners run into is using “picture window” and “fixed window” as if they mean the same thing. They are related, but they are not interchangeable. Understanding the distinction matters, especially when you are comparing picture window prices, reading product specs, or talking to a contractor about a picture window replacement.
Picture Window vs Fixed Window — The Key Distinction
A fixed window is any window that does not open. That is the entire definition. It is a broad category, and it includes arched windows, geometric shapes like octagons and triangles, transoms above doors, and narrow sidelights flanking an entryway. A picture window is one specific type within that family. It refers to a large, rectangular or square fixed pane designed specifically to frame a view and flood a room with light.
Think of it this way: every picture window is a fixed window, but not every fixed window is a picture window. A small triangular accent piece above your front door qualifies as a fixed window, yet nobody would call it a picture window. The difference comes down to size, shape, and purpose. When you browse images of windows labeled “fixed,” you will see everything from tiny half-rounds to massive floor-to-ceiling panes. Only the large, view-focused rectangular units earn the picture window label.
This distinction also affects replacement projects. Swapping out a small fixed frame window is a straightforward job. Replacing a large picture window, on the other hand, involves heavier glass, wider structural headers, and more careful handling during installation.
How Picture Windows Compare to Casement, Double-Hung, and Bay Windows
So what is a picture window’s real trade-off compared to operable styles? It comes down to a simple exchange: you gain the most glass area, the best energy efficiency, and the cleanest sightlines, but you give up ventilation and emergency egress. That trade-off shapes every decision about where and how to use one.
Casement windows hinge on one side and crank outward, catching breezes effectively. Double-hung windows slide vertically and offer a traditional look with tilt-in sashes for easy cleaning. Bay and bow windows project outward from the wall, creating a multi-panel alcove that adds interior space. Sliding windows move horizontally on a track and work well in wide openings where outward clearance is limited.
Each type serves a different purpose. The table below lays out how they stack up across the factors that matter most.
| Window Type | Ventilation | Natural Light | Energy Efficiency | Egress Compliance | Typical Use Case |
|---|---|---|---|---|---|
| Picture Window | None | Excellent | Excellent (no air leakage) | No | Living rooms, focal walls, scenic views |
| Casement | Very Good | Good | Very Good (tight seal when closed) | Yes (if sized correctly) | Kitchens, bathrooms, upper floors |
| Double-Hung | Moderate | Good | Good | Yes (if sized correctly) | Bedrooms, traditional facades |
| Bay / Bow | Varies (depends on operable panels) | Very Good | Good | Varies | Breakfast nooks, living rooms, front-facing walls |
| Sliding | Moderate | Good | Good | Yes (if sized correctly) | Wide openings, patios, basements |
Notice that picture windows lead in both natural light and energy efficiency. With no operable seals, tracks, or hardware, there are simply fewer points where energy can escape. That sealed design is also why they tend to outlast operable units over the long run.
The catch, of course, is zero airflow. If a room needs ventilation or a building code requires an egress-compliant opening, a standalone picture window will not satisfy either requirement. That is exactly why so many homeowners pair them with operable flankers, a combination strategy covered later in this guide.
Before you get to configurations, though, the frame material you choose will shape everything from sightline width to long-term durability and cost. That decision deserves its own close look.
Frame Material Options for Picture Windows Explained
The frame holding your glass does more than you might think. It determines how much of the view you actually see, how well the window insulates, how long it lasts, and what your total picture window cost looks like over 10, 20, or 30 years. Most buyers fixate on glass size and skip right past the frame decision. That is a mistake.
Four materials dominate the residential market: aluminium, vinyl, wood, and fiberglass. Each brings a different balance of strength, efficiency, maintenance, and price. Here is what you need to know about all four, starting with the one that matters most for large picture windows.
Aluminium Frames for Maximum View and Structural Strength
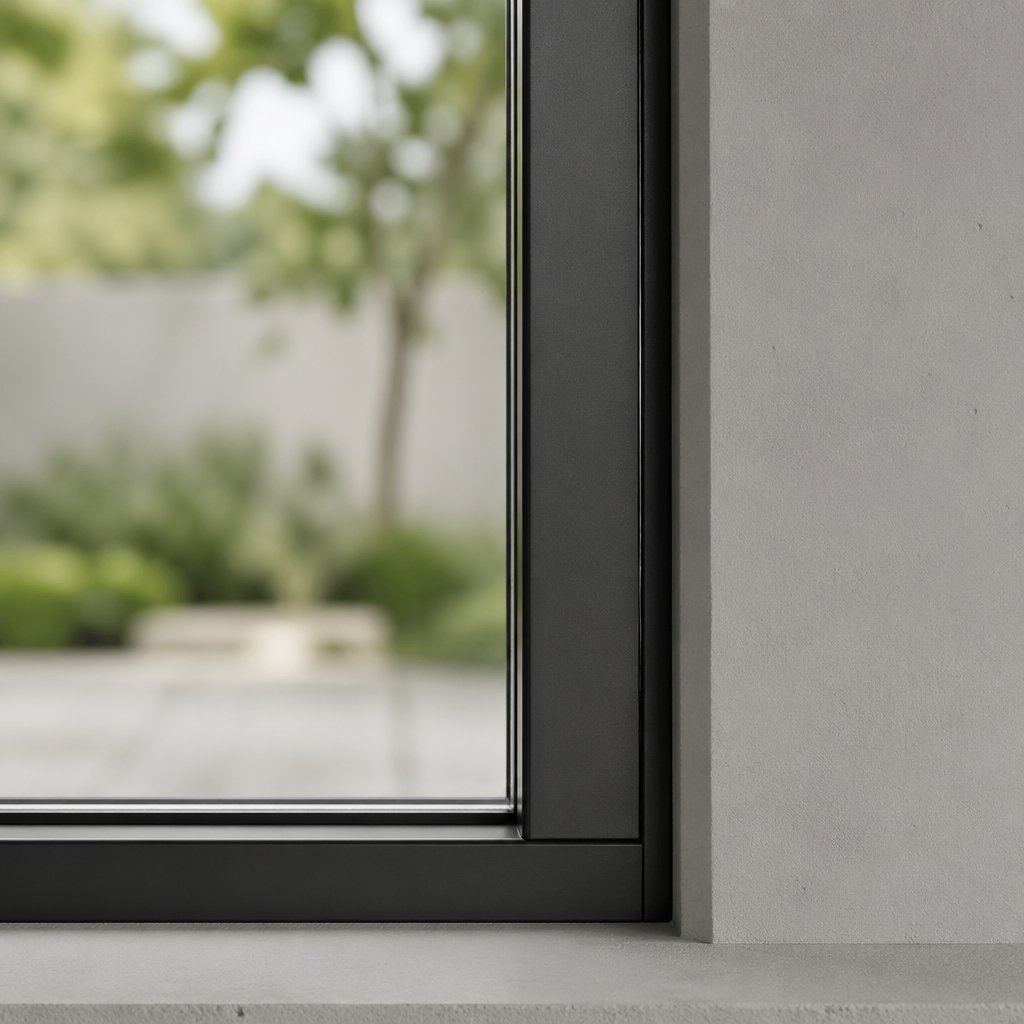
When the whole point of a window is an unobstructed view, frame width becomes critical. Every millimetre of frame is a millimetre of scenery you lose. Aluminium delivers the thinnest sightlines of any residential frame material, which is why architects consistently spec it for large picture windows and expansive fixed windows where maximizing glass area is the priority.
Strength is the other big advantage. Aluminium’s rigidity allows it to span wider openings without the flex or bowing that can affect other materials at scale. It also resists warping, rot, termites, and corrosion, so the photo window frame you install today looks and performs the same decades later with little more than an occasional wipe-down.
The old knock against aluminium was energy efficiency. Metal conducts heat, and early aluminium frames were thermal weak points. That criticism is outdated. Modern aluminium windows use thermally broken profiles, where an insulating barrier separates the interior and exterior faces of the frame, dramatically reducing heat transfer. Systems like MEICHEN’s aluminium window range, engineered with thermal breaks to meet Australian energy standards, show how far the technology has come. If you are exploring aluminium for a project, their collection is a solid reference point for what a modern thermally broken system looks like in practice.
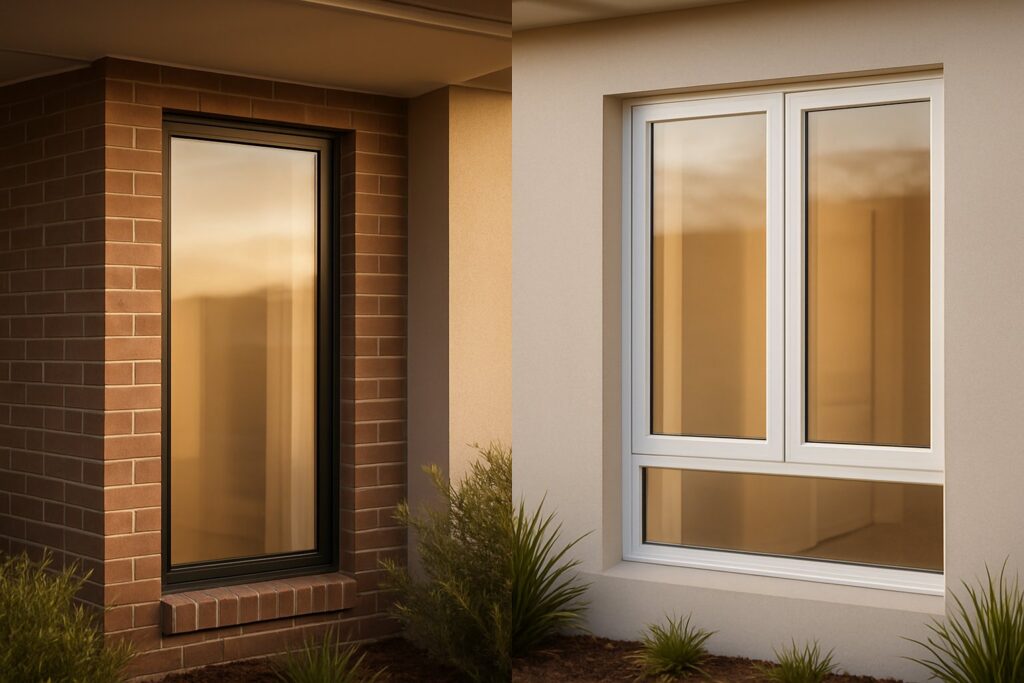
Colour and finish options are broad, too. Powder-coated aluminium comes in virtually any colour and holds up against UV fading far better than painted wood. For homeowners who want a sleek, contemporary look with minimal visual interruption, aluminium is hard to beat.
Vinyl, Wood, and Fiberglass Alternatives
Vinyl is the go-to budget pick. A picture vinyl window costs significantly less upfront than aluminium, wood, or fiberglass, and it requires almost zero maintenance. PVC frames resist moisture, will not rot, and never need painting. For moderate-sized openings, vinyl performs well.
The trade-offs show up at scale. Vinyl lacks the structural rigidity to span very large openings without reinforcement, and wider frames are needed to compensate, which eats into your glass area. Colour choices are more limited since vinyl cannot be reliably painted after installation, and extreme heat can cause warping or discolouration over time, especially with darker shades. If you are browsing window images of large-format installations, you will rarely see vinyl in the biggest sizes for exactly these reasons.
Wood brings a warmth and character that no synthetic material fully replicates. It offers excellent natural insulation, with U-factors typically ranging from 0.25 to 0.35, and it can be painted or stained to match any interior style. For period homes or traditional aesthetics, wood remains the prestige choice.
The downside is upkeep. Wood frames need repainting or restaining every three to seven years, and they are vulnerable to moisture damage, rot, and pest intrusion if maintenance lapses. That ongoing commitment adds real cost over the life of the window, something buyers often underestimate when comparing sticker prices alone.
Fiberglass sits at the premium end. It is dimensionally stable, expands and contracts at nearly the same rate as glass, and delivers strong thermal performance with U-factors in the 0.20 to 0.35 range. Maintenance is minimal. The catch is price: fiberglass windows typically cost $500 to $1,500 per unit, and fewer manufacturers offer them, which can limit availability and extend lead times.
| Frame Material | Sightline Width | Structural Strength | Maintenance | Energy Efficiency | Price Range |
|---|---|---|---|---|---|
| Aluminium (thermally broken) | Thinnest | Excellent — spans large openings | Very low | Very good (with thermal break) | $$ |
| Vinyl | Wider | Moderate — may flex at large sizes | Very low | Good | $ |
| Wood | Moderate | Good | High (paint/stain every 3-7 yrs) | Very good (natural insulator) | $$–$$$ |
| Fiberglass | Moderate to thin | Very good | Very low | Excellent | $$$ |
Each material can work for a picture window. The right choice depends on the size of your opening, your climate, your maintenance tolerance, and your budget. For large picture windows where slim frames and structural confidence matter most, aluminium with a thermal break consistently comes out ahead. For smaller openings on a tight budget, vinyl delivers solid value. Wood and fiberglass each earn their place when aesthetics or peak thermal performance are the top priority.
Of course, the frame is only half the equation. The glass package sitting inside that frame has just as much influence on comfort, energy bills, and how well your window ages, which is where the conversation turns next.
Picture Window Glass Options and Energy Efficiency
Your frame choice shapes the view. The glass package inside it shapes everything else: how warm or cool the room feels, how much you spend on energy, whether your furniture fades, and how quiet the space stays when a storm rolls through. Most homeowners spend more time picking a paint colour than understanding their glass options, and that is where costly mistakes happen.
Double-Pane vs Triple-Pane Glass Packages
Double-pane glass is the current industry standard. Two sheets of glass are separated by a sealed air space, creating an insulating barrier that single-pane units simply cannot match. For the majority of climates and budgets, double-pane delivers an excellent balance of thermal performance, noise reduction, and cost.
Triple-pane glass adds a third sheet and a second insulating air space. The result is measurably better insulation and superior sound dampening, which is why it shows up in pictures of windows installed in extreme-cold regions or noise-sensitive urban homes. The trade-off is weight and price. Triple-pane units are heavier, which matters for a large picture window where the glass area is already substantial, and they typically cost more than comparable double-pane options.
Sounds complex? It does not have to be. Think of it this way: if you live somewhere with mild to moderate winters, double-pane with a good Low-E coating will handle the job. If you are dealing with brutal winters, scorching summers, or a home near a busy highway, triple-pane earns its premium.
Both configurations rely on two additional technologies to perform at their best: Low-E coatings and gas fills.
Low-E (low-emissivity) coatings are microscopically thin metallic layers applied to the glass surface during manufacturing. They are virtually invisible, yet they reflect infrared heat while letting visible light pass through freely. In winter, a Low-E coating bounces interior heat back into the room. In summer, it reflects solar heat away before it enters. The net effect is a window that keeps you more comfortable year-round and can reduce window-related energy loss by 30 to 50 percent.
Gas fills work alongside those coatings. Argon gas is the standard fill for double-pane units because it is denser than air and slows heat transfer across the gap. Krypton gas, which is even denser, is used in triple-pane units where the gaps between panes are thinner. Neither gas is toxic or visible; you will never know it is there, but your energy bill will.
Understanding U-Factor, SHGC, and Energy Ratings
When you compare glass packages, four ratings on the NFRC label tell you almost everything you need to know. Here is what each one means in plain language:
- U-Factor (0.20 to 1.20): Measures how well the window resists heat flow. Lower is better. A window with a U-factor of 0.25 loses heat at half the rate of one rated 0.50. For reference, a quality double-pane Low-E unit typically lands between 0.25 and 0.35.
- Solar Heat Gain Coefficient / SHGC (0 to 1): Tells you how much solar heat passes through the glass. A lower number blocks more heat, which is ideal in hot climates. A higher number lets more solar warmth in, which can be a benefit in cold climates for passive heating.
- Visible Transmittance / VT (0 to 1): Indicates how much natural light the glass allows through. Higher is brighter. Modern Low-E coatings have minimal impact on VT, so you get energy protection without sacrificing the daylight that makes a picture window worth having.
- Air Leakage / AL (0 to 1): Rates how much air sneaks through the window assembly. This is where picture windows genuinely shine. Because the fixed window frame has no operable seals, tracks, or hardware, air leakage is virtually zero. Even picture windows that open via flanker combinations maintain excellent ratings on the fixed centre pane itself. No operable style can match that.
If you have ever browsed home depot glass options or any major retailer’s window aisle, you have likely seen these numbers on the sticker without knowing what they meant. They are worth paying attention to, because two windows that look identical on the shelf can perform very differently once installed.
Choosing Glass by Climate Zone
The right glass package depends on where you live. There is no single “best” option, only the best option for your climate.
In hot, sun-heavy regions, prioritize a low SHGC, ideally 0.25 or below. Solar-control Low-E coatings placed on the exterior-facing pane surface intercept heat before it enters the room, reducing cooling loads significantly. A plastic window or a premium aluminium unit will both benefit equally from this glass strategy; the coating does the heavy lifting regardless of frame material.
In cold climates with long heating seasons, a moderate to high SHGC (0.40 to 0.60) paired with a low U-factor lets you capture free solar warmth during the day while keeping heated air from escaping at night. Passive Low-E coatings, placed on interior-facing pane surfaces, reflect your home’s heat back inside.
Mixed climates call for a balanced formula. Look for SHGC values in the 0.30 to 0.50 range and a U-factor at or below 0.30. This gives you reasonable solar gain in winter without overheating in summer.
Glass selection also affects furniture longevity. All Low-E coatings block a significant portion of ultraviolet radiation, the wavelengths responsible for fading carpets, upholstery, and artwork. For a large picture window that bathes a room in sunlight for hours each day, UV protection is not a luxury; it is a necessity.
Getting the glass right ensures your window performs as well as it looks. The next question is whether the opening itself can handle the size you have in mind, because structural realities and building codes have a lot to say about that.
Picture Window Sizes from Standard to Custom
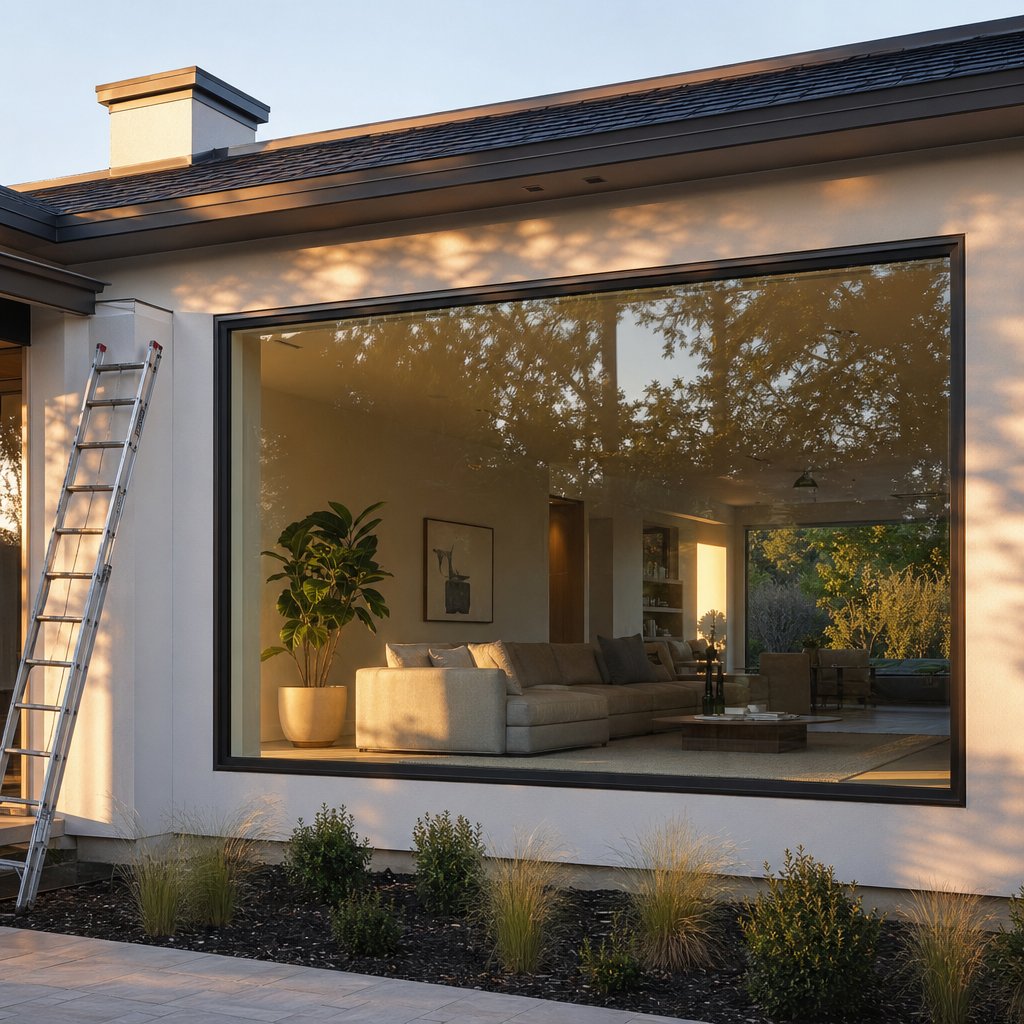
You have settled on a frame material and a glass package. The next decision feels straightforward but trips up more homeowners than almost anything else: size. Picking a picture window that is too small wastes the potential of the opening. Going too large without understanding the structural implications can stall a project, blow the budget, or trigger a permit headache you did not see coming.
Standard Picture Window Dimensions
Most manufacturers produce picture windows in a wide spread of stock sizes. Standard widths typically start at 24 inches and scale up to 96 inches, while heights range from as compact as 12 inches to a full 96 inches. That gives you everything from a modest accent pane to a near-floor-to-ceiling statement piece without ever leaving the standard catalogue.
Some of the most commonly ordered sizes include:
- 24 x 36 inches — a compact option often combined with other window types in a mulled arrangement
- 36 x 36 inches — a popular square format for kitchens and hallways
- 48 x 48 inches — a mid-range choice that balances view and wall space
- 60 x 48 inches — a wider format favoured in living rooms
- 72 x 60 inches — one of the larger stock sizes, common in open-concept homes with scenic views
If you are trying to estimate a 72 x 72 picture window cost, you are already pushing into the upper end of standard production. Units at that scale carry a noticeable price jump over mid-range sizes because the glass is heavier, the frame needs more material, and shipping becomes more involved. As a general rule, size is the single biggest variable in picture windows cost, and the relationship is not linear. Doubling the glass area can more than double the price once you factor in thicker glazing, reinforced frames, and installation complexity.
Standard sizes matter for another reason: availability. If you are browsing home depot windows in stock or checking inventory at any major retailer, you will find the most common dimensions ready to ship. That means shorter lead times and, often, lower prices compared to anything custom. Vinyl framed windows in particular tend to have the broadest stock selection at retail, since vinyl is the highest-volume residential frame material.
Here is the key advantage picture windows hold over every operable style when it comes to sizing: no mechanical hardware. There are no hinges, cranks, balances, or tracks limiting how large the unit can be. A double-hung window gets heavy and difficult to operate past a certain size. A casement window needs increasingly robust hardware to support a large swinging sash. A picture window has none of those constraints. The glass just sits in the frame, sealed and stationary. That is why manufacturers can push residential picture windows up to roughly 8 feet by 10 feet (96 x 120 inches) before you cross into specialty or floor-to-ceiling territory.
Custom sizing is also more common with this window type than almost any other. Architectural openings rarely line up perfectly with stock dimensions, and because the fixed design is structurally simpler to fabricate, manufacturers can produce non-standard sizes without the engineering complexity that custom operable windows demand. Expect custom orders to add two to six weeks to your lead time and a price premium of 15 to 30 percent over comparable stock units, though the exact figures vary by manufacturer and frame material.
Structural and Building Code Considerations for Large Openings
Wanting a massive window image on your living room wall is one thing. Making sure the wall can actually support it is another. Large picture windows require careful structural planning, and skipping this step is one of the most expensive mistakes homeowners make.
Every window opening needs a header, the horizontal beam that spans the top of the cutout and transfers the load from above around the opening and down to the framing on each side. The wider the opening, the beefier the header needs to be. For a standard 3-foot span, two 2x4s will typically suffice. A 4.5-foot span calls for two 2x6s, and a 5.75-foot span requires two 2x8s. Push past 6 feet and you may need engineered lumber like laminated veneer lumber (LVL) or glulam beams, which offer significantly greater strength and stiffness than standard dimensional lumber.
If you are cutting a new opening or widening an existing one, the stakes go up. Removing studs from a load-bearing wall without proper engineering can compromise the structural integrity of your entire home. This is not a DIY guessing game. A structural engineer or licensed contractor should assess the wall, specify the header, and confirm that the framing can handle the combined weight of the window and the loads above it.
Beyond structure, building codes impose their own requirements on large picture windows. Here are the key considerations to keep on your radar:
- Safety glass requirements: when the glazing exceeds 9 square feet, sits less than 18 inches above the floor, or is within 36 inches of a walkway, most codes require tempered or laminated safety glass. Large picture windows frequently trigger one or more of these criteria.
- Header sizing and load path: the header must be engineered for the specific span, the number of stories above, and local load conditions including wind and snow. Overbuilding slightly raises cost but provides a safety margin; underbuilding risks structural failure.
- Permits: cutting a new opening or significantly enlarging an existing one in a load-bearing wall almost always requires a building permit. Some jurisdictions also require stamped engineering drawings before issuing the permit.
- Wind load ratings: in hurricane-prone or high-wind zones, large picture windows must meet impact-resistance or design-pressure ratings specified by local code. This can dictate minimum glass thickness and frame reinforcement.
- Energy code compliance: many regions mandate minimum U-factor and SHGC values. Larger windows have a bigger impact on a home’s overall energy envelope, so code officials may scrutinize them more closely during inspection.
- Weight and installation access: a large insulated glass unit can weigh several hundred pounds. Upper-story installations may require specialized equipment, and the installation crew needs a clear path to manoeuvre the unit into position without damaging the glass or the surrounding structure.
None of these considerations should scare you away from going big. They just need to be addressed early in the planning process, ideally before you place an order. A qualified installer will handle most of this as part of the project scope, but understanding what is involved helps you ask the right questions and evaluate quotes with confidence.
The large picture windows price you are quoted should reflect all of these factors: the unit itself, any custom fabrication, safety glass upgrades, structural modifications, and labour. If a quote seems suspiciously low, it may be missing one or more of these line items.
Size determines what your window can do. The next question is what goes beside it, because pairing a fixed pane with operable flankers solves the one limitation that size alone cannot: airflow.
Picture Window Combinations with Operable Side Windows
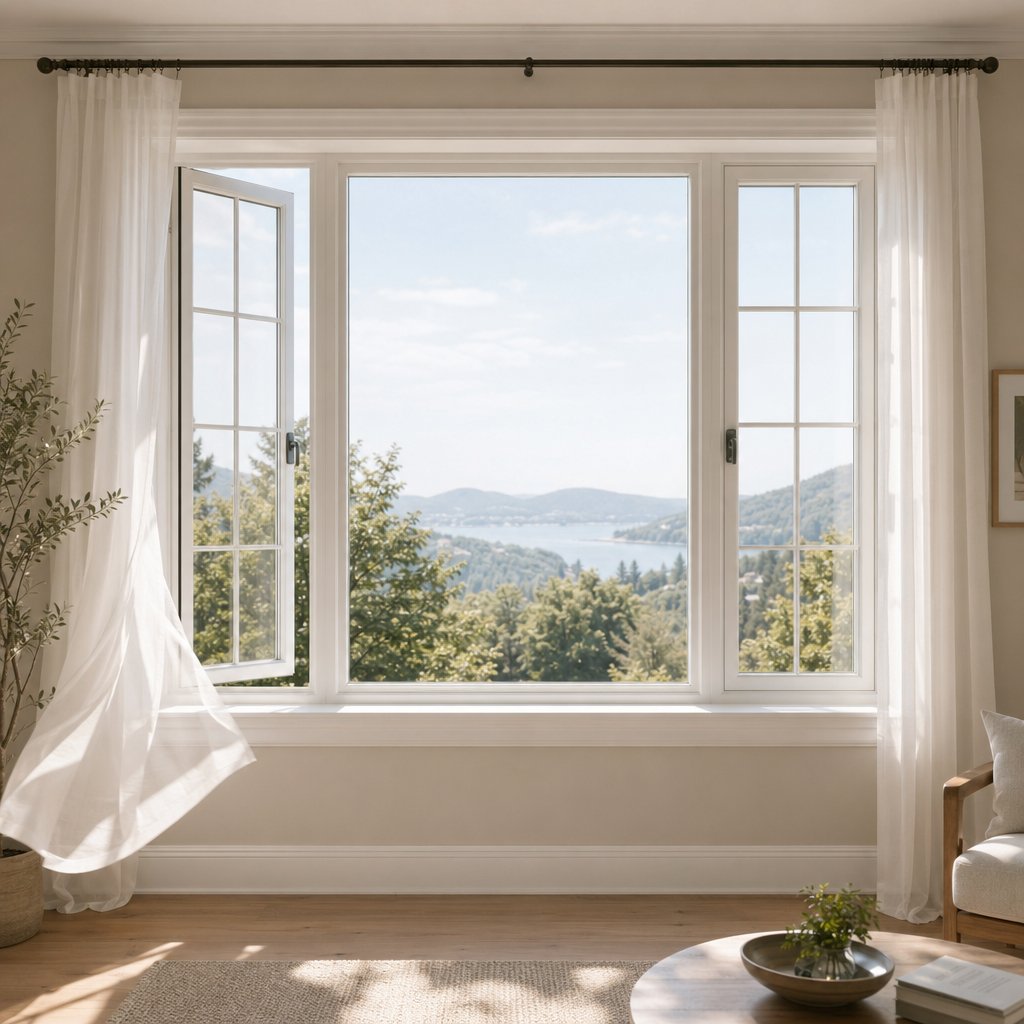
A huge picture window flooding your living room with light is hard to beat visually. But light alone does not make a room comfortable. You also need airflow, and in certain rooms, you need a code-compliant escape route. That is why the most practical installations rarely feature a fixed pane sitting by itself. Instead, homeowners mull, or join, the centre pane with operable flanker windows on one or both sides, creating a combination that looks like a single unit but functions like three.
Why Combine a Picture Window with Operable Flankers
Three functional reasons drive this approach:
- Ventilation. What is a fixed window’s biggest limitation? It provides zero airflow. Flankers on each side solve that instantly, letting you control cross-breezes without sacrificing the wide, uninterrupted view at the centre.
- Egress compliance. The International Building Code requires every bedroom to have at least one egress window with a minimum opening of 5.7 square feet, at least 20 inches wide by 24 inches high, and no higher than 44 inches from the floor. A picture window alone cannot meet that requirement because it does not open. Adding operable flankers that satisfy egress dimensions keeps the design code-compliant without giving up the window picture frame effect of a large centre pane.
- Aesthetic balance. A single massive fixed pane can look stark on some facades. Flanking it with narrower operable units adds proportion and visual rhythm, creating a composition that feels intentional rather than oversized.
The result is a configuration that gives you the best of both worlds: the panoramic glass area of a fixed design with the practical benefits of operable windows right beside it. Large combinations even produce a bay-like effect, with the wide centre pane flanked by smaller side units, without the structural complexity or cost of building an actual bay window projection.
Double-Hung vs Casement Flanker Configurations
The two most common flanker choices are double-hung and casement windows, and each brings a different personality to the combination.
Double-hung flankers are the classic pairing. They slide vertically, offer a traditional look that suits colonial, craftsman, and farmhouse styles, and their tilt-in sashes make cleaning easy. This is the configuration you will see most often in suburban homes, and it is the go-to for homeowners who want custom picture windows that blend seamlessly with the rest of the house. The trade-off is that double-hung units only open about half their total area at a time, so airflow is moderate rather than maximum.
Casement flankers swing outward on a hinge, catching side breezes and directing them into the room. Because the entire sash opens, they deliver significantly better ventilation per square foot than double-hung units. The look is more contemporary, with cleaner lines and minimal visible hardware when closed. Casement flankers also tend to meet egress requirements at smaller overall sizes than double-hung windows, which can matter when wall space is tight.
Structural planning is critical for either option. Mulled combinations span wider openings than a single unit, so the header above must be sized for the full combined width, not just the centre pane. The mulling hardware connecting the units needs to handle the total weight and resist deflection under wind loads, especially at larger scales. Undersized mull joints can lead to seal failures, water leakage, and even hardware damage on the operable sections. If you are planning a combination wider than six feet, have a structural engineer or experienced installer verify the header and mull specifications before ordering.
When budgeting, keep in mind that picture window replacement cost for a mulled combination runs higher than for a single fixed unit. You are paying for additional fixed window frames, operable hardware, mulling connectors, and more labour during installation. The premium is worth it for the functionality you gain, but it should be reflected clearly in any quote you receive.
Planning a combination involves several steps in sequence. Skipping any of them can lead to ordering errors or code issues down the line:
- Assess ventilation needs. Determine whether the room requires active airflow and how much. A living room may need only occasional breezes, while a kitchen demands more consistent air exchange.
- Check egress requirements. If the room is a bedroom, confirm that at least one flanker meets local egress code for minimum opening size and sill height.
- Choose your flanker type. Double-hung for a traditional look and easy cleaning, casement for maximum airflow and a modern profile.
- Verify structural support. Confirm that the header and surrounding framing can handle the full span and weight of the mulled assembly. Consult a structural engineer for openings exceeding six feet.
- Confirm sizing and proportions. The centre pane should remain the dominant visual element. A common ratio is a centre pane roughly twice the width of each flanker, though your specific opening will dictate the final dimensions.
Get these steps right and you end up with a combination that looks like a single architectural statement while solving every practical limitation a fixed pane carries on its own. The next consideration is where in the house that statement belongs, because not every room is equally suited to a picture window, and some come with code requirements that change the equation entirely.
Room-by-Room Guide to Picture Window Placement
Not every room deserves a picture window, and not every room that wants one can have one without conditions. Browsing window pictures online, you will see gorgeous installations in living rooms, bedrooms, kitchens, and even bathrooms. What those photos rarely mention are the functional trade-offs, code restrictions, and ventilation realities that should drive the decision. Where you place this window matters just as much as which frame and glass you choose.
Living Rooms and Common Areas — The Ideal Fit
Living rooms are the natural home for a picture window, and it is not just about aesthetics. Most building codes impose no egress requirement on living rooms, family rooms, or dining areas, which removes the biggest limitation of a fixed pane. You get the full benefit of expansive glass without needing operable flankers to satisfy code.
A large fixed pane on a living room focal wall does something no other window type can match: it anchors the entire space. Furniture arranges around it. Natural light fills the room evenly. The outdoor view becomes a living piece of art that changes with the seasons. For homes with scenic outdoor areas, a well-placed picture window creates a stunning focal point that makes the room feel more open and inviting.
Dining areas and home offices are equally strong candidates. A dining room window picture framing a garden or treeline elevates everyday meals. A home office benefits from the steady, glare-free daylight that a large north- or east-facing pane provides, reducing eye strain during long screen sessions. Open-concept spaces where living, dining, and kitchen zones blend together are especially well suited, since a single large pane can unify the layout and strengthen the connection to the outdoors.
Front-facing installations also deserve attention. A well-proportioned picture window on the street side of your home boosts curb appeal significantly. It signals quality construction and intentional design, both of which contribute to perceived home value. Even in an apartment window situation where exterior modifications are limited, a large fixed pane facing a courtyard or skyline can transform a compact living area.
Bedrooms, Kitchens, and Bathrooms — Important Caveats
Bedrooms are where most homeowners get tripped up. A picture window in a master suite sounds appealing, and it can look incredible, but building codes in most jurisdictions require every sleeping room to have at least one operable egress window. A fixed pane alone will not satisfy that requirement. The solution is straightforward: pair the centre pane with operable flankers, or install the picture window in addition to a separate code-compliant window elsewhere in the room. Either approach works. Just do not assume a standalone fixed unit will pass inspection in a bedroom, because it will not.
Kitchens present a different challenge. Cooking generates heat, moisture, and odours that need somewhere to go. A standalone fixed pane above the sink or in a breakfast nook brings in beautiful light, but it provides zero ventilation. If you want a picture window in the kitchen, plan for supplemental operable windows or a range hood that vents to the exterior. Decorative windows that combine a fixed centre with small casement flankers are a popular kitchen solution, giving you the wide view and the airflow in one assembly.
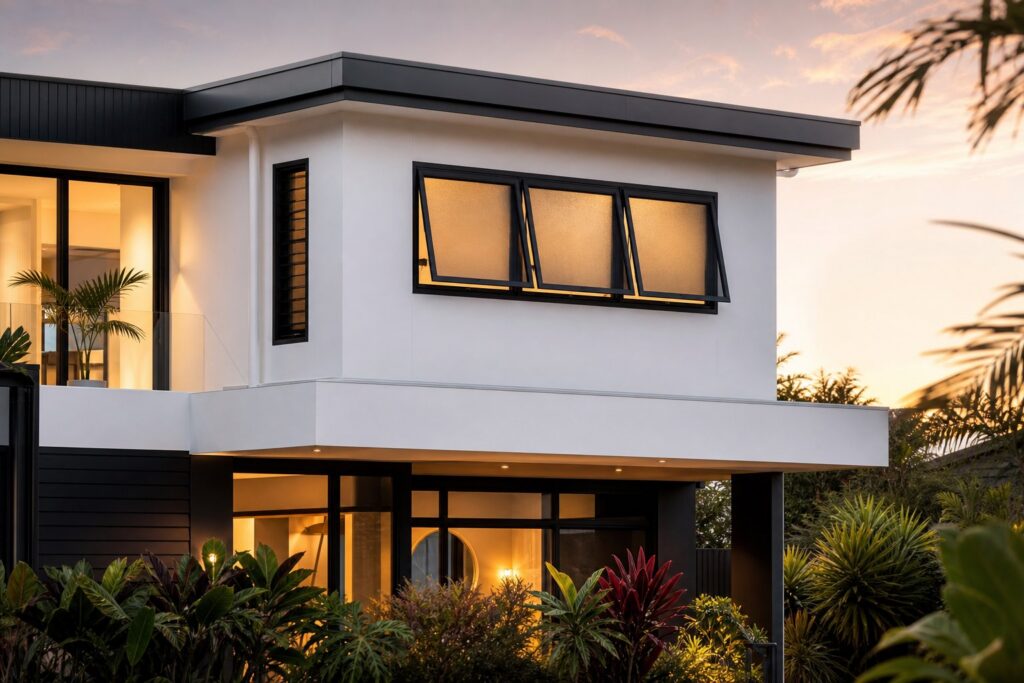
Bathrooms are the trickiest fit. Privacy is the obvious concern, along with moisture exposure. A large, clear-glass window with panel after panel of unobstructed view is exactly what you want in a living room and exactly what you do not want in a bathroom. That said, picture windows can work here when positioned high on the wall, above eye level, or fitted with obscured or frosted glass. These installations let natural light pour in without compromising privacy. Just ensure the frame material handles humidity well; aluminium and vinyl resist moisture far better than wood in a wet environment.
The table below summarises how each room stacks up across the factors that should guide your placement decision.
| Room | Suitability | Egress Required | Ventilation Need | Privacy Concern | Recommended Configuration |
|---|---|---|---|---|---|
| Living Room | Excellent | No | Low | Low | Standalone or with flankers |
| Dining Area | Excellent | No | Low | Low | Standalone |
| Home Office | Very Good | No | Low to Moderate | Low | Standalone or with flankers |
| Bedroom | Good (with conditions) | Yes | Moderate | Moderate | With operable flankers or additional egress window |
| Kitchen | Moderate | No | High | Low | With operable flankers or supplemental ventilation |
| Bathroom | Situational | Varies | High | High | High placement or obscured glass; moisture-resistant frame |
| Hallway | Good | No | Low | Low | Standalone |
Placement determines how much value you actually get from the investment. A picture window in the right room transforms daily life. In the wrong room, without the right supporting elements, it creates problems you will be paying to fix later. If you are considering a picture windows replacement project or a brand-new installation, match the room’s functional demands to the window’s capabilities first, then let the aesthetics follow.
Speaking of investment, the cost side of this decision is where most buyers feel the least prepared, and where the widest range of pricing surprises tend to land.
Picture Window Costs and What Affects Your Price
Pricing is the question homeowners ask most and understand least. You can spend hours browsing picture window ideas online, fall in love with a design, and then have no idea whether the quote you receive is fair, inflated, or missing critical line items. The range is wide: a standard unit might run $700 to $1,300 installed, while larger or custom-shaped options can push well past $2,000. Understanding what drives that spread is the difference between a smart investment and an expensive surprise.
What Drives Picture Window Pricing
Several variables stack on top of each other to produce your final number. Here they are, roughly in order of how much they move the needle:
- Window size. This is the single biggest cost driver. Residential picture windows typically range from 2 to 6 feet in width and height, and pricing scales with glass area. A 47 x 47-inch vinyl unit averages around $400, while a 71 x 47-inch version jumps to roughly $1,050. Push into the cost of large picture windows territory, say a 60×60 window or a full 6 x 6-foot pane, and you are looking at $1,000 to $1,800 depending on material and glass package.
- Frame material. As covered in the frame comparison earlier, vinyl sits at the budget end ($450 to $1,150), aluminium and steel occupy the middle ($450 to $1,600), and wood commands the highest material premium ($800 to $1,800). Fiberglass lands between steel and wood. The material you choose affects not just the sticker price but long-term maintenance costs that compound over the window’s lifespan.
- Glass package. Single-pane is cheapest but rarely worth it for a large fixed glass window. Double-pane units typically fall in the $700 to $1,300 range, while triple-pane pushes to $1,000 to $1,600. Add-ons like Low-E coatings and tinting can tack on $5 to $15 per square foot, though the energy savings often recoup that cost within a few years.
- Custom vs standard sizing. Stock dimensions ship faster and cost less. Custom sizes add a 15 to 30 percent premium plus extended lead times. Custom shapes like arches or rounds climb even higher, with custom-shaped units starting around $2,000.
- Installation complexity. A straightforward swap into an existing opening is the simplest scenario. Cutting a new opening, modifying a load-bearing wall, working on upper stories, or adding structural headers all increase labour costs substantially.
Replacement vs New Construction Costs
This distinction catches many homeowners off guard. Picture window replacements that fit into an existing frame are the more affordable route. The contractor removes the old sash, fits the new unit into the same opening, seals it, and finishes the trim. No siding removal, no drywall work, no header modifications. Installation labour for replacement windows can cost 50 to 100 percent less than new construction installs, making the total project significantly easier on the budget.
New construction windows are a different story. They use a nail-fin frame that attaches directly to the wall studs, which means stripping the wall down to the framing. You get a better weathertight seal and full flexibility on sizing, but you also pay for framing work, exterior finishing, and potentially structural engineering. This route makes sense when you are building new, adding an addition, or doing a gut renovation where the walls are already open. For a simple upgrade in an otherwise intact wall, replacement is almost always the smarter financial move.
Labour deserves its own line in your mental budget. Picture window installation typically runs $600 to $1,000 per day, with hourly rates between $40 and $60. For a large or upper-story unit that requires scaffolding, specialized lifting equipment, or extra hands, that figure climbs. Even a modestly priced window with a background of straightforward specs can carry a hefty install bill if access is difficult.
Mulled combinations add another layer. Pairing a centre pane with operable flankers means paying for additional frames, operable hardware, mulling connectors, and more installation time. Expect the total to run meaningfully higher than a single fixed unit of the same overall width.
Regional variation is real, too. Labour rates, permit fees, and even material availability shift from market to market. The only reliable way to gauge your actual cost is to collect itemized quotes from at least three licensed installers in your area. Compare them line by line: window unit, glass upgrades, structural work, labour, permits, and cleanup. If a quote lumps everything into a single number, ask for a breakdown. Transparency in the estimate usually signals transparency in the work.
Cost tells you what you will spend upfront. What you spend over the next 20 years on cleaning, seal repairs, and frame upkeep is a different number entirely, and it varies dramatically depending on the choices you have already made.
Maintenance and Long-Term Care for Picture Windows
The upfront price tag gets all the attention. The real cost of ownership, though, plays out quietly over the next two or three decades in cleaning sessions, frame upkeep, and the occasional seal repair. A picture window’s fixed design gives it a built-in longevity advantage over operable styles — no hinges fatigue, no balances snap, no tracks clog with debris — but that does not mean it is maintenance-free. Knowing what to expect helps you protect the investment instead of watching it slowly degrade.
Cleaning and Exterior Access Challenges
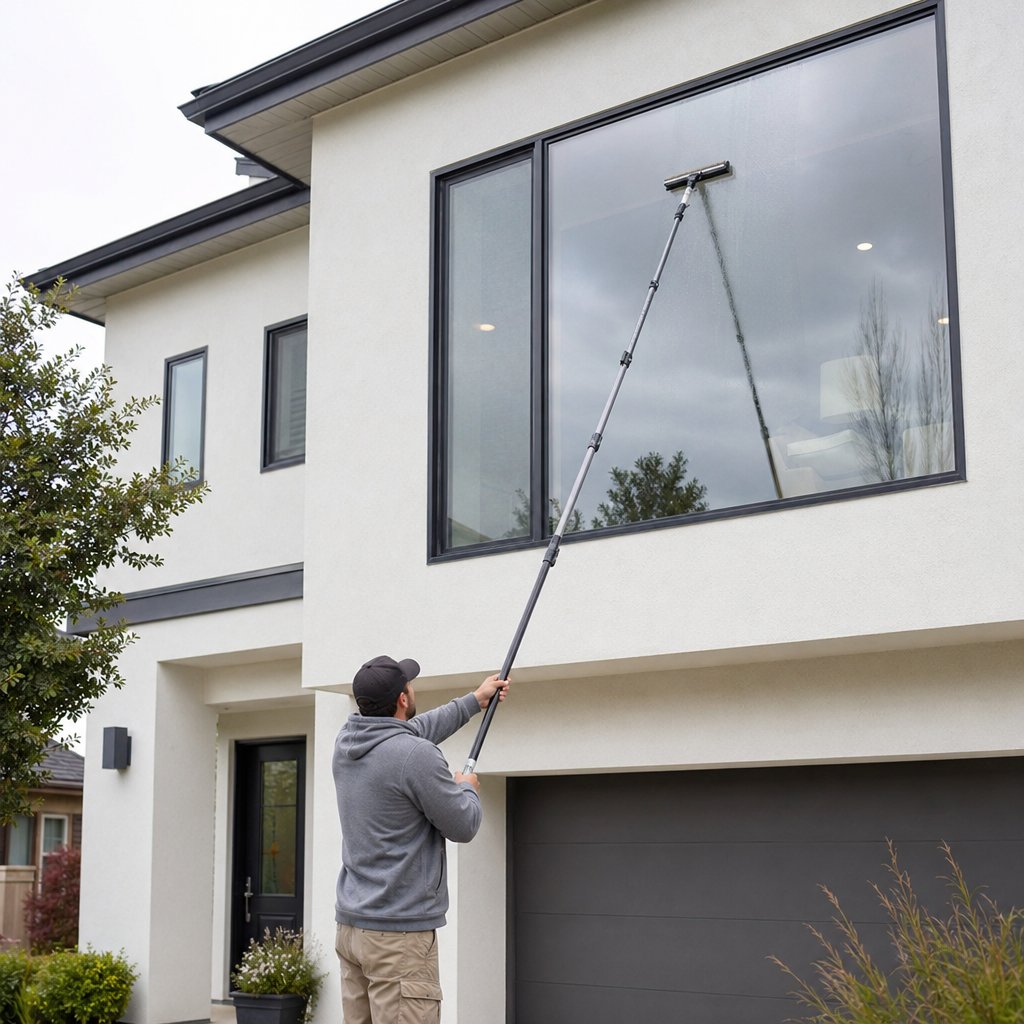
Here is the trade-off nobody mentions in the showroom: glass fixed windows do not tilt inward. Double-hung sashes fold in for easy interior cleaning. Picture windows stay put. On a ground-floor installation, that is barely an inconvenience — a squeegee, a bucket of soapy water, and a few minutes of effort get the job done. On an upper story, the equation changes fast.
For second-floor front house windows or any elevated installation, you have three realistic options:
- Extension poles with squeegee or microfiber attachments. These telescoping tools reach high or large windows from ground level and work well for routine cleaning.
- Water-fed pole systems that use purified water to rinse glass without leaving streaks. Popular with professional crews and increasingly available for homeowner use.
- Professional window cleaning services. For oversized panes or anything above the second story, hiring a pro is the safest and most effective route. Most homes benefit from exterior cleaning at least twice a year.
Timing matters, too. Clean on a cool, overcast day. Direct sunlight dries soap onto the glass before you can squeegee it off, leaving streaks that are especially visible on a large, uninterrupted pane. Avoid pressure washers aimed directly at the glass-to-frame junction — the force can compromise perimeter seals over time.
Frame Maintenance and Seal Longevity by Material
Your frame material dictates how much ongoing attention the window demands. Aluminium and vinyl sit at the low-maintenance end of the spectrum. An occasional wash with mild soap and water is all either material needs. Neither rots, warps, or requires repainting. Aluminium frames, in particular, resist corrosion and UV degradation, which is why they hold up so well in coastal and high-humidity environments. Systems like MEICHEN’s aluminium window range are engineered to meet Australian standards for durability and energy efficiency, making them a practical reference point if longevity and minimal upkeep are priorities for your project.
A vinyl picture window shares that low-maintenance profile at a lower price point, though it can discolour or become brittle under prolonged UV exposure, especially in darker finishes. Wood frames demand the most care: repainting or restaining every three to seven years, plus regular inspection for moisture intrusion, rot, and pest damage. Skip a maintenance cycle on wood and you risk problems that cost far more to fix than the upkeep would have.
Regardless of frame material, the insulated glass unit (IGU) inside has its own lifespan. The seals bonding the spacer to the glass panes degrade over time as temperature swings cause repeated expansion and contraction, gradually weakening the sealant’s flexibility. Even high-quality seals typically last 15 to 30 years before they begin to fail. When they do, the telltale sign is fogging or a milky haze trapped between the panes — moisture that has penetrated the compromised seal and condensed inside the unit.
The good news: a failed seal does not mean replacing the entire window. In most cases, the IGU itself can be swapped out while the frame stays in place. That is a significantly cheaper repair than a full picture frame window replacement, especially on larger units where the frame and installation represent a substantial portion of the original cost.
You can extend seal life with a few proactive steps:
- Ensure proper installation with adequate sill drainage so water does not pool against the frame and saturate the sealant.
- Avoid directing pressure washers at the glass-to-frame perimeter.
- Keep weep holes clear on windows with panels or drainage channels so moisture exits rather than accumulates.
- Address any exterior caulking or flashing failures promptly before water reaches the IGU seal.
Picture windows across all picture window sizes carry one quiet advantage over every operable style when it comes to longevity: no moving parts means no mechanical wear. There are no springs to lose tension, no operators to strip, no weatherstripping to compress and leak. The sealed, stationary design that limits ventilation is the same design that lets these windows outlast their operable counterparts by years, sometimes decades. Pair that inherent durability with a low-maintenance frame material and proper installation, and you have a window that earns its keep long after the purchase price fades from memory.
Picture Window FAQs
1. What is the difference between a picture window and a fixed window?
A fixed window is any window that does not open, including arched, geometric, transom, and sidelight styles. A picture window is a specific type of fixed window — large, rectangular or square, and designed to frame an outdoor view while maximizing natural light. Every picture window is a fixed window, but small accent shapes like half-rounds or triangular transoms are fixed windows that would not be classified as picture windows.
2. Can you put a picture window in a bedroom?
You can, but not as the only window. Most building codes require bedrooms to have at least one operable egress window with a minimum opening of 5.7 square feet, a width of at least 20 inches, a height of at least 24 inches, and a sill no higher than 44 inches from the floor. Since a picture window does not open, it cannot meet egress requirements on its own. The common solution is to mull the picture window with operable flankers — such as double-hung or casement units — that satisfy the code, or to install a separate egress-compliant window elsewhere in the room.
3. How much does a picture window cost to install?
Installed costs typically range from $700 to $1,300 for a standard double-pane unit, while larger or custom-shaped options can exceed $2,000. The biggest cost drivers are window size, frame material, glass package (double vs triple pane, Low-E coatings), whether the unit is stock or custom-sized, and installation complexity. Replacement installs into an existing opening cost significantly less in labour than new-construction installs that require framing, header work, and exterior finishing. Collecting at least three itemized quotes from licensed installers in your area is the most reliable way to gauge your actual project cost.
4. What is the best frame material for a large picture window?
Aluminium with a thermal break is widely considered the strongest choice for large picture windows. It offers the thinnest sightlines of any residential frame material, meaning more of your view is glass rather than frame. Its structural rigidity allows it to span wide openings without flexing, and it resists warping, rot, and corrosion with virtually no maintenance. Modern thermally broken aluminium systems, such as those in MEICHEN’s aluminium window range (meichenwindows.com.au/aluminium-windows/), have closed the energy-efficiency gap with wood and fiberglass while retaining aluminium’s slim profile and durability advantages.
5. How do you clean a picture window that does not tilt in?
Ground-floor picture windows are easy to clean with a standard squeegee and soapy water. Upper-story installations require more planning since the fixed pane cannot tilt inward like a double-hung sash. Telescoping extension poles with squeegee or microfiber attachments can reach second-floor glass from ground level. Water-fed pole systems using purified water offer streak-free results without ladders. For anything above the second story or for oversized panes, professional window cleaning services are the safest option. Clean on overcast days to prevent soap from drying on the glass, and avoid pressure-washing directly at the glass-to-frame seal.
More Window & Door Guides