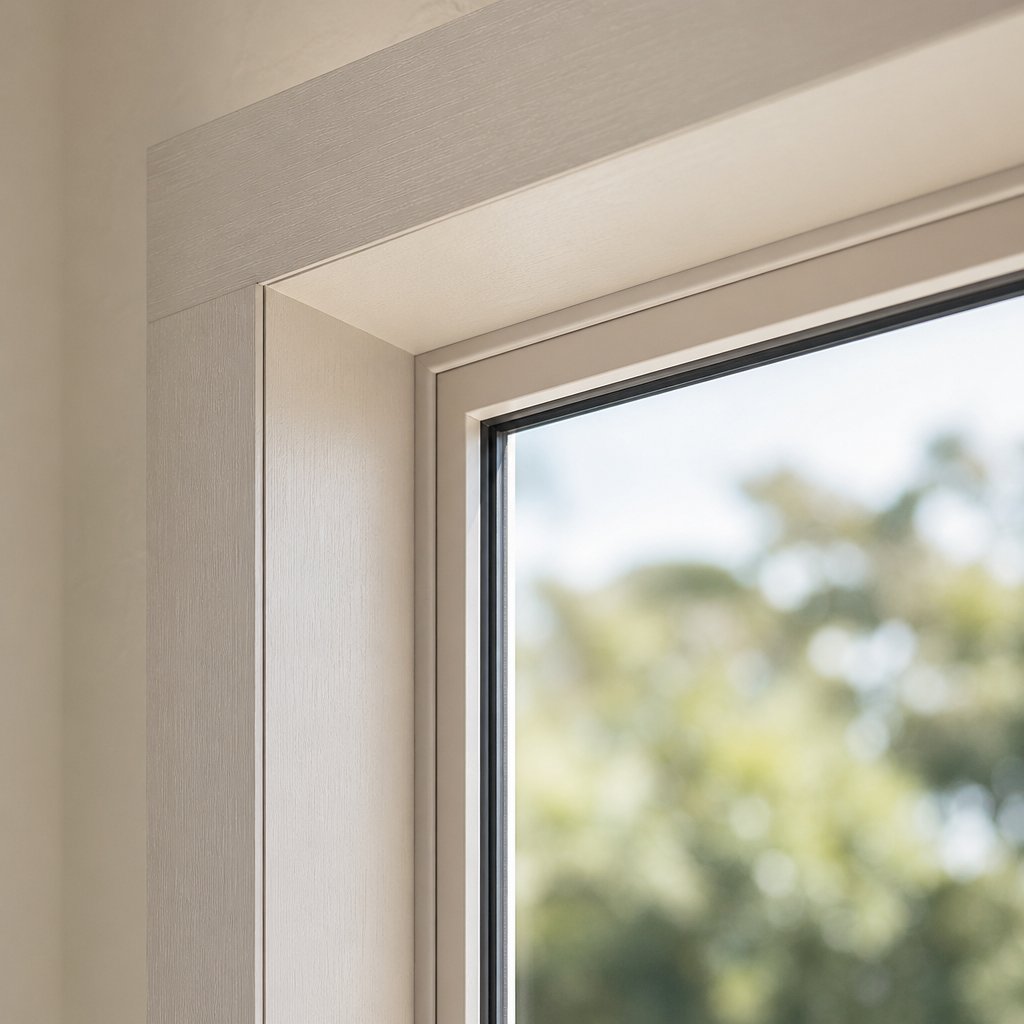
What Covering Aluminium Window Frames Involves
Older aluminium window frames do their job, but they rarely look the part anymore. Covering aluminium window frames is the practice of wrapping, capping, or concealing existing frames with secondary materials — without ripping the windows out entirely. The goal varies from project to project: some homeowners want a fresh aesthetic, others need better thermal performance, and plenty want both.
This guide walks through every viable method for interior and exterior applications, from quick cosmetic films to full aluminium window trim wrapping with coil stock. Whether you are chasing a modern frameless look or trying to reduce condensation on cold metal, the approach you choose matters — and so does understanding the trade-offs before you commit.
What Does Covering Aluminium Frames Actually Mean
Three broad techniques fall under the umbrella of window frame covering:
- Wrapping — bending flat aluminium coil stock around existing trim to create a new, weather-resistant skin. This is the classic aluminium window wrap approach used on exteriors across Australia.
- Capping — fitting pre-formed covers (sometimes called windows capping profiles) that snap or friction-fit over the original frame. Aluminium capping on windows provides a factory-finished look without custom bending.
- Concealment — using drywall returns, timber reveals, or MDF surrounds on the interior to hide the frame entirely, giving the window opening a clean, built-in appearance.
Each method suits different budgets, skill levels, and end goals. Some are reversible; others are permanent alterations to the window opening itself.
Who Benefits From Covering Aluminium Frames
Homeowners updating 1970s to 1990s-era homes are the most common candidates — those frames still function but look dated against fresh paint and modern interiors. Renovators chasing a seamless wall-to-window transition also turn to covering as a design tool. And property managers looking to improve energy performance across multiple units find it far more practical than full window replacement on a tight budget.
Covering is one of the most cost-effective ways to modernise aluminium windows without replacing them — delivering visual and thermal improvements at a fraction of the cost of new frames.
Still, the reasons behind covering matter as much as the method. Aesthetic frustrations and functional shortcomings often overlap, and understanding both sides helps you pick the right solution rather than the cheapest one.
Why Homeowners Choose to Cover Aluminium Frames
Aesthetic frustration and poor thermal performance rarely arrive separately. Most homeowners who start researching covering options are dealing with both — a frame that looks tired and one that sweats through winter. Understanding these two motivations helps clarify which covering method will actually solve the problem rather than just mask it.
Aesthetic Reasons to Cover Old Aluminium Frames
Old aluminum windows installed between the 1970s and 1990s were built to last, and many have. The trouble is they were never designed to age gracefully. Bare aluminium oxidises over time, developing a chalky grey film or pitted surface that no amount of cleaning fully removes. That dull, weathered aluminium window trim clashes with contemporary colour palettes — think crisp white walls meeting a frame that has faded to an uneven silver-grey.
Colour mismatch is the most visible issue. Modern interiors lean toward warm neutrals, deep charcoals, or matte blacks, and a dated mill-finish frame sticks out like a relic. Repainting aluminium is possible, but without proper preparation the finish peels within a few seasons, leaving the frame looking worse than before.
Beyond colour, there is the visual weight of exposed metal around windows. Older aluminium profiles tend to be bulkier than today’s slim-line systems, creating a heavy border that interrupts the wall-to-window transition. Homeowners chasing a seamless, modern look find that covering or concealing the frame delivers the clean lines they want — without the cost of ripping everything out and starting fresh.
Thermal and Moisture Performance Concerns
Aluminium conducts heat roughly 1,000 times faster than timber and 200 times faster than PVC. In practical terms, that means an unbroken aluminium frame acts as a thermal bridge — a direct pathway for heat to escape in winter and enter in summer. The frame itself becomes the weak point in an otherwise insulated wall.
Older non-thermally-broken aluminium frames can register U-values of 4.0 to 6.0 W/(m²K), placing them well below the performance thresholds expected under the National Construction Code for most Australian climate zones. The result is cold interior frame surfaces during cooler months, which drop below the dew point and attract condensation. That moisture feeds mould growth, damages paint and plaster, and over years can corrode the window aluminum trim itself.
Covering with insulating materials — timber reveals, foam-backed capping, or drywall returns with a thermal break layer — reduces the exposed cold surface area and interrupts the bridge. The improvement is not equivalent to replacing the frame with a modern thermally broken system, but it can meaningfully reduce condensation and improve comfort near the window.
There is a catch, though. Adding coverings over cold metal around windows introduces moisture management risks. If warm, humid interior air reaches the cold aluminium surface behind a covering and condenses there, the trapped moisture has nowhere to evaporate. Over time, this accelerates corrosion on the original frame — the very thing you are trying to protect. Proper detailing, ventilation gaps, or vapour barriers between the covering and the frame are essential to avoid creating a hidden problem.
Not sure whether your frames have crossed the line from cosmetic annoyance to functional concern? Here are the clearest indicators:
- Visible condensation forming on the frame or glass edge during mild weather, not just extreme cold snaps
- Mould or mildew growth at the frame-to-wall junction, particularly on south-facing windows
- Chalky oxidation or pitting that returns within weeks of cleaning
- Noticeable cold drafts near the window even when it is fully closed and locked
- Paint or plaster damage on the surrounding wall caused by persistent moisture wicking from the frame
If two or more of these signs are present, covering is worth serious consideration — though the method you choose needs to account for both the look you want and the moisture behaviour you are trying to control.
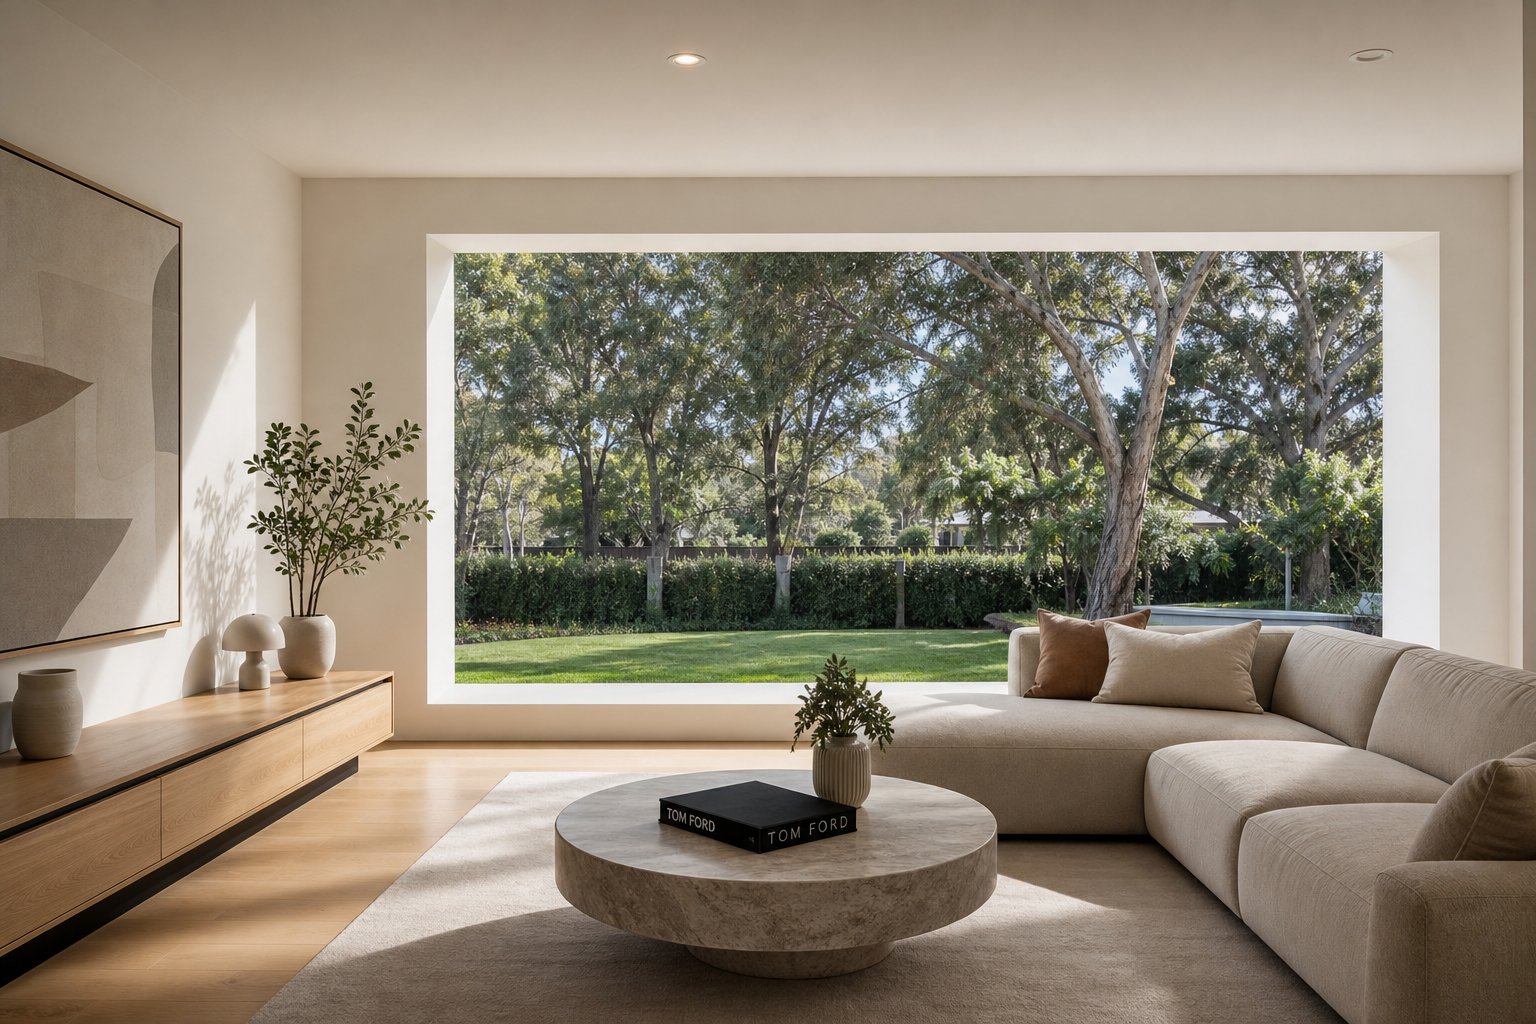
Interior Methods for Concealing Aluminium Frames
Moisture and thermal concerns push homeowners toward action, but the interior finish is what they see every day. The good news: several proven methods can conceal an aluminium window casing from the inside, each offering a different balance of cost, skill requirement, and visual result. The right choice depends on whether you want a contemporary frameless look, a traditional surround, or simply a quick cosmetic refresh.
One important caveat applies to every interior method discussed here — none of them address exterior weathering or thermal bridging from the outside. They improve the view from your living room, not the performance of the frame against rain, UV, or heat transfer through the outer skin. If exterior degradation is your primary concern, skip ahead to exterior solutions. For purely interior aesthetics, read on.
Drywall Returns for a Frameless Look
Covering a window with drywall is the go-to technique for achieving that clean, modern reveal where the wall appears to simply wrap into the window opening without any visible trim or frame edge. The concept is straightforward: plasterboard is cut to fit the depth of the window jamb, fixed to timber or metal furring strips around the opening, and then finished with corner bead and joint compound so the transition from wall to window reads as a single unbroken surface.
The result is striking — a frameless appearance that suits minimalist and contemporary interiors. As Fine Homebuilding notes, drywall returns offer a clean look that is more affordable than timber returns and casing, while still delivering a high-quality finish. The key is getting the plasterboard tight against the window frame so no caulking or additional tape is needed at that junction.
Where this method gets tricky is at the frame junction itself. Aluminium expands and contracts with temperature changes at a different rate to plasterboard and the surrounding timber framing. That differential movement can crack the joint compound over time, particularly on west-facing windows that cop direct afternoon sun. Using fiberglass mesh tape at inside corners — rather than standard paper tape — provides extra crack resistance at these stress points. Some installers also leave a 1–2 mm shadow gap at the frame edge, filled with a flexible sealant that accommodates movement without cracking.
The window sub sill area deserves particular attention when planning drywall returns. This lower section of the reveal takes more abuse from condensation runoff and everyday contact, so moisture-resistant plasterboard is worth specifying here even if standard board is used on the jambs and head.
Timber and MDF Reveals
For homeowners who prefer a warmer, more traditional look — or who want a visible surround they can paint to match changing colour schemes — timber architraves or paint-grade MDF offer a reliable solution. The approach involves scribing timber or MDF boards against the aluminium frame to create a surround that covers the frame edge and provides a finished transition to the wall.
Hardwood reveals suit heritage-style homes and can be stained or oiled for a natural finish. Paint-grade MDF is the more common choice in modern renovations: it is dimensionally stable, takes paint beautifully, and costs significantly less than solid timber. Boards are typically 18–25 mm thick and cut to match the depth of the window jamb, then fixed with construction adhesive and pin nails.
The critical detail here is leaving a small expansion gap — around 2–3 mm — between the MDF and the aluminium frame. Aluminium and MDF respond differently to temperature and humidity shifts. Butting them hard together invites buckling or cracking at the joint. A bead of colour-matched flexible sealant in that gap keeps the finish looking intentional rather than gappy, while allowing each material to move independently.
Timber reveals also work well around the window sub sill, where a solid timber sill board can double as a functional ledge — something drywall returns cannot easily provide.
Interior Vinyl and Film Wraps
When budget or time rules out structural changes, adhesive vinyl film offers the fastest cosmetic update. These films bond directly to the aluminium surface, transforming a dated mill-finish or faded frame into a woodgrain, matte black, or solid colour finish in an afternoon. No furring strips, no plastering, no drying time.
Application is simple in theory: clean the frame thoroughly, cut the film slightly oversize, apply with a squeegee to push out air bubbles, and trim the edges with a sharp blade. In practice, getting a bubble-free finish around corners and hardware cutouts takes patience and a steady hand.
The limitation is longevity. Adhesive films on aluminium are exposed to UV through the glass, temperature cycling, and condensation — all of which degrade the adhesive bond over time. Peeling edges typically appear within three to five years, and once lifting starts, the film traps moisture underneath and accelerates the problem. Films work best as a short-term solution or in low-exposure locations like south-facing windows that receive minimal direct sun.
- Drywall returns
- Pros: Seamless frameless look, affordable materials, suits modern interiors
- Cons: Requires plastering skill, prone to cracking at frame junction, cannot easily be reversed, does not provide a usable sill ledge
- Timber and MDF reveals
- Pros: Warm aesthetic, paintable, provides a functional sill, suits both traditional and contemporary styles
- Cons: Higher material cost than drywall, requires accurate scribing and mitre cuts, can swell if moisture is not managed
- Vinyl film wraps
- Pros: Lowest cost, fastest application, fully reversible, wide range of colours and textures
- Cons: Limited durability (3–5 years typical), peeling in high-UV or high-moisture areas, does not conceal frame profile — only changes its colour
Each of these interior approaches solves the visual problem from inside the home. But the aluminium frame itself remains fully exposed on the exterior, still conducting heat, still weathering. For a complete solution, interior methods often need to be paired with exterior covering techniques — which introduce a different set of materials, skills, and weather-resistance considerations.
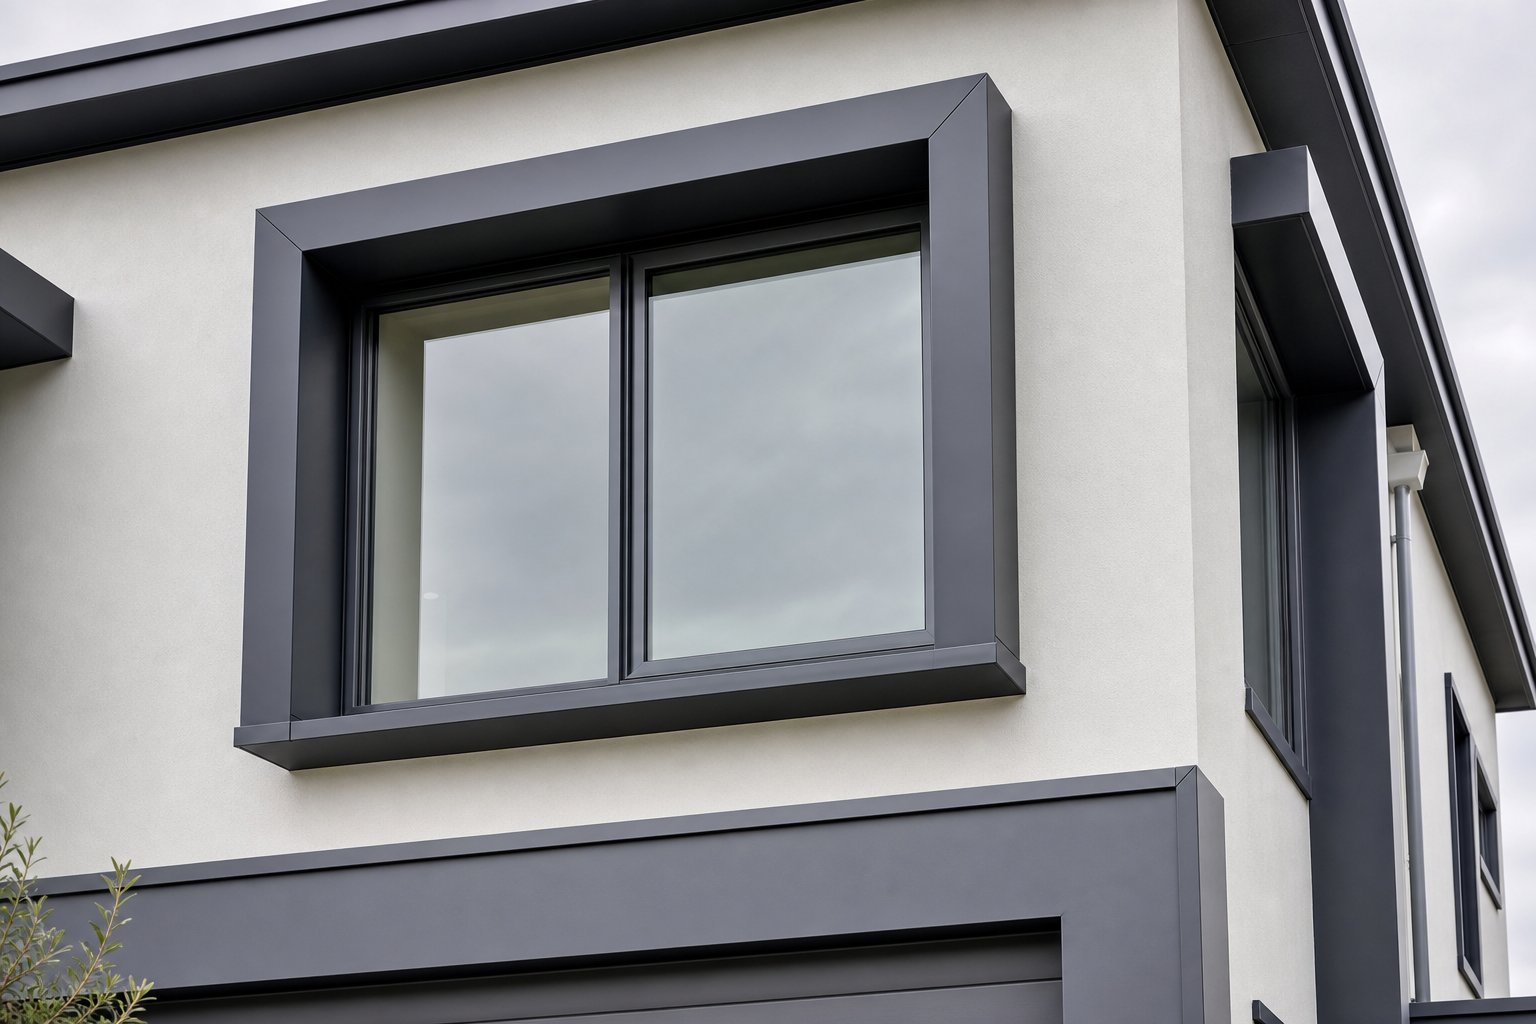
Exterior Covering Solutions for Weather Protection
Interior methods handle the view from inside, but the exterior face of an aluminium frame bears the real punishment — UV degradation, wind-driven rain, salt air on coastal properties, and daily thermal cycling. An effective exterior window wrap does more than improve kerb appeal. It shields the original frame and surrounding timber trim from ongoing weathering while giving you control over colour and finish for decades.
Climate plays a direct role in material selection. Homes within 500 metres of the coastline in areas like Sydney’s Northern Beaches, the Gold Coast, or Perth’s western suburbs need marine-grade coatings or anodised finishes rated for salt-spray exposure. Inland properties have more flexibility — standard polyester powder-coated or pre-painted aluminium performs well where salt is not a factor.
Aluminium Coil Stock Wrapping
Coil stock wrapping is the most versatile exterior method. Flat aluminium coil — typically 0.5 to 0.7 mm thick and available in rolls up to 15 metres long — is custom-bent on site using a sheet metal brake to match the exact profile of your existing trim. The bent piece is then secured over the original frame or timber surround with concealed fasteners or construction adhesive, creating a seamless metal skin.
The process demands precision. As Alsco Metals details in their installation guide, a quality metal brake is essential for achieving clean bends without warping the material — and the “measure twice, cut once” principle is non-negotiable when working with coil stock. Each piece needs a hem bend (a folded-back edge) for rigidity, plus additional 90-degree bends to wrap around jambs, heads, and sills.
Thermal expansion is the detail most DIYers overlook. Aluminium expands noticeably in direct sun, so fastener holes should be drilled slightly oversize and nails should never be driven tight against the surface. Leaving roughly 1.5 mm clearance between the end of each piece and any fixed object — like a corner wall or adjacent trim — prevents buckling on hot days. Stainless steel or painted aluminium trim nails are the correct fastener choice; standard galvanised nails risk galvanic corrosion against the aluminium over time.
The payoff is a durable, paintable surface that protects underlying timber from rot and gives the aluminium window trim exterior a factory-fresh appearance. Well-installed coil wrapping lasts 20 to 30 years with minimal maintenance.
Pre-Formed Aluminium Capping Systems
Where coil wrapping requires trade-level bending skills, pre-formed aluminium capping offers a more accessible path. These are extruded or roll-formed profiles designed to snap or friction-fit directly over existing frames and sills — no brake required. Think of them as an aluminium window cap that slides into place and locks on mechanically.
Capping profiles are manufactured to suit standard frame depths and are available in a range of stock colours. For projects where colour matching is critical, most suppliers offer powder-coating to any RAL or Colorbond shade. An exterior aluminum window sill cover, for instance, can be ordered to match your chosen cladding colour exactly, creating a cohesive facade without visible joins or mismatched tones.
Installation is relatively straightforward: measure the frame, cut the capping to length with tin snips or a fine-tooth saw, and press or clip it into position. Some systems use a foam adhesive backing for additional hold. The main limitation is flexibility — pre-formed profiles only suit frames within their dimensional range. Non-standard or heavily weathered frames with uneven surfaces may not accept a snap-on cap cleanly.
Exterior Metal Trim Surrounds
For homes with fibre cement cladding, rendered walls, or weatherboard, exterior metal window trim in J-channel or L-channel profiles provides a clean perimeter frame around the window opening. These channels serve a dual purpose: they conceal the raw edge where cladding meets the window frame, and they create a defined visual border that sharpens the overall facade.
J-channel receives the cladding edge into its slot, hiding cut ends. L-channel sits over the junction as a cover strip. Both are available in aluminium, zinc-coated steel, and Colorbond steel. Exterior window metal trim in these profiles is particularly effective when paired with new cladding during a renovation — the trim integrates the window into the wall plane rather than leaving it looking like an afterthought.
- Pre-painted aluminium (0.55–0.70 mm) — excellent corrosion resistance, suitable for coastal and inland zones, 25+ year lifespan with quality coatings
- Anodised aluminium — superior salt-spray resistance, ideal within 500 m of coastline, harder surface resists scratching, limited colour range
- Colorbond steel (0.42 mm BMT) — wide colour palette, good general corrosion resistance, not recommended for direct coastal exposure without additional protection
- Zinc-coated steel (galvanised) — cost-effective for concealed flashings and backing pieces, not suitable as a visible finish, 15–20 year lifespan depending on environment
- Powder-coated aluminium (custom) — any colour to specification, excellent UV stability, best option for colour-critical projects, premium cost
Regardless of which exterior method you choose, what happens behind the covering matters as much as what shows on the surface. Trapped moisture between a covering and the original frame is the fastest path to hidden corrosion — and it is entirely preventable with correct flashing and drainage detailing.
Building Science Corporation emphasises that flashings must always direct water “down and out” — away from the building enclosure without concentrating moisture on any single element. For window coverings, this means installing a head flashing above the frame that slopes positively to the exterior, lapping it correctly with the drainage plane behind the cladding. At the sill, a sloped metal sill flashing should direct any water that penetrates behind the covering back out to the face of the wall, not into the wall cavity.
Leaving a small drainage gap — even 3 to 5 mm — between the back of an exterior covering and the original aluminium frame allows any incidental moisture to weep out at the base rather than pooling against the metal. This single detail separates installations that last decades from those that conceal accelerating damage behind a good-looking facade.
Surface Preparation Before Applying Any Covering
Correct flashing and drainage keep moisture from destroying your work over time — but the covering itself still needs to stay put. Whether you are wrapping window trim with aluminium coil stock, bonding a vinyl film, or applying adhesive-backed capping, the surface underneath determines whether the job lasts a decade or peels within two years. Aluminium is deceptively difficult to bond to. The moment bare aluminium contacts air, it forms a thin, transparent oxide layer that acts as an adhesion barrier, preventing coatings and adhesives from achieving a true chemical or mechanical grip.
Skipping preparation is the single most common reason aluminium window trim wrap projects fail prematurely. Research into aluminium adhesive performance confirms that properly prepared surfaces can increase bond shear strength by approximately 26.7% compared to untreated surfaces — and that neglecting this step leads to predictable adhesive failure regardless of how good the covering material is.
Cleaning and Degreasing Aluminium Surfaces
Household spray-and-wipe cleaners will not cut it here. Aluminium frames accumulate layers of invisible contamination — silicone overspray from previous sealing work, airborne grease from nearby kitchens, sunscreen residue from hands, and the oxidation layer itself. Each of these creates a weak boundary that adhesives and coatings cannot penetrate.
The cleaning sequence matters. Start with a solvent wipe — isopropyl alcohol (IPA) or acetone on a lint-free cloth — to dissolve greases and oils. Follow with a dedicated aluminium prep solution, typically phosphoric acid-based, which dissolves the oxide layer and leaves a chemically clean surface. As specialist painting guides note, this etching step is what gives primers and adhesives something to grab onto — a proper mechanical key at the microscopic level.
Standard household degreasers leave surfactant residues that actually impair adhesion further. Tri-sodium phosphate (TSP) is acceptable for heavy initial cleaning, but it must be rinsed thoroughly and followed by the solvent and etch steps to achieve a bond-ready surface.
Etching and Priming for Different Covering Methods
Not every covering method demands the same level of surface treatment. The rule is simple: the more the covering relies on adhesion rather than mechanical fastening, the more aggressive the preparation needs to be.
For adhesive-based methods — vinyl film wraps, foam-tape-backed capping, or glued timber reveals — the aluminium surface needs light abrasion to create mechanical grip. A scotch-brite pad (medium grade) or 180–220 grit sandpaper scuffed across the frame produces microscopic scratches that give adhesives purchase. Chemical etching with a phosphoric acid solution achieves the same result without the physical effort and reaches into corners that sandpaper cannot.
For mechanically fastened coverings — aluminium coil stock secured with screws or nails, snap-on capping profiles — the surface needs to be clean and free of contaminants, but etching is not strictly necessary. The fasteners provide the holding force, so the preparation focus shifts to ensuring no grease or silicone sits between the covering and the frame where it could trap moisture.
Where paint or adhesive will contact the aluminium directly, a self-etching primer bridges the gap. These primers contain mild acids that bite into the metal while simultaneously depositing a bonding layer. One coat is typically sufficient for residential window work. Standard latex or oil-based primers — the kind you would use on timber — will fail on aluminium within months. They simply cannot bond to the non-porous surface.
Dealing With Existing Sealants and Gaskets
Old silicone sealant is the silent saboteur of covering projects. Even a thin, invisible film of cured silicone left on the frame will prevent almost any adhesive, paint, or primer from bonding. Professional remodelling guidance confirms that residual silicone blocks adhesion completely — and that mechanical removal alone often leaves behind a contaminating film that requires solvent treatment to fully eliminate.
Butyl rubber sealant, commonly found on older aluminium window gaskets, presents a similar problem. Its oily residue migrates into surrounding surfaces and resists standard cleaning. Both must be fully removed before any window wrap aluminium or adhesive covering can be applied.
The correct removal sequence: score along both edges of the old sealant bead with a sharp blade, peel the bulk material away mechanically, then treat the residue with isopropyl alcohol or a dedicated silicone remover. Allow the solvent to dwell for 15 to 30 minutes before wiping clean with a lint-free cloth. Inspect under raking light — any remaining haze or sheen means the surface is not ready.
Bringing all of these steps together, here is the complete preparation sequence for wrapping trim in aluminium or applying any bonded covering:
- Remove all existing sealants, gaskets, and caulking mechanically — score, peel, and scrape until no bulk material remains
- Apply silicone remover or IPA to residual sealant film; allow to dwell, then wipe clean
- Degrease the entire frame surface with acetone or IPA on a lint-free cloth, working in one direction to avoid redistributing contaminants
- Clean with a phosphoric acid-based aluminium prep solution to dissolve the oxide layer (rinse thoroughly if the product requires it)
- Abrade lightly with a scotch-brite pad or 180–220 grit sandpaper if the covering method relies on adhesive bonding
- Remove all sanding dust with a tack cloth or a final IPA wipe
- Apply self-etching primer if paint or adhesive will contact the aluminium directly — allow to cure per manufacturer instructions
- Install the covering within the recoat window specified by the primer manufacturer, before new contamination can settle on the prepared surface
Rushing through these steps — or skipping them entirely — is a false economy. A covering that fails in two years costs more than doing the preparation properly the first time, both in materials and in the labour to strip and redo the work. Get the surface right, and the covering method you choose has every chance of performing to its full lifespan.
Method Comparison for Every Budget and Scenario
Proper preparation sets the stage — but which method deserves that effort in the first place? With five distinct approaches to covering aluminium window frames (plus outright replacement), the decision comes down to a handful of practical factors: what you can spend, how long you need it to last, whether you can do it yourself, and what problem you are actually solving.
The table below puts every option side by side so you can compare aluminium trim for windows solutions at a glance rather than piecing together scattered details from earlier sections.
Comparing Methods by Durability and Cost
| Method | Estimated Cost (AUD per window, supply + install) | Durability | Skill Level | Reversibility | Best Suited For |
|---|---|---|---|---|---|
| Full window replacement (thermally broken aluminium) | $1,200–$3,000+ | 30–40+ years | Professional only | Permanent | Major renovations, thermal performance priority, long-term value |
| Aluminium coil wrapping | $400–$900 | 20–30 years | Trade level | Low — removal damages substrate | Exterior protection, custom colour matching, long-lasting finish |
| Pre-formed aluminium capping | $250–$550 | 15–25 years | Confident DIY to trade | Moderate — snap-off possible | Rental properties, quick exterior upgrades, standard frame sizes |
| Drywall returns | $300–$650 | 15–20 years (with maintenance) | Intermediate to professional | Low — requires patching to reverse | Modern interiors, frameless aesthetic, new builds and renovations |
| Timber / MDF reveals | $350–$750 | 15–25 years | Intermediate DIY | Moderate — can be unscrewed or prised off | Heritage homes, traditional interiors, functional sill ledge needed |
| Vinyl film wrap | $50–$150 | 3–5 years | Beginner DIY | High — peels off cleanly | Budget cosmetic refresh, short-term rental styling, low-exposure windows |
A few patterns stand out. The aluminium window wrap cost sits in a middle band that delivers decades of performance — making coil wrap windows one of the strongest value propositions for homeowners who want a durable exterior finish without the price tag of full replacement. Vinyl film sits at the opposite end: cheap and fast, but essentially disposable. And replacement, while the highest upfront investment, eliminates the need for any aftermarket covering entirely.
Choosing by Scenario
Raw numbers only tell part of the story. The right method also depends on your situation — who owns the property, what style you are targeting, and how long you plan to stay.
- Rental properties — reversible methods like snap-on aluminium capping let you improve presentation without permanent alterations that complicate end-of-lease obligations
- Heritage buildings — sympathetic timber reveals respect original character while concealing dated aluminium trim windows behind period-appropriate surrounds
- Modern renovations — drywall returns deliver the seamless, frameless look that suits contemporary open-plan living
- Budget-conscious upgrades — vinyl film provides an immediate visual lift for minimal outlay, buying time until a more permanent solution is feasible
- Long-term investment — replacement with modern thermally broken aluminium systems, such as those from MEICHEN, delivers factory-finished frames with integrated reveals, custom colour options, and thermal break technology that makes wrapping windows in aluminium unnecessary from day one
Modern aluminium window systems have evolved well beyond the bare mill-finish frames of decades past. Factory-applied powder coatings, integrated trim profiles, and thermally broken construction mean a new window arrives ready to install with no aftermarket covering, no ongoing maintenance of secondary materials, and no risk of trapped moisture behind add-on layers. For homeowners planning a significant renovation or building new, this is the premium path — and it resets the clock entirely.
Of course, not every project warrants replacement. The methods above exist precisely because millions of older aluminium frames are structurally sound and simply need a visual or thermal upgrade. The real question is whether you can do the work yourself — or whether the method you have chosen demands professional hands.
How to Wrap Windows With Aluminium
Some covering methods need nothing more than a utility knife and a Saturday afternoon. Others demand specialist equipment, years of hands-on experience, and an understanding of building envelope principles that most homeowners simply have not had reason to develop. Picking the wrong side of that line does not just produce a poor finish — it can void warranties, create water ingress paths, or leave you stripping failed work and paying twice.
DIY-Friendly Covering Methods
Three approaches sit comfortably within reach of a confident DIYer:
- Vinyl film wraps — require only a spray bottle of soapy water, a squeegee, a sharp utility knife, and patience. The learning curve is forgiving because mistakes peel off cleanly.
- Snap-on aluminium capping — measure the frame, cut the profile to length with tin snips, and press it into place. A tape measure and a fine-tooth hacksaw handle most cuts.
- Timber or MDF architrave installation — needs a mitre saw for clean corner joints, a drill for pilot holes, construction adhesive, and pin nails. Intermediate woodworking skills are sufficient.
The most common DIY mistakes are not about technique — they are about physics. Aluminium expands roughly 2.4 mm per metre over a 100-degree Celsius temperature range. Fixing a capping piece tight with no expansion allowance guarantees buckling on a hot western wall. Similarly, over-tightening screws into aluminium frames strips the soft metal or cracks the covering material. Snug is enough; white-knuckle tight is too much.
Methods That Require Professional Installation
Learning how to wrap a window with aluminum coil stock is not a weekend YouTube project. The process requires a sheet metal brake — a purpose-built tool that costs upwards of $800 for a quality unit — plus the experience to know bending tolerances, hem sequences, and how to avoid warping the material. Family Handyman notes that even experienced users need to create small templates first, test-fitting them against the wall before committing to full-length pieces, because a single mismeasured bend wastes an entire strip of coil stock.
Beyond the bending itself, anyone who wraps windows with aluminum on the exterior must integrate the covering with existing flashings, drainage planes, and sealant joints. Getting this wrong traps water behind the new skin — invisible damage that only reveals itself years later as corrosion or rot in the substrate.
Drywall returns present a different challenge. The plasterboard work itself is not exotic, but achieving crack-free junctions against an aluminium frame that moves with temperature requires plastering skill and an understanding of movement joints. Most general handypeople can hang a sheet of plasterboard on a flat wall; finishing a tight internal corner against a thermally active metal frame to a Level 4 or 5 finish is a different proposition entirely.
Improper DIY exterior work also carries a regulatory risk. In many Australian states, modifications that affect the weatherproofing of a building envelope may need to comply with the National Construction Code. If a future inspection reveals water damage caused by incorrectly detailed coverings, insurance claims can be denied on the basis of non-compliant workmanship.
Finding the Right Installer
If your chosen method sits on the professional side of the line, the installer you select matters as much as the method itself. Look for tradespeople with specific experience in aluminium — not just general carpentry or rendering. Someone who routinely works with wrap windows aluminium coil stock will understand galvanic corrosion risks, thermal movement allowances, and the correct fastener choices that a general builder may overlook.
Ask to see completed projects, ideally ones that have been in place for several years. A fresh installation always looks good; the real test is how it performs after a few summers of UV and a few winters of rain. A confident installer will also be able to explain their moisture management strategy — how they prevent water from being trapped behind the covering.
Watch for these red flags when hiring:
- No licence or insurance — in most Australian states, work above a certain value requires a licensed builder or trade contractor
- Unwillingness to provide references or show previous aluminium-specific work
- Quoting without inspecting the existing frames in person — every job has site-specific details that affect method and price
- No mention of flashing, drainage, or moisture management in their proposal
- High-pressure tactics pushing you toward an immediate decision or unnecessary upsells
- Vague contracts that omit material specifications, warranty terms, or a defined scope of work
A detailed contract that outlines materials, timelines, and responsibilities protects both parties. If a contractor resists putting specifics in writing, that tells you everything you need to know about how they will handle problems on site.
Whether you tackle the work yourself or hand it to a professional, one final question remains: is covering actually the right call for your frames — or has the time come to replace them entirely?
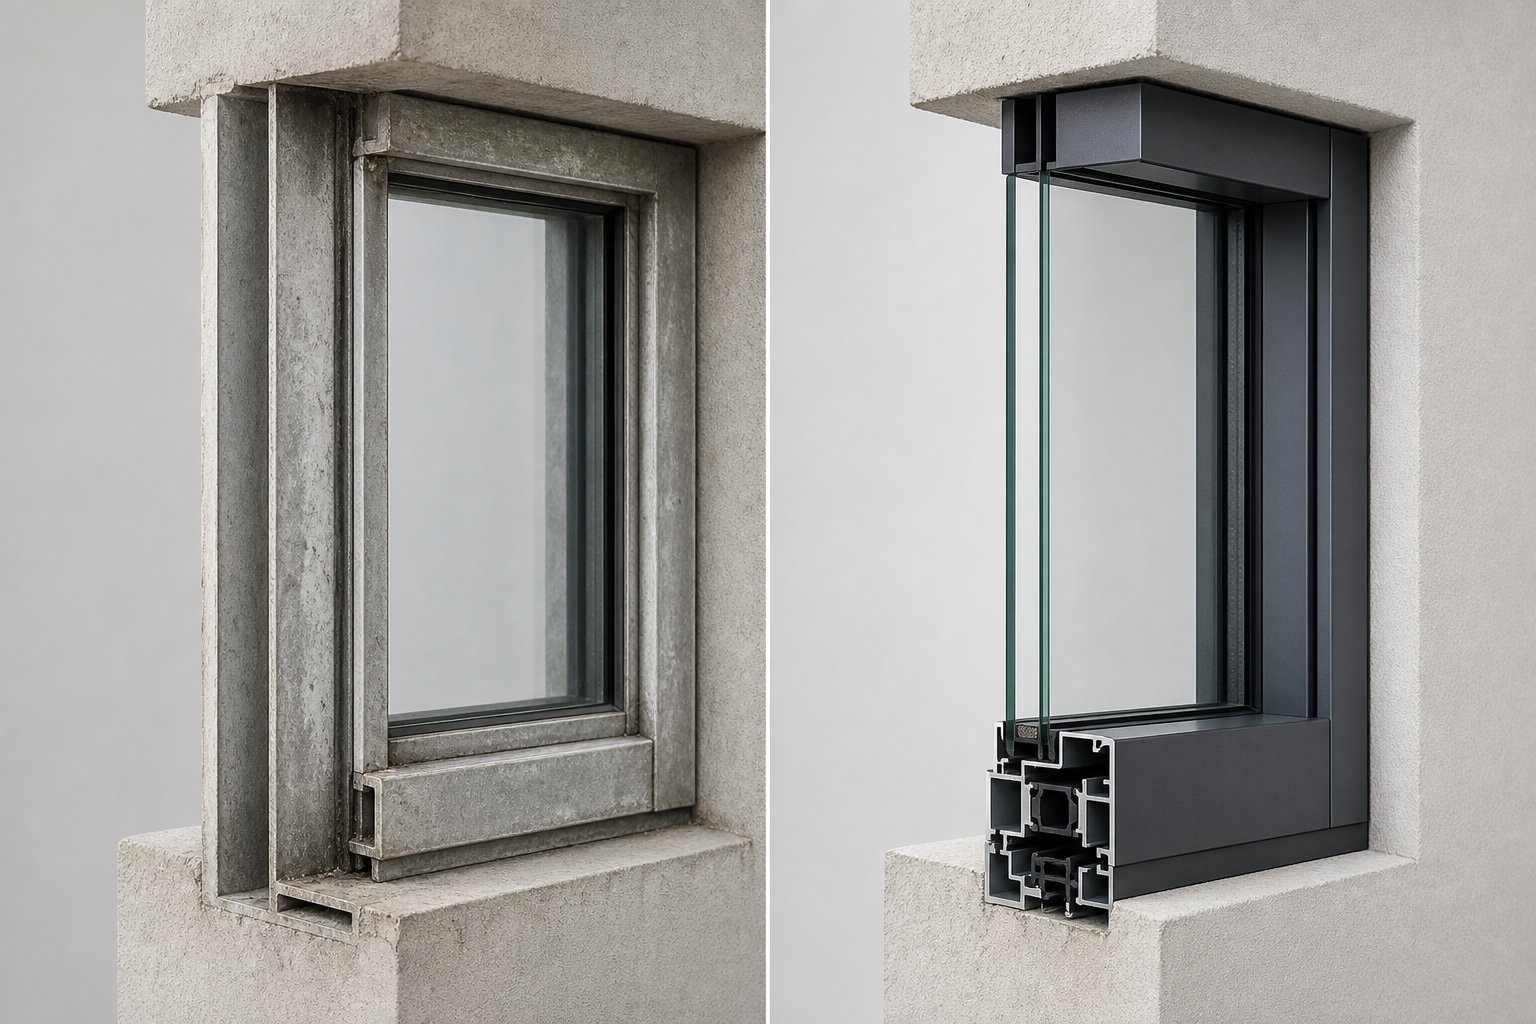
When to Cover and When to Replace Instead
That question — cover or replace — is not rhetorical. It is the single most consequential decision in the entire project, and getting it wrong means either overspending on new frames you did not need, or pouring money into covering aluminium window surrounds that are already past the point of rescue. The answer depends less on preference and more on the condition of what you are working with.
When Covering Makes Sense
Covering delivers genuine value when the underlying frame is still doing its structural job. If the aluminium is sound — no cracked corners, no failed hardware, no deep corrosion — then the frame itself is not the problem. The finish is. In these situations, covering is the pragmatic move:
- Frames are structurally intact but cosmetically dated — oxidised, faded, or mismatched with a recent repaint
- Budget is limited — covering costs a fraction of full aluminium window trim replacement and still transforms the look
- The property is a rental — reversible methods like snap-on capping improve presentation without permanent alterations
- Heritage or council restrictions prevent frame removal — covering preserves the original opening while updating the visible finish
- Only a few windows need attention — replacing one or two frames in isolation can create mismatched profiles across the facade, while covering unifies the appearance
- You are selling within five years — the investment in full replacement may not be recouped at sale, but a clean covering lifts perceived value immediately
In each of these scenarios, the aluminium casement or sliding frame underneath remains functional. Covering extends its useful life and buys time — sometimes a decade or more — before replacement becomes necessary.
When Replacement Is the Better Investment
Covering cannot fix structural failure. If your frames show cracked mitre joints, hardware that no longer locks securely, severe pitting that has thinned the aluminium profile, or corrosion around the aluminium sill pan area where water pools, no amount of wrapping or capping will restore performance. You are dressing up a frame that is actively failing.
Thermal performance is the other deciding factor. Older non-thermally-broken frames conduct heat so efficiently that covering the visible surface barely dents the energy loss. Research from Demers Glass confirms that thermally broken frames reduce heat transfer by up to 60% compared to traditional aluminium — a performance leap that no aftermarket covering can replicate. If condensation, mould, or energy bills are your primary concern, covering treats the symptom while the cause persists behind it.
Major renovations also tip the equation. When walls are being re-clad, interiors stripped back, or openings resized, the marginal cost of fitting new windows drops significantly because the surrounding work is already happening. Modern thermally broken aluminium systems — like those available from MEICHEN — arrive with factory-finished frames, integrated reveals, custom powder-coated colours, and thermal break technology built in. There is no aftermarket covering to maintain, no moisture trap to manage, and no secondary material that ages at a different rate to the frame beneath it. For homeowners, builders, and architects planning a substantial renovation, exploring MEICHEN’s aluminium window range provides a clear path to systems that eliminate the covering question entirely.
If the total cost of covering approaches 50–60% of replacement cost, replacement almost always delivers better lifetime value. You pay marginally more upfront but gain decades of integrated performance, zero maintenance on secondary coverings, and a frame warranty that starts fresh.
Run the numbers for your specific situation. A single window where covering costs $500 against a $1,200 replacement sits well within covering territory. But if you are quoting ten windows at $700 each for quality coil wrapping — $7,000 total — and replacement with modern thermally broken frames comes in at $12,000–$15,000 for the lot, the gap narrows enough that the superior long-term outcome of new frames becomes hard to ignore.
Covering aluminium window frames remains one of the smartest upgrades available for sound frames on a sensible budget. Just make sure the frame underneath deserves the investment — because the best covering in the world cannot outperform a system that was designed to never need one.
Frequently Asked Questions About Covering Aluminium Window Frames
1. Can you wrap aluminium window frames without removing them?
Yes, most covering methods are designed to work over existing frames in place. Aluminium coil stock wrapping, pre-formed capping systems, vinyl film, and interior timber or MDF reveals all install directly over the original frame without removal. The key requirement is thorough surface preparation — cleaning, degreasing, and in some cases etching the aluminium — to ensure the covering bonds or sits properly. Only full window replacement requires removing the existing frame from the opening.
2. How much does it cost to cover aluminium window frames in Australia?
Costs vary significantly by method. Vinyl film wraps start from around $50–$150 per window (supply and install), making them the most budget-friendly option. Pre-formed aluminium capping runs $250–$550 per window, while aluminium coil stock wrapping costs $400–$900 per window at trade level. Interior drywall returns or timber reveals fall between $300–$750 per window depending on finish quality. These figures cover both materials and professional installation for standard-sized openings in Australian metro areas.
3. What is the best way to cover old aluminium window frames?
The best method depends on whether your priority is exterior weather protection or interior aesthetics. For long-lasting exterior coverage, aluminium coil stock wrapping offers 20–30 years of durability with a factory-fresh finish. For interior concealment, drywall returns create a seamless modern look, while timber reveals suit traditional homes. If the frames show structural damage, cracked corners, or severe corrosion, covering is not advisable — replacement with modern thermally broken aluminium windows from suppliers like MEICHEN delivers superior long-term performance and eliminates the need for aftermarket coverings entirely.
4. Does covering aluminium frames help with condensation and thermal performance?
Covering can reduce visible condensation by insulating the interior-facing surface of the frame — timber reveals, foam-backed capping, and drywall returns with a thermal break layer all help. However, the aluminium frame itself still conducts heat rapidly behind the covering. This means covering reduces the symptom (visible cold surfaces) without fully solving the cause (thermal bridging). For significant thermal improvement, thermally broken aluminium window replacement reduces heat transfer by up to 60% compared to older non-broken frames.
5. Can I cover aluminium window frames myself or do I need a professional?
Several methods are DIY-friendly: vinyl film wraps require only basic tools and patience, snap-on aluminium capping needs a tape measure and tin snips, and timber architrave installation suits anyone comfortable with a mitre saw. However, aluminium coil stock wrapping requires a sheet metal brake and trade-level bending experience, while drywall returns demand plastering skill for crack-free finishes. Exterior work that affects weatherproofing should generally be left to professionals, as incorrect flashing or drainage detailing can trap moisture and cause hidden corrosion.
More Window & Door Guides