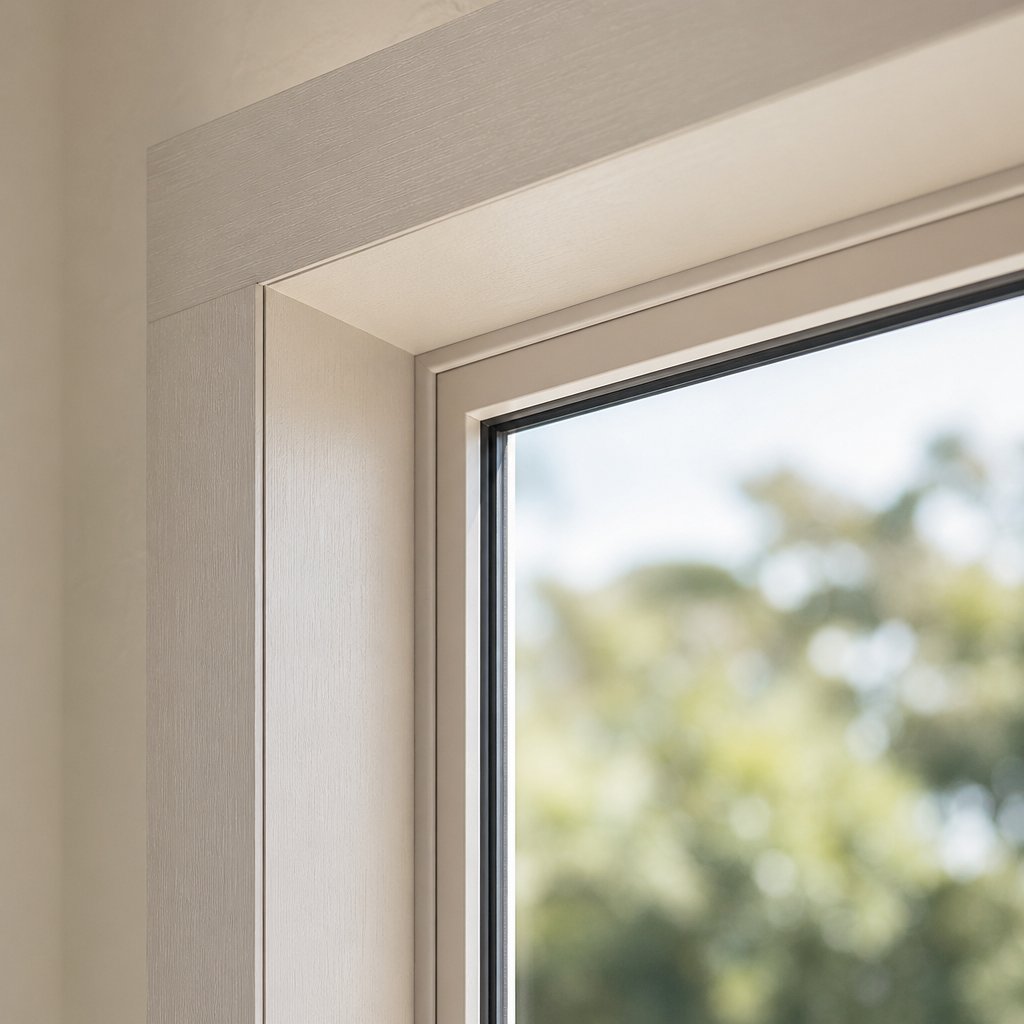
Why Aluminium Window Frames Lose Their Finish Over Time
If your once-sleek aluminium frames now look chalky, dull, or pitted, you are not dealing with simple dirt. You are seeing the result of a chemical breakdown that no amount of wiping will fix. Understanding why this happens is the first step toward genuine rejuvenation — restoring frames to near-original condition rather than just making them temporarily cleaner.
How Oxidation and Weather Break Down Aluminium
Aluminium naturally forms a thin oxide layer — roughly 2 to 5 nanometres thick — the moment it contacts air. This passive film acts as a self-healing shield against further corrosion, which is why aluminium earned its reputation for durability. But “corrosion-resistant” does not mean corrosion-proof.
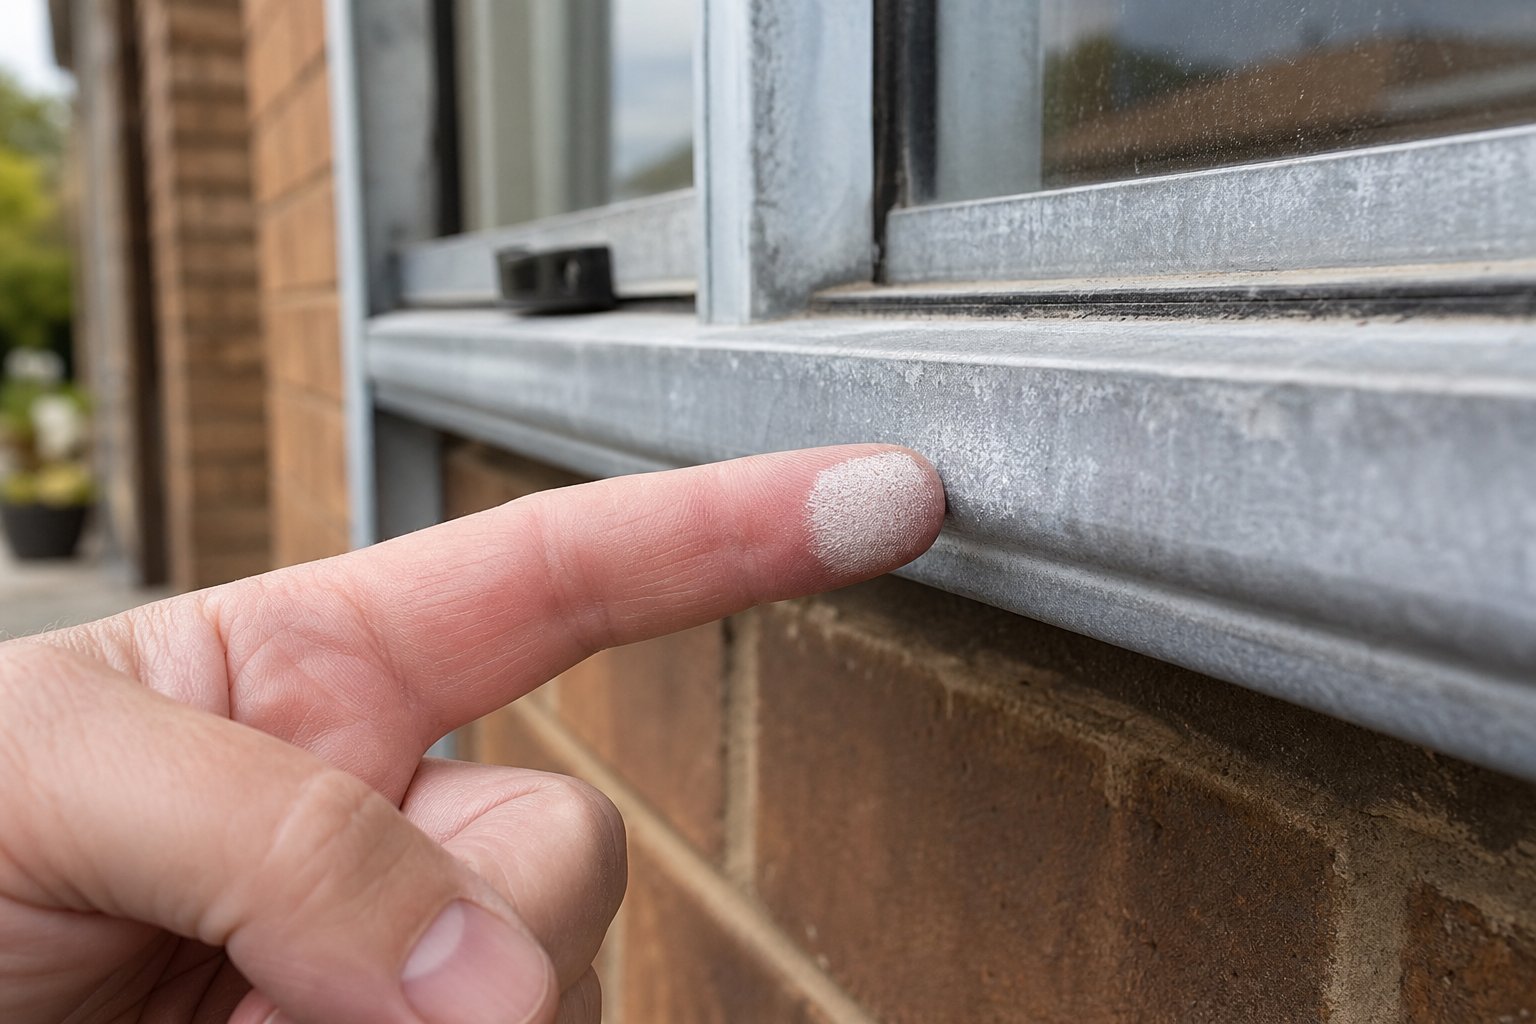
When aggressive agents like chloride ions, sulphur dioxide, or strong UV radiation attack that protective barrier, it breaks down faster than it can repair itself. The exposed metal reacts with moisture and oxygen, producing a powdery white aluminium oxide — the chalky residue you can rub off with a finger. Over years, this process deepens into pitting and surface erosion, turning old aluminum windows from an asset into an eyesore.
Anodized vs Powder-Coated vs Mill-Finish Frames
Not all aluminium window frames degrade the same way, because they are not all finished the same way. The rejuvenation approach that works for one type can damage another, so identifying your frame finish matters.
- Anodized aluminium window frames — The factory anodising process thickens that natural oxide layer to between 10 and 25 micrometres, creating a hard, translucent coating bonded into the metal itself. It resists scratching and UV well, but once it wears through, the underlying aluminium oxidises rapidly. Anodized frames can often be polished back rather than repainted.
- Powder-coated frames — A thermoset polymer layer (typically 50 to 150 micrometres thick) sprayed on electrostatically and heat-cured. This coating offers bold colour and strong impact resistance, yet it can chip, chalk, or fade under UV exposure. Oxidized aluminum window frames with damaged powder coating need stripping or sanding before refinishing.
- Mill-finish (bare) frames — Raw aluminium with only its natural oxide film for protection. Common on older Australian homes built from the 1960s through the 1980s, mill-finish frames are the most vulnerable to aluminium window corrosion because they lack any enhanced protective layer.
How Climate and Location Accelerate Degradation
Where your home sits on the map has a direct effect on how quickly window corrosion takes hold. A frame that lasts decades in a dry inland suburb might deteriorate within a few years near the coast.
- Coastal salt spray — Chloride ions penetrate the oxide barrier and trigger pitting corrosion, particularly on mill-finish and older anodized frames. Properties within 500 metres of the shoreline face the highest risk.
- Urban pollution — Vehicle exhaust and industrial emissions deposit sulphur and nitrogen compounds that form acidic films on metal surfaces when combined with dew or fog, accelerating oxidized windows across Sydney, Melbourne, and other major cities.
- UV intensity — Australia’s harsh sun breaks down powder-coat binders faster than in milder climates, causing colour fade and chalking on north- and west-facing elevations.
- Humidity and trapped moisture — Persistent dampness in poorly ventilated areas or behind curtains keeps the metal surface wet, giving corrosion reactions more time to progress between drying cycles.
Each of these factors interacts with your specific frame type differently, which is why a one-size-fits-all cleaning product rarely delivers lasting results. True rejuvenation starts with identifying both the finish and the damage — and that means a proper hands-on assessment before reaching for any tools.
Step 1 – Assess Your Frame Condition and Damage Severity
Grabbing sandpaper or polish before knowing what you are dealing with is a recipe for wasted effort. Old aluminium windows can range from slightly dull to structurally compromised, and the right response for each scenario is completely different. A five-minute inspection will tell you exactly where your frames sit on the damage spectrum — and whether a weekend DIY session or a professional aluminium window repair is the smarter path forward.
Four Levels of Aluminium Frame Degradation
Think of frame deterioration as a progressive scale. Catching damage early means simple fixes; letting it advance means costly intervention or full replacement. Here is what each stage looks like on old metal window frames:
| Level | Appearance | Touch Feel | DIY Viable | Recommended Action |
|---|---|---|---|---|
| 1 – Light oxidation | General dullness, slight haze, minor colour fade | Smooth with faint powdery residue on fingers | Yes | Clean, polish, and protect with wax or sealant |
| 2 – Heavy chalking | White powdery film, noticeable discolouration, patchy fading | Chalky residue transfers easily; surface feels dry and rough | Yes | Deep clean, remove oxidation, reprime and repaint or polish |
| 3 – Pitting and erosion | Visible craters, uneven texture, paint bubbling or flaking | Rough, cratered surface you can feel with a fingernail | Partially | Fill pits, sand smooth, prime and refinish — or seek professional re-coating |
| 4 – Structural damage | Holes, deep corrosion, warped profiles, failed seals or fogged glass | Frame flexes under hand pressure; hardware mounting points feel loose | No | Professional assessment; likely requires full frame replacement |
The Touch Test and Visual Inspection Method
You do not need specialised equipment for this. Run your finger firmly along the frame surface. If a white or grey residue comes off on your skin, oxidation is present — and the amount tells you the severity. A barely visible dusting is Level 1. A thick chalky smear that looks like dried sunscreen is Level 2.
Next, inspect visually at an angle with natural light hitting the frame from the side. This reveals pitting and craters that are invisible when viewed straight-on. Pay particular attention to bottom rails and corners where moisture pools, and to the sill area where water runoff concentrates corrosion. On old aluminum window frames, also check around screw holes and where handles mount — dissimilar metals in contact with the aluminium often accelerate localised corrosion.
Finally, press gently on the frame’s profile. A solid frame will not budge. Any flexing, sponginess, or visible movement at joints signals structural compromise at Level 4.
When to DIY vs When to Call a Professional
Levels 1 and 2 are firmly in DIY territory. With the right products and a few hours of work, you can restore these frames to a condition that looks close to new. Level 3 sits in a grey zone — if pitting covers less than 30 per cent of the frame surface and pits remain under 1 mm deep, a patient homeowner with decent preparation skills can manage aluminum window frame repair at this stage. Beyond that threshold, professional re-coating or powder coating delivers a more reliable, longer-lasting result.
Do not invest time and money into frames that have reached Level 4. If the aluminium is structurally weakened — holes through the metal, frames that flex, or seals that repeatedly fail — no amount of sanding, filling, or painting will restore safe, weathertight performance. Your budget is better directed toward replacement.
Knowing your starting point shapes every decision that follows, from the supplies you need to the techniques that will actually work. The next step is assembling the right materials for your specific damage level — so you buy only what the job requires.
Step 2 – Gather the Right Tools and Materials
Buying everything on the shelf wastes money and clutters your workspace. The materials you actually need depend entirely on the damage level you identified in Step 1. Someone dealing with light oxidation on anodized aluminum frame windows needs polish and a sealant — not primer, filler, and topcoat paint. Use the checklists below to build a shopping list tailored to your specific situation.
Essential Cleaning and Preparation Supplies
Every rejuvenation job starts with thorough cleaning, regardless of severity. These items form your baseline kit:
- Non-acidic aluminium-safe degreaser or mild alkaline cleaner (look for pH-neutral formulas marketed as an aluminum window frame cleaner)
- White vinegar — effective for dissolving light oxidation during the wash stage
- Soft-bristle nylon brush and microfibre cloths
- Bucket, spray bottle, and clean rinse water
- Isopropyl alcohol for final wipe-down before priming
For Level 2 and above, add oxalic acid powder (available from hardware stores) to mix a paste for stubborn chalking, plus a dedicated oxidation remover if household solutions are not cutting through.
Abrasives and Polishing Compounds by Grade
Sanding and polishing are where the real transformation happens. The key principle is progressive grit refinement — starting coarser to remove damage, then stepping finer to create a smooth base for coating or polish.
- 400-grit wet-and-dry paper — removes heavy oxidation and flaking paint (Level 2-3)
- 800-grit wet-and-dry paper — smooths scratches left by coarser grits
- 1200-grit wet-and-dry paper — pre-polish refinement for anodized aluminum frame windows you plan to restore without repainting
- 2000-grit wet-and-dry paper — final smoothing before polishing compound (optional, for a near-mirror result)
- Scotch-Brite (grey, ultra-fine) pads — mechanical keying for paint adhesion without deep scratching
- Automotive-grade aluminium polishing compound — for buffing anodized frames back to a satin or gloss finish (Level 1-2 only)
If your frames need repainting rather than polishing, you can skip anything finer than 800-grit. The surface only needs to be smooth enough for primer adhesion — not mirror-ready.
Primers and Paints Suitable for Aluminium Surfaces
Choosing the right paint for aluminum windows is critical, because standard wall paint will peel off bare metal within months. Aluminium demands products engineered for non-porous, slick surfaces:
- Self-etching spray primer — bonds chemically to aluminium; ideal for DIY application on frames where brush access is tight
- Epoxy primer (brush-on) — maximum adhesion and moisture resistance for coastal or high-humidity locations
- Acrylic latex topcoat (exterior grade) — easy to apply, low odour, good UV resistance; the most common DIY paint for aluminum window frames
- Two-pack epoxy topcoat — professional-level durability and chemical resistance, though it requires precise mixing and faster application
- Aluminium-specific filler or automotive body filler — for patching pits before priming (Level 3)
Pick a paint system that matches your confidence level. Acrylic latex forgives mistakes and cleans up with water. Two-pack epoxy punishes hesitation but delivers a harder, longer-lasting shell.
Regardless of which products you choose, do not skip safety gear:
- Chemical-resistant nitrile gloves
- Safety glasses or splash-proof goggles
- P2 respirator mask — essential during spray primer or topcoat application and when sanding oxidised surfaces
- Drop sheets and painter’s tape (you will need plenty of both)
With your materials sorted and matched to the damage at hand, the next priority is protecting everything around the frames — glass, brickwork, renders, and hardware — before any chemical or abrasive touches the aluminium.
Step 3 – Prepare the Work Area and Protect All Surfaces
Skipping preparation is the fastest way to turn a promising restoration into a messy, half-finished disaster. Whether you are polishing, priming, or learning how to paint an aluminum window frame for the first time, the quality of your prep work dictates the quality of your finished result.
Poor preparation is the number-one reason DIY frame rejuvenation fails. A rushed masking job or damp surface will undermine even the best primer and paint system — costing you double the time when you have to strip and start again.
Masking Glass and Protecting Surrounding Surfaces
Start by taping off every glass pane where it meets the frame. Use quality painter’s tape rated for exterior use — cheap masking tape lifts in direct sun and leaves adhesive residue on glass. Press the tape edge firmly into the frame-to-glass junction so no paint or chemical cleaner bleeds underneath. For larger panes, extend protection with plastic sheeting taped across the glass surface to catch drips and overspray.
Lay drop cloths over window sills, surrounding brickwork, rendered walls, and any garden beds below. Chemical degreasers and etching primers can stain masonry and kill plants on contact, so coverage matters more than you might expect on aluminum frame windows.
Removing Hardware for Full Frame Access
Handles, window stays, friction hinges, and lock mechanisms all create hidden crevices where oxidation thrives. Removing them takes ten minutes per window and gives you uninterrupted access to every surface. Bag each window’s hardware separately and label it — aluminium window framing often uses slightly different screw lengths between frames, and mixing them up creates headaches during reassembly.
Weather Conditions and Safety Precautions
Ideal working conditions sit between 10°C and 30°C on a dry day with no rain forecast for at least 24 hours. Avoid working in direct sunlight hitting the frames — it flash-dries cleaners before they dissolve oxidation and causes primer to skin over too quickly, trapping solvents underneath.
Follow this numbered sequence to set yourself up properly:
- Check the weather forecast — confirm a dry window of at least two consecutive days.
- Lay drop cloths and secure them against wind.
- Apply painter’s tape to all glass edges and extend plastic sheeting over panes.
- Remove all window hardware and store labelled in bags.
- Ensure ventilation — open nearby windows or doors when using chemical cleaners, etching primers, or spray products indoors.
- Put on safety gear (gloves, goggles, respirator) before handling any chemicals.
With surfaces masked, hardware removed, and conditions confirmed, you are set to start the real work — stripping away the oxidation that has been building up for years.
Step 4 – Deep Clean and Strip Away Oxidation
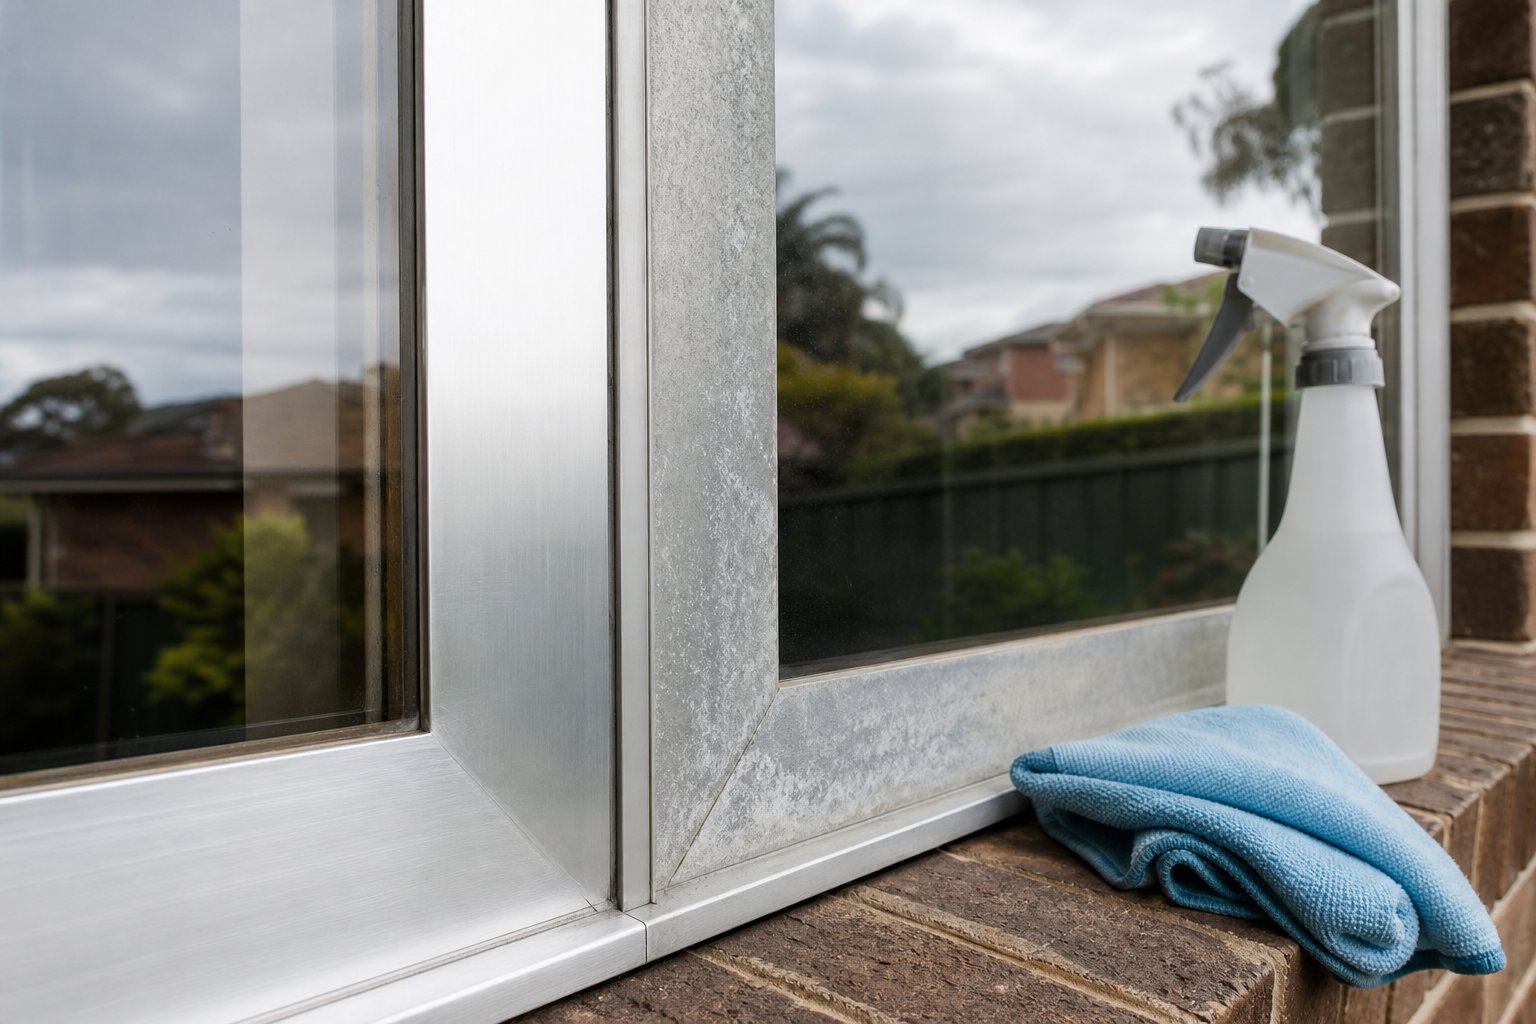
This is where rejuvenation actually begins. Everything up to this point has been setting the stage — degreasing and oxidation removal are what separate a genuine restoration from a surface-level wipe-down that fades within weeks. How do you clean aluminium window frames so the results actually last? By removing every trace of grease, grime, and corroded material before any primer or polish touches the metal.
Degreasing and Initial Wash Technique
Oxidation removers cannot penetrate through a film of grease, airborne oils, or accumulated grime. If you skip this step, the chemicals you apply next will sit on top of the contamination rather than reacting with the aluminium oxide underneath.
- Mix a mild alkaline cleaner (pH-neutral aluminium-safe degreaser or a few drops of dishwashing liquid in warm water) in a spray bottle or bucket.
- Spray or sponge the solution generously across the entire frame, working from the top rail down to the sill.
- Scrub gently with a soft nylon-bristle brush to lift embedded dirt from corners, drainage slots, and where the frame meets the glass rebate.
- Rinse thoroughly with clean water, again from top to bottom, so dirty runoff flows away from cleaned areas rather than pooling in lower corners.
- Wipe the frame with a microfibre cloth to check for any oily residue. If water beads up in spots rather than sheeting off evenly, degrease those areas again.
Do not use abrasive pads during this initial wash. The goal here is purely to strip surface contamination so the oxidation removal stage can do its job effectively on the bare oxide layer.
Removing Light Oxidation with Household Solutions
For frames showing Level 1 damage — general dullness and faint chalking — household acids dissolve the loose oxide without damaging the aluminium underneath. This is the gentlest approach and works well on an old aluminum window that has been neglected but not severely corroded.
- Mix equal parts white vinegar and warm water in a spray bottle.
- Spray the solution onto one frame section at a time and let it dwell for five to ten minutes. Do not allow it to dry on the surface.
- Wipe away dissolved residue with a clean microfibre cloth, turning the cloth frequently to avoid re-depositing oxide.
- Rinse the section with fresh water and inspect. Repeat on stubborn patches, applying undiluted vinegar directly for a stronger reaction.
One critical distinction applies here. On anodized frames, this process lifts surface haze while preserving the anodised layer beneath — you can follow up with polishing compound to restore lustre without repainting. On painted or powder-coated frames showing oxidation through damaged coating, vinegar only cleans exposed metal; you will still need to sand or strip the failing paint before refinishing.
Tackling Heavy Chalking and Pitting
When an oxidized window shows thick white residue, rough texture, or visible craters, vinegar alone will not cut through. You need to escalate to stronger chemical or mechanical methods — matched to the severity.
- Oxalic acid paste (Level 2 chalking): Dissolve oxalic acid crystals in warm water to form a thin paste. Apply it to the affected area with a cloth or brush, leave for five to fifteen minutes, then scrub gently with a non-metallic scouring pad. The acid dissolves the aluminium oxide chemically without removing sound metal. Wear gloves and eye protection — oxalic acid requires thorough rinsing and neutralisation to prevent ongoing chemical activity.
- Mechanical removal (Level 3 pitting): Where chemical cleaners cannot reach into deep craters, use ultra-fine Scotch-Brite pads or 600-grit wet-and-dry sandpaper dampened with water. Work in straight strokes following the grain of the extrusion — never in circles, which creates visible swirl marks. Progress to 800-grit once the white residue is cleared to smooth the surface for primer adhesion.
- Rinse and neutralise: After any acid treatment, rinse the entire frame from top to bottom with clean water until all chemical residue is gone. Pay attention to corners, drainage channels, and rebates where acidic solution tends to pool and continue reacting unseen.
- Dry completely: Wipe down with fresh microfibre towels, then allow frames to air-dry for a minimum of two to four hours — longer in humid conditions. Applying primer or sealant to damp aluminium traps moisture underneath the coating, leading to adhesion failure and blistering within months.
The difference between how to clean aluminum window frames for maintenance and cleaning them for rejuvenation comes down to this stage. Maintenance washes the surface. Rejuvenation strips the degraded layer back to sound metal, creating a foundation that primers and coatings can actually grip. Without that foundation, even the best paint system will eventually let go — which is exactly why surface repair and priming deserve their own dedicated process.
Step 5 – Repair Surface Damage and Prime for Finishing
Clean, dry aluminium with a stripped oxide layer is reactive metal sitting in the open air. PPG’s refinish procedures note that fresh oxidation can begin forming on exposed aluminium within 15 minutes — which means this stage requires deliberate pace rather than procrastination. Your objective here is to restore surface integrity, fill any damage, and lock in a primer coat before the atmosphere undoes the cleaning work you just completed.
Polishing Anodized Frames Back to Life
If your frames still carry an intact anodised layer — the tell is a hard, slightly translucent finish that has dulled rather than flaked — you can skip paint entirely and bring back that original satin sheen through mechanical polishing. This is where repairing aluminium window frames differs most between anodized and coated types.
Apply a small amount of automotive-grade aluminium polishing compound to a clean microfibre cloth or foam applicator pad. Work in straight, overlapping strokes that follow the direction of the extrusion grain — never in circles. The compound contains microscopic abrasives suspended in a carrier that simultaneously cuts through haze and leaves a protective residue behind.
For frames with heavier dullness, start with a cutting compound designed for anodized aluminum window frames, then follow with a finishing polish to refine the lustre. Two passes with moderate pressure typically restore 80 to 90 per cent of the original appearance. Buff off residue with a fresh microfibre cloth and inspect at an angle in natural light — any remaining haze indicates areas that need another pass.
Polishing only works where the anodised layer remains intact. If you can see bare silver metal or the surface feels soft and powdery after polishing, the anodising has worn through entirely and painting becomes the better restoration path.
Filling Pits and Smoothing Damaged Areas
Level 3 frames with visible craters need physical repair before any coating can produce a smooth result. Primer and paint follow the contour beneath them — they cannot fill gaps or bridge pitting on their own.
For shallow pitting under 1 mm deep, an aluminium-specific epoxy filler works well. These two-part products mix at a precise ratio, cure rock-hard, and sand easily without clogging abrasives. For deeper damage, automotive body filler (the same product used on car panels) bonds effectively to aluminium provided you key the surface first with 120-grit paper.
The filling and smoothing process follows a progressive grit sequence:
- Sand each pit and its surrounding area with 120 to 180-grit paper to create mechanical grip for the filler — rough metal bonds better than smooth.
- Mix and apply filler slightly proud of the frame surface. Overfilling by half a millimetre gives you material to sand back flush without creating a depression.
- Allow full cure time as specified by the manufacturer — typically two to four hours for epoxy fillers, less for polyester-based body filler.
- Sand flush using 240-grit paper, checking progress by running a fingertip across the repair. You should feel zero transition between filler and surrounding metal.
- Refine with 400-grit to remove the scratches left by 240, then finish with 800-grit for a surface smooth enough to accept primer without telegraphing sanding marks.
The British Standards Institution and Aluminium Federation (ALFED) highlight that inadequate surface preparation before bonding or filling can reduce adhesion strength by up to 50 per cent. Take your time here — rushing the grit progression shows through the final coat.
Etching and Priming for Paint Adhesion
One of the most common questions homeowners ask is: can you paint aluminium window frames? The answer is yes — but only if the surface is prepared so the primer can bite into the metal. Bare aluminium is naturally slick and non-porous, which means standard primers designed for timber or plaster will peel off within weeks. The solution is etching — either chemical or mechanical — followed immediately by a compatible primer.
Adhesion depends entirely on surface preparation quality. A premium topcoat over poor prep will always fail faster than a budget paint over excellent prep. Every minute spent etching and priming pays for itself in years of durability.
Chemical etching: Self-etching primer contains phosphoric acid that microscopically bites into the aluminium surface as it deposits its resin layer. Spray a thin, even mist coat and allow it to flash off for the time specified on the can — usually five to ten minutes — before applying a full wet coat. This gives you chemical adhesion without needing to sand the entire frame beforehand.
Mechanical keying: If you prefer brush-on epoxy primer over aerosol, create a physical key by scuffing the entire surface with a grey ultra-fine Scotch-Brite pad. The goal is uniform micro-scratches across every square centimetre — not deep gouges, just enough texture to give the primer something to grip. Wipe down with isopropyl alcohol immediately after scuffing to remove dust and residual oils.
Can you paint aluminum windows that still have their anodised layer? Yes, but the approach differs slightly. Anodised surfaces are harder than bare aluminium, so they benefit from both mechanical keying with Scotch-Brite and a self-etching primer to ensure the coating locks onto the harder oxide. Painting anodised aluminium window frames without this dual preparation typically results in flaking within the first twelve months, especially on sun-exposed faces.
For bare aluminium — whether mill-finish or frames where old coating has been fully stripped — prime immediately after etching. Remember that 15-minute oxidation window. If you get interrupted and the metal sits exposed for more than an hour, give it a light scuff and alcohol wipe before priming to remove the fresh oxide film that will have already started forming.
Apply two coats of primer with the recommended flash-off time between them. Once the second coat has cured — typically overnight for full hardness — you have a stable, grippy foundation ready to accept your chosen finish coat. That choice between repainting, powder coating, or clear sealing is the next decision, and each path offers a different balance of cost, durability, and visual result.
Step 6 – Choose and Apply a Protective Finish
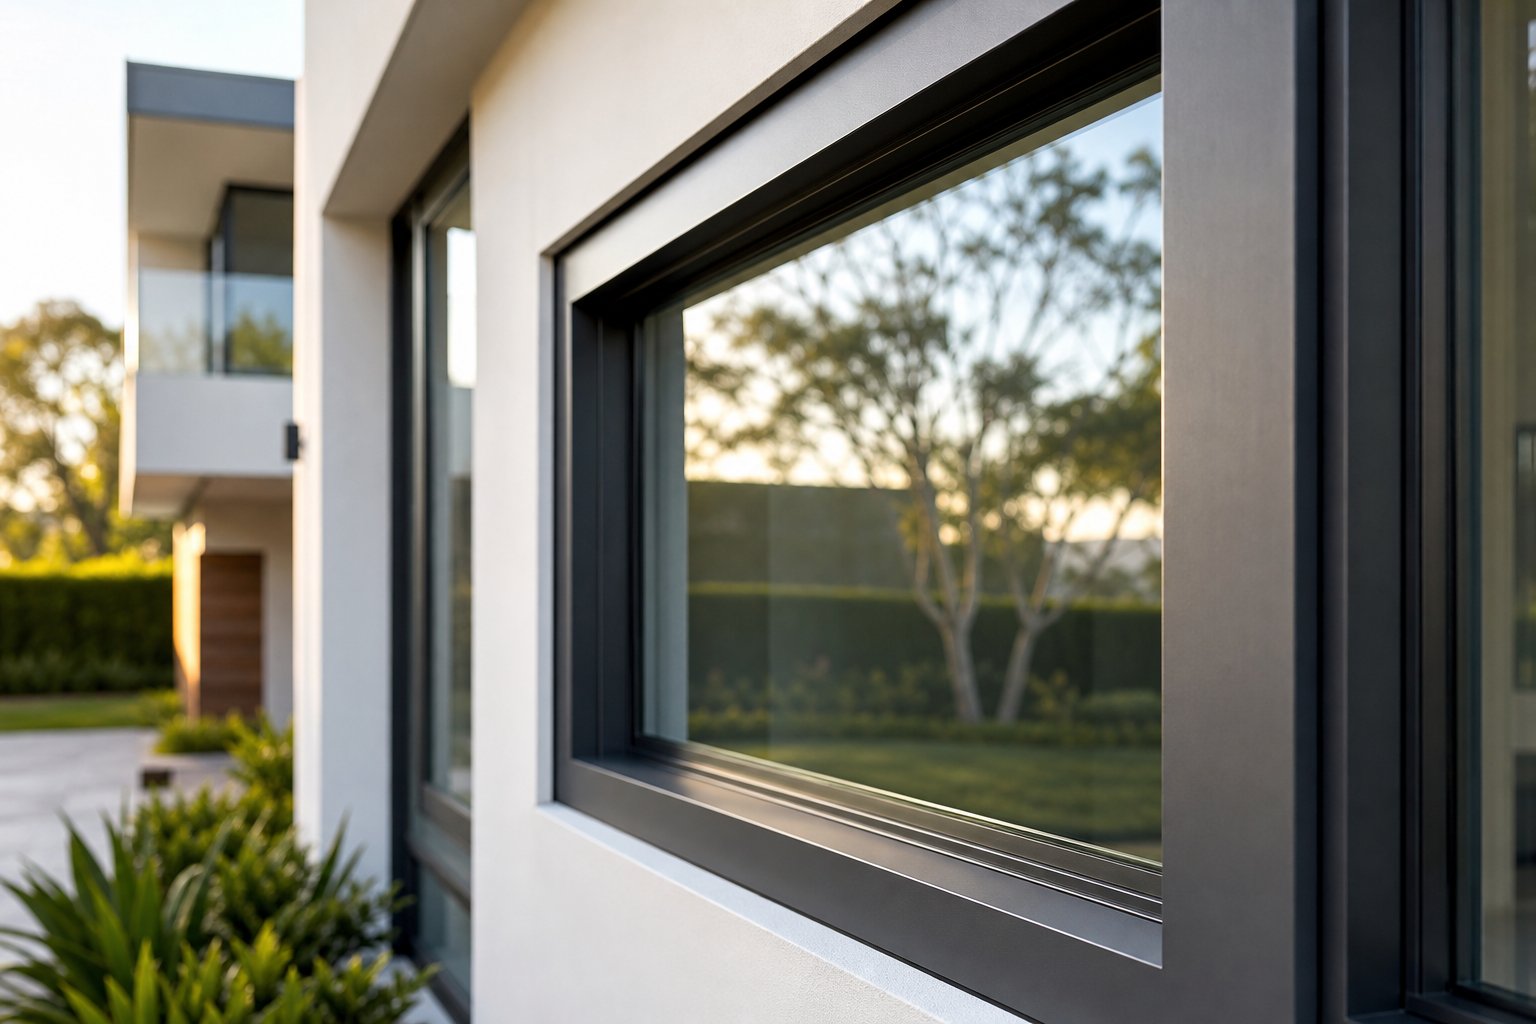
Your primed frames are a blank canvas. The finish you apply now determines how long the rejuvenation lasts, how the frames look day-to-day, and how much maintenance they demand going forward. Three viable paths exist — each suited to a different budget, skill level, and aesthetic goal.
| Method | DIY Friendly | Cost Range (AUD, per window) | Durability | Finish Quality |
|---|---|---|---|---|
| Repainting (acrylic latex or epoxy topcoat) | Yes | $30 – $80 | 8 – 12 years in moderate climates | Good to very good (depends on application method) |
| Professional powder coating | No (requires specialist equipment) | $150 – $400 | 15 – 25 years | Excellent — factory-quality, even finish |
| Clear protective coating | Yes | $20 – $50 | 3 – 5 years before reapplication | Natural aluminium appearance preserved |
Repainting Aluminium Frames Step by Step
Repainting is the most accessible route for homeowners wondering how to paint aluminium window frames without hiring a tradesperson. It costs relatively little, requires no specialised machinery, and delivers a solid visual transformation when done with patience.
The process builds on the primer coats applied in the previous step:
- Lightly sand the cured primer with 400-grit paper to knock down any texture or dust nibs. Wipe clean with a tack cloth.
- Apply the first topcoat — a thin, even pass using a fine-nap foam roller, quality brush, or HVLP spray gun. Thin coats prevent runs on narrow aluminium profiles.
- Allow a full 24-hour cure between coats. Exterior acrylic latex needs adequate curing time to reach its maximum hardness — rushing leads to soft paint that dents and marks easily.
- Apply a second topcoat using the same technique. For high-exposure faces (north and west elevations in Australia), a third thin coat adds UV resilience.
- Leave frames untouched for at least 7 days before closing windows or reattaching hardware. Full cure takes up to 14 days depending on humidity.
For homeowners looking at how to repaint aluminium windows that already have a sound existing coating, the job is simpler — degrease, scuff with Scotch-Brite, and apply topcoats directly over the keyed surface without stripping back to bare metal.
When choosing paint, stick to 100 per cent exterior acrylic or urethane-modified enamel. These formulations flex with the thermal expansion aluminium undergoes daily, resisting the cracking that rigid oil-based paints suffer within a few seasons. Understanding how to paint aluminum windows successfully comes down to matching the paint’s flexibility to the metal’s movement.
Professional Powder Coating for Factory-Quality Results
Powder coating aluminium windows delivers the most durable result available — the same electrostatic dry-powder process used on brand-new window systems. A thermoset polymer is applied as a charged powder, then heat-cured in an oven at around 200°C to form a hard, uniform shell between 60 and 120 micrometres thick.
Until recently, this meant removing frames entirely and transporting them to a coating facility. Today, several Australian companies offer on-site re-coating services where frames are masked, blasted, and re-coated in place — reducing disruption significantly. Expect to pay $150 to $400 AUD per window depending on size and access difficulty, with results that rival what you see on powder coated aluminum windows straight from the factory.
Modern aluminium windows from manufacturers like MEICHEN feature factory-applied powder-coated finishes with extensive colour options and weather performance ratings engineered for Australian conditions. That factory finish is the benchmark repainting and re-coating services aim to replicate. When frames have deteriorated beyond viable restoration — particularly where pitting keeps returning or seals have failed — upgrading to new powder-coated aluminium windows with full customisation support often proves more cost-effective than cycling through repeated repairs every few years.
Clear Protective Coatings for a Natural Look
If your frames are polished anodised aluminium and you want to preserve that metallic appearance rather than cover it with colour, a clear protective coating is the right call. These transparent sealants — typically acrylic lacquer or polyurethane — add UV resistance and slow future oxidation without changing the visual character of the metal.
Application mirrors the repainting process: two to three thin coats with adequate drying time between each pass. Clear coatings are less forgiving of dust and imperfections because there is no pigment to hide flaws, so work in a sheltered area and avoid windy days. Reapplication every three to five years keeps the protection topped up — a minor commitment compared to stripping and repainting.
Whichever finish you choose, the longevity of your work hinges on what happens after the final coat cures. A deliberate maintenance routine prevents the cycle of degradation from restarting — and knowing the warning signs that signal a frame beyond saving keeps you from throwing good money after bad.
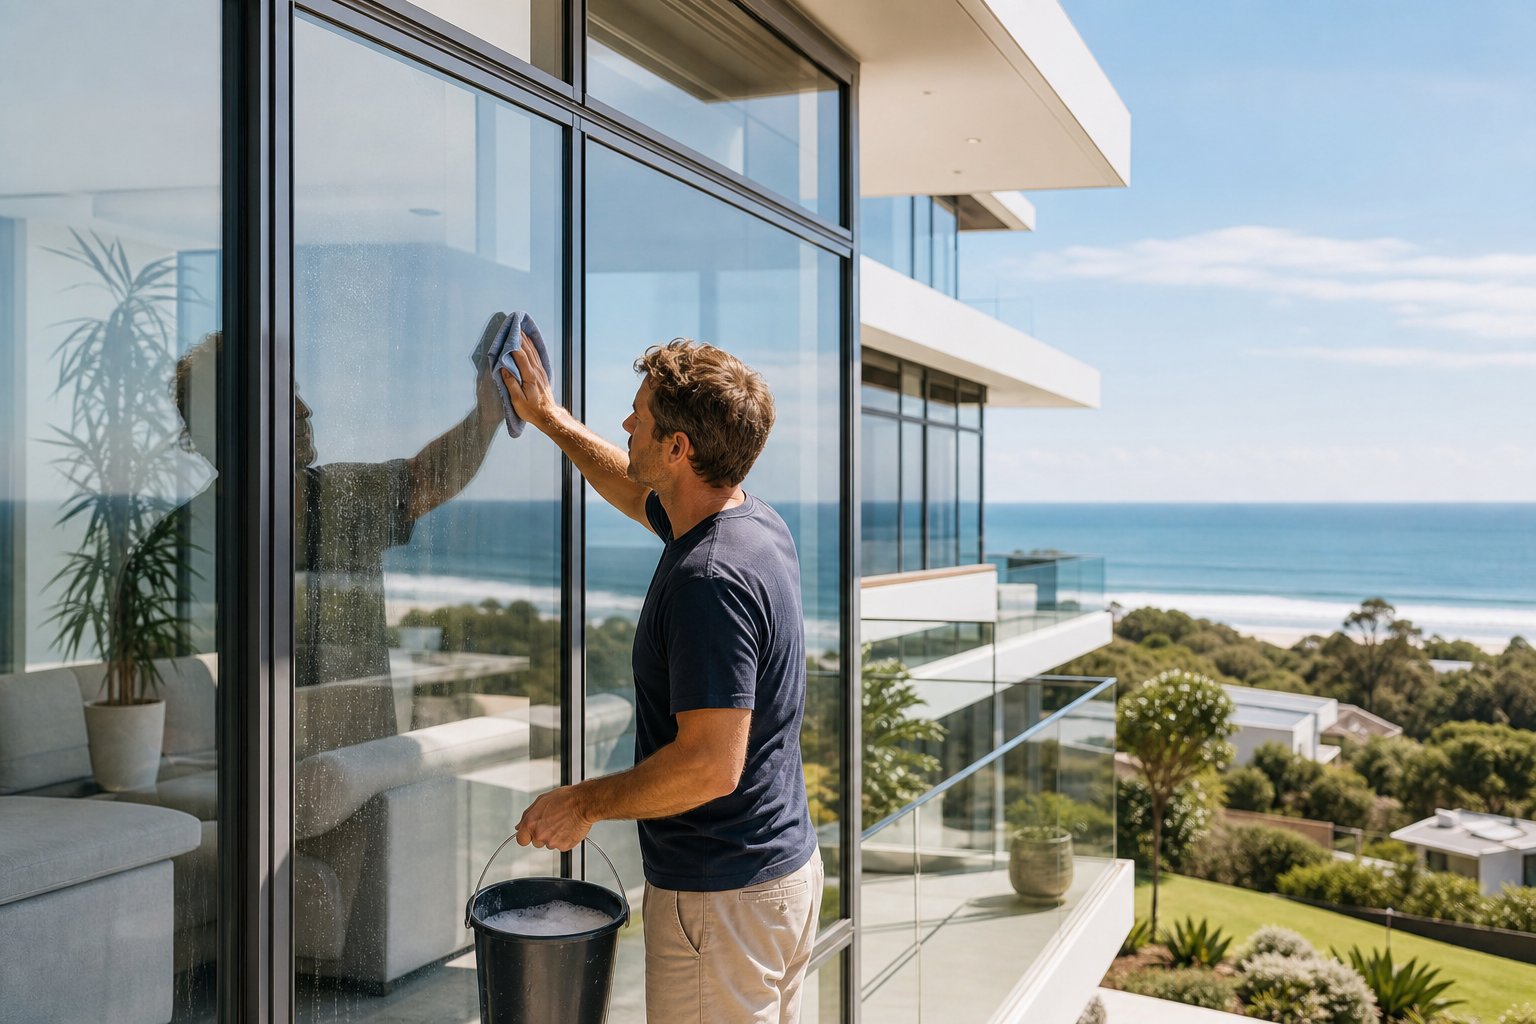
Step 7 – Maintain Your Results and Know When to Upgrade
A freshly finished frame looks fantastic on day one. Keeping it that way five or ten years later requires a deliberate maintenance rhythm — not a lot of effort, but consistent effort applied at the right intervals. The schedule that protects your work differs significantly depending on whether your home faces salt air or sits comfortably inland.
Quarterly and Annual Maintenance Schedule
Routine care prevents the oxidation cycle from restarting. The tasks themselves are simple — the key is not skipping them when life gets busy.
| Task | Frequency (Coastal) | Frequency (Inland) |
|---|---|---|
| Rinse frames with fresh water to remove salt, dust, and pollutants | Monthly | Every 3 months |
| Wash with pH-neutral soap and soft cloth | Every 6 – 8 weeks | Every 3 – 4 months |
| Inspect for early oxidation, chips, or coating breakdown | Every 6 months | Annually |
| Apply UV-resistant wax or clear sealant | Every 6 – 12 months | Every 12 months |
| Touch up paint chips or scratches with matching topcoat | As soon as damage is spotted | As soon as damage is spotted |
| Lubricate hinges and check seals | Every 6 months | Annually |
| Clear drainage channels of debris | Monthly (leaves, sand, salt crust) | Every 3 months |
Touch-up painting deserves specific attention. Small chips or scratches that expose bare aluminium become corrosion entry points within weeks in humid environments. Keep a small tin of your original topcoat stored for this purpose. Clean the damaged spot with isopropyl alcohol, feather the edges lightly with fine sandpaper, dab on primer, then follow with two thin coats of colour. Addressing chips immediately means you never face full-frame repainting aluminium window frames again — or at least not for another decade.
Climate-Specific Care for Coastal and Urban Homes
Coastal properties within a few hundred metres of the shoreline face relentless salt deposition. Even with a factory-quality powder coat, chloride ions attack micro-imperfections in the finish. A monthly fresh-water rinse — literally hosing down the frames — flushes salt before it concentrates in corners and drainage slots. Decorio’s aluminium care guide recommends applying a protective wax or clear lacquer as an additional barrier for homes exposed to salt air, and this aligns with what we see in Australian coastal conditions from Bondi to the Gold Coast.
Urban homes face a different aggressor: airborne particulates from traffic exhaust and industrial output. These fine deposits are mildly acidic and bond to frames between rain events. Quarterly washing with pH-neutral soap prevents the acidic film from etching into the topcoat — a problem more common on south-facing frames that receive less sun-driven drying.
Can you repaint aluminium window frames if the existing finish starts deteriorating despite regular maintenance? Absolutely — and catching the problem early makes the job far simpler. How to repaint aluminium window frames in this scenario usually involves nothing more than a light scuff, spot-prime the bare patches, and apply fresh topcoats over the existing sound coating. No full strip-back required.
Signs Your Frames Need Replacement Not Repair
Maintenance extends life. It does not grant immortality. Certain warning signs indicate that aluminium window repairs have reached the point of diminishing returns and the frame itself is spent:
- Recurring seal failure — if rubber gaskets keep pulling away or hardening despite replacement, the frame profile has likely distorted beyond spec.
- Persistent condensation between panes — fog inside a double-glazed unit means the sealed unit has failed. While the glass unit can sometimes be replaced, repeated failures suggest the frame is no longer holding tolerances.
- Warping or bowing — aluminium does not return to shape once deformed. A warped frame cannot seal properly, leading to draughts and water ingress.
- Pitting that returns within months of treatment — if corrosion reappears rapidly after thorough restoration, the metal has thinned to the point where the protective coating cannot compensate. You are treating symptoms, not solving the problem.
- Thermal performance decline — older non-thermally-broken aluminium frames conduct significant heat and cold. No amount of cosmetic rejuvenation improves their energy rating.
When these signs converge, continued repair becomes a recurring expense with no lasting payoff. Modern aluminium window systems like those from MEICHEN offer durable powder-coated frames engineered for minimal maintenance, with hardware choices and weather performance ratings suited to Australian residential, apartment, and commercial projects. Replacement at this stage is a long-term investment — one that ends the cycle of stripping, filling, priming, and repainting aluminium window frames every few years and delivers decades of low-maintenance performance from day one.
Frequently Asked Questions About Rejuvenating Aluminium Window Frames
1. Can you paint over oxidised aluminium window frames without stripping them?
You can paint over lightly oxidised aluminium frames, but only after proper preparation. Remove loose oxidation with a vinegar solution or fine abrasive pad, degrease the surface, then scuff with a Scotch-Brite pad to create a mechanical key. Apply a self-etching primer before your topcoat. Skipping these steps leads to peeling paint within months because standard coatings cannot bond to slick or chalky aluminium surfaces.
2. What is the best product to remove white oxidation from aluminium window frames?
For light oxidation, a 50/50 white vinegar and water solution dissolves the chalky residue effectively. For heavier buildup, oxalic acid paste provides stronger chemical removal without damaging the underlying metal. Automotive-grade aluminium polishing compound works well on anodised frames where you want to restore the original sheen rather than repaint. Always degrease the frame first so the cleaning product can contact the oxide layer directly.
3. How long does a DIY aluminium frame rejuvenation last?
A properly executed repaint using self-etching primer and exterior acrylic topcoat typically lasts 8 to 12 years in moderate Australian climates. Coastal properties may see 5 to 8 years due to salt exposure. Professional powder coating lasts 15 to 25 years. Clear protective coatings need reapplication every 3 to 5 years. Regular maintenance — quarterly washing and annual wax application — extends the life of any finish significantly.
4. Is it worth rejuvenating old aluminium window frames or should I replace them?
Frames at damage Levels 1 to 3 (dullness through to moderate pitting) are worth rejuvenating, especially if they remain structurally sound and seals are intact. The cost of DIY restoration runs $30 to $80 per window versus $500 or more for replacement. However, frames showing structural damage, recurring seal failure, warping, or pitting that returns within months of treatment have reached end-of-life. At that point, modern powder-coated aluminium windows from manufacturers like MEICHEN offer superior long-term value with minimal ongoing maintenance.
5. What type of paint should I use on aluminium window frames in Australia?
Use 100 per cent exterior acrylic latex or urethane-modified enamel as your topcoat. These formulations flex with aluminium’s daily thermal expansion, preventing cracking that rigid oil-based paints suffer. Always pair them with a self-etching primer or epoxy primer designed for metal surfaces. Two-pack epoxy topcoats offer maximum durability for harsh coastal or industrial environments but require precise mixing and faster application. Avoid general-purpose interior paints — they lack UV resistance and adhesion properties needed for exterior aluminium.
More Window & Door Guides