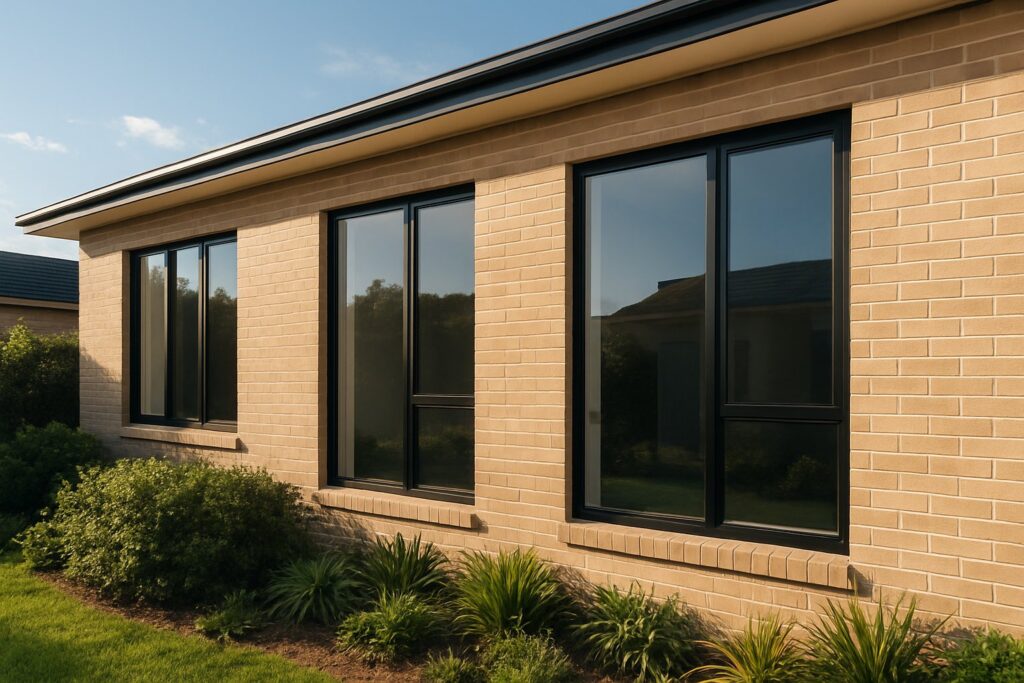
What Fly Screens Do for Aluminium Windows
Fly screens for aluminium windows are insect mesh systems engineered to fit the specific profiles, tolerances, and surface coatings of aluminium frames. They differ from generic aluminium window screens sold as one-size-fits-most kits because aluminium frame profiles vary widely between manufacturers — and a screen that clips neatly onto one profile may rattle, gap, or refuse to seat on another.
Why Aluminium Windows Need Purpose-Built Fly Screens
Aluminium frames present three challenges that generic screens rarely account for. First, profile geometry: aluminium extrusions come in dozens of cross-sectional shapes, from slim residential sashes to deep commercial reveals. A screen frame designed around a timber rebate or uPVC snap-fit simply won’t engage correctly with these profiles.
Second, thermal expansion. Aluminium expands when heated and contracts when cooled. In Australian conditions — where a west-facing frame can swing through significant temperature ranges between a summer afternoon and an overnight low — this repeated movement loosens ill-fitting screens and degrades rubber splines that rely on constant tension. Poorly matched aluminium screens for windows develop corner gaps within a season or two.
Third, surface finish. Anodised and powder-coated aluminium reacts differently to adhesives, clips, and fasteners than raw metal or painted timber. Drilling into a powder-coated frame without the correct technique damages the protective layer, while adhesive strips can peel from anodised surfaces under heat stress.
Standard fly screens fail on aluminium windows not because the mesh is wrong, but because the attachment system was never designed for the frame’s profile, expansion behaviour, or coating.
What This Guide Covers
This guide walks you through the full decision path — from understanding which aluminum window screen type suits your opening style, to selecting the right mesh material, measuring your frames accurately, and choosing an installation method that protects the finish. Whether you’re a renter looking for a reversible solution or a homeowner planning a permanent setup, each section builds toward a confident, well-informed purchase.
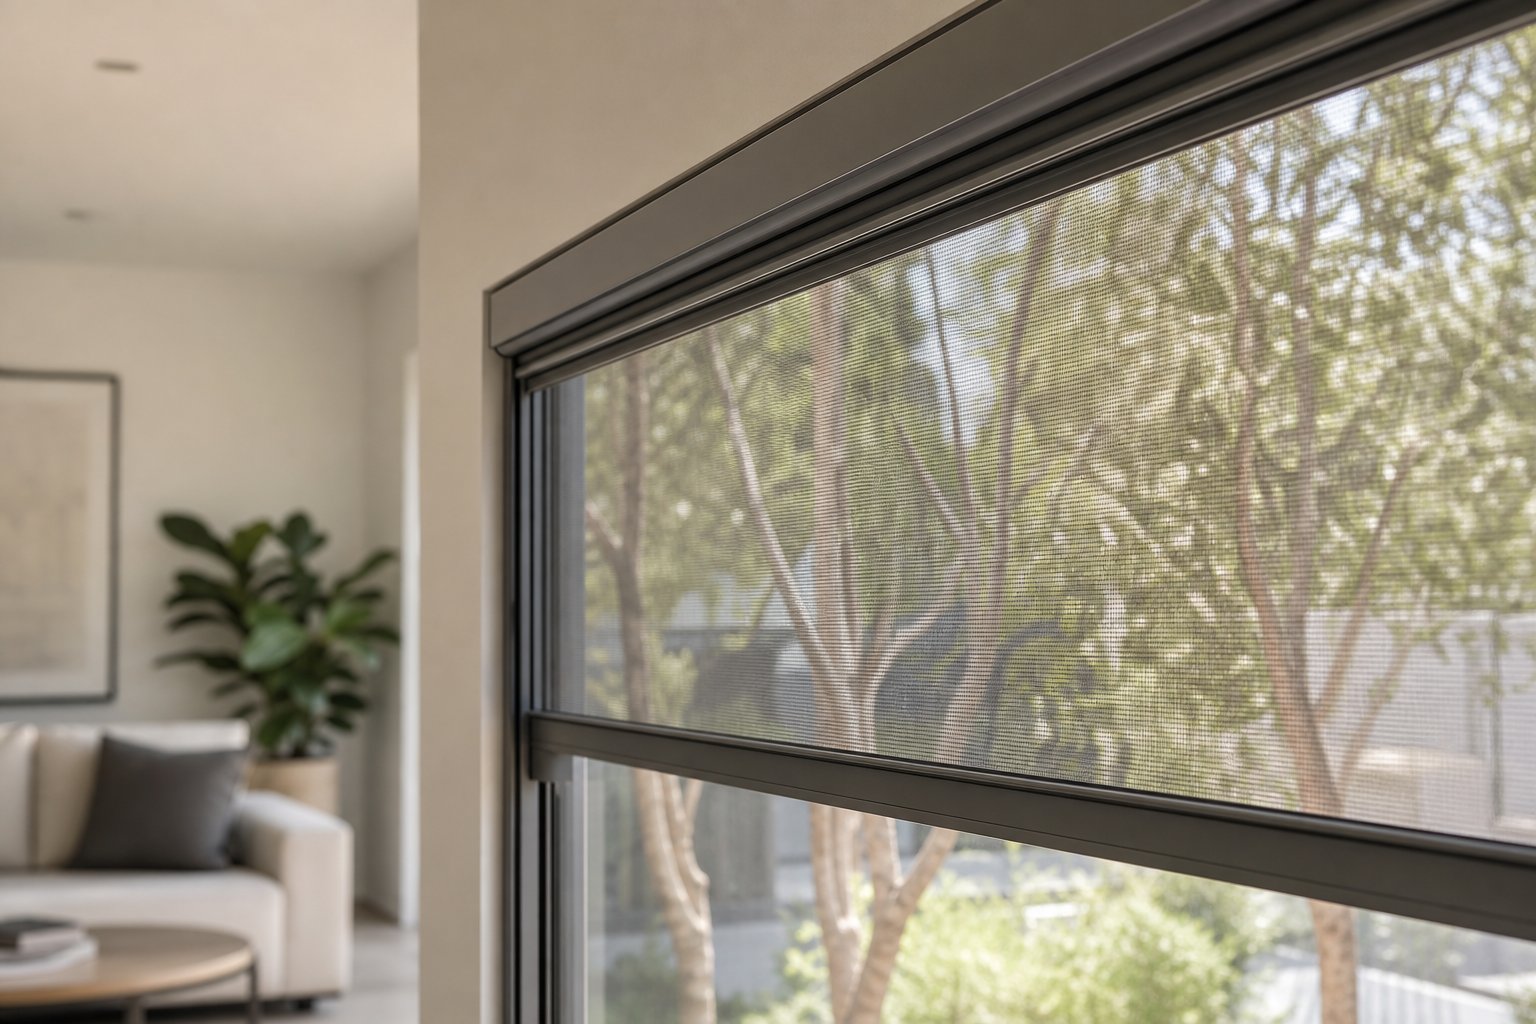
Fly Screen Types Matched to Aluminium Window Styles
The screen type that works perfectly on a sliding aluminium window can be completely impractical on a casement. That distinction matters more than most buyers realise — window screens with frames designed for the wrong opening direction create daily frustration, block access to handles, or interfere with stay arms. The smartest starting point isn’t “which screen looks good” but rather “how does my window actually open?”
Screens for Casement and Awning Windows
Casement windows hinge at the side and swing outward, while awning windows hinge at the top and push out at the bottom. Both create a sash that projects away from the wall — meaning the fly screen must sit on the interior face so it doesn’t block the opening arc.
For casement aluminium frames, hinged fly screens and retractable roller screens tend to work best. A hinged screen swings open like a small door, giving you full access for cleaning or emergency egress. Retractable systems roll the mesh into a compact cassette when not needed, keeping sightlines clear. Fixed aluminum framed window screens also suit casements well, provided they’re fitted with quick-release clips for occasional removal.
Awning windows pair naturally with fixed-frame screens or roller systems that retract vertically. Because the sash tilts outward at the bottom, there’s no swing path to obstruct on the inside — a fixed screen can stay permanently in place without limiting the window’s function.
Screens for Sliding and Tilt-and-Turn Windows
Sliding aluminium windows move horizontally along a track, so the logical screen solution is a sliding mesh panel running on its own parallel track. These aluminum framed screens glide sideways and cover the open half of the window. For wider openings, triple-track systems allow two mesh panels to slide independently.
Tilt-and-turn windows are more complex. They tilt inward from the top for ventilation and swing fully inward for cleaning. This dual action means the screen must sit on the exterior side of the frame — otherwise an inward-opening sash collides with the mesh. Roller screens mounted externally, or fixed aluminum frame window screen systems with external brackets, handle this well. Pleated screens also work here because their accordion-fold mesh tucks flat into a slim profile when you need full access to the sash.
Retractable vs Fixed Frame Systems
Retractable screens disappear when you don’t need them. They preserve your view and suit windows you open infrequently. The trade-off is a higher price point and more moving parts that can wear over time. Fixed-frame systems cost less, are robust, and provide constant protection — but they’re always visible and must be removed entirely for window cleaning or glass maintenance.
Choosing between the two often comes down to usage frequency. A bedroom window opened nightly benefits from a fixed screen’s reliability. A living room picture window you rarely open might suit a retractable system that stays hidden until summer.
| Fly Screen Type | Compatible Window Styles | Ease of Use | Airflow Impact | Visibility | Price Range (AUD) |
|---|---|---|---|---|---|
| Fixed-frame | Casement, awning, sliding | High — no moving parts | Minimal restriction | Moderate — always visible | $80–$200 |
| Retractable roller | Casement, awning, tilt-and-turn | High — smooth one-hand operation | Minimal when deployed | Excellent — hidden when retracted | $200–$500 |
| Hinged | Casement, French windows | Moderate — requires swing clearance | Minimal restriction | Moderate — framed panel visible | $150–$350 |
| Sliding mesh panel | Sliding, large openings | High — glides on track | Minimal restriction | Moderate — covers open half | $120–$300 |
| Pleated | Tilt-and-turn, wide casement, doors | High — folds flat when open | Very low restriction | Good — compact when folded | $300–$600 |
Mismatching screen type to window style doesn’t just look awkward — it causes real problems. A fixed screen on a tilt-and-turn window blocks the inward swing. A sliding panel on a casement leaves half the opening unprotected. Getting this pairing right at the outset saves money and avoids the hassle of returning an incompatible product. With the mechanism sorted, the next decision is what the mesh itself is made from — and that choice has its own set of trade-offs depending on your environment.
Comparing Mesh Materials for Aluminium Frames
Your screen’s frame type determines how it attaches, but the aluminium window screen mesh you choose determines how it actually performs day to day. Different mesh materials vary dramatically in durability, visibility, airflow, and how they interact chemically with the aluminium frame beneath them. Picking the wrong mesh for your environment can mean premature failure — or worse, corrosion damage to the window itself.
Fibreglass and Polyester Mesh Options
Fibreglass mesh remains the most common choice for residential fly screens across Australia. It’s lightweight, inexpensive, and won’t corrode regardless of what frame material sits behind it. Visibility is excellent — the fine woven strands allow good light transmission and clear outward sightlines, particularly in darker colours. Airflow passes through with minimal resistance.
The downsides are physical. Fibreglass tears relatively easily under impact, stretches over time in high-heat situations, and degrades under prolonged UV exposure. In northern Queensland or anywhere with intense year-round sun, expect to replace fibreglass mesh every five to seven years as it becomes brittle.
Polyester mesh, coated with PVC for weather resistance, offers a step up in durability. It handles UV and temperature cycling better than fibreglass while remaining lightweight. The weave is slightly denser, which marginally reduces airflow but improves resistance to tears. Both materials share one key advantage for aluminium frames: they’re non-metallic, so there’s zero risk of galvanic corrosion between the mesh and the frame.
Stainless Steel and Aluminium Mesh
Metal window screen mesh introduces superior strength and longevity but requires more careful material pairing. Stainless steel mesh — typically 316-grade marine stainless — provides exceptional durability, fire resistance, and security. It won’t tear, stretch, or degrade under UV. For bushfire zones and high-security applications, it’s often the only compliant option.
However, steel and aluminium are dissimilar metals. When moisture bridges the gap between a stainless steel mesh and an aluminium frame, galvanic corrosion can develop — the aluminium sacrifices itself electrochemically to protect the steel. In coastal environments where salt spray accelerates this reaction, isolating the mesh from the frame with rubber or plastic gaskets is essential. Well-designed screen systems account for this with non-conductive mounting points.
Aluminium mesh window screens eliminate the dissimilar-metal problem entirely. The mesh and frame share the same base metal, so galvanic corrosion isn’t a concern. Aluminium mesh window screens are lightweight, naturally corrosion-resistant, and easy to work with for DIY installations. They do dent more readily than steel, and the weave is slightly coarser, which can reduce outward visibility compared to finer stainless alternatives. For mild environments without heavy security demands, aluminium mesh window screens strike a practical balance between performance and cost.
Pet-Resistant and Specialty Mesh
Households with cats or dogs need mesh that withstands claws and body weight. Pet-resistant screens typically use a heavy-duty polyester core with a vinyl coating, creating a fabric far tougher than standard fibreglass. Some premium options use a woven stainless micro-mesh that resists scratching while maintaining fine insect exclusion.
Specialty meshes also include pollen-grade screens with ultra-fine apertures for allergy sufferers (though these reduce airflow by up to 50%), and solar-reflective mesh that rejects a portion of radiant heat before it enters the room. These niche products cost more but solve specific problems that standard aluminium window screen mesh cannot address.
Colour plays a bigger role than most buyers expect. A black aluminium screen or charcoal-toned mesh dramatically reduces interior glare and improves your ability to see outside — the darker surface absorbs light rather than reflecting it back toward your eyes. This is why charcoal has become the default colour for residential fly screens in Australia. Lighter mesh colours like grey or silver reflect more light inward, making the screen more visible from inside and slightly reducing the sense of openness.
| Mesh Material | Durability | Visibility / Light Transmission | Airflow | Corrosion Resistance | Pet Resistance | Indicative Cost (AUD) |
|---|---|---|---|---|---|---|
| Fibreglass | Moderate — tears under impact | High (approx. 70–75%) | High (approx. 80%) | Excellent — non-metallic | Low | $ (budget) |
| Polyester (PVC-coated) | Moderate-high — UV stable | Good (approx. 65–70%) | Good (approx. 75%) | Excellent — non-metallic | Low-moderate | $$ (mid-range) |
| Aluminium mesh | Moderate — dents possible | Good (approx. 65–70%) | Good (approx. 75%) | High — same metal as frame | Low | $$ (mid-range) |
| Stainless steel (316) | Very high — cut/tear resistant | Good (approx. 62–68%) | Good (approx. 70%) | High — but isolate from aluminium frame | High | $$$ (premium) |
| Pet-resistant polyester | High — claw and impact resistant | Moderate (approx. 55–65%) | Moderate (approx. 65–70%) | Excellent — non-metallic | Very high | $$–$$$ (mid to premium) |
The right mesh material depends on where your home sits and what it needs to withstand. A beachside house on the NSW coast faces completely different demands than a suburban home in Melbourne with a boisterous labrador. That environmental context — coastal salt air, bushfire risk, insect pressure, wind loads — shapes both the mesh and the mounting decisions that follow.
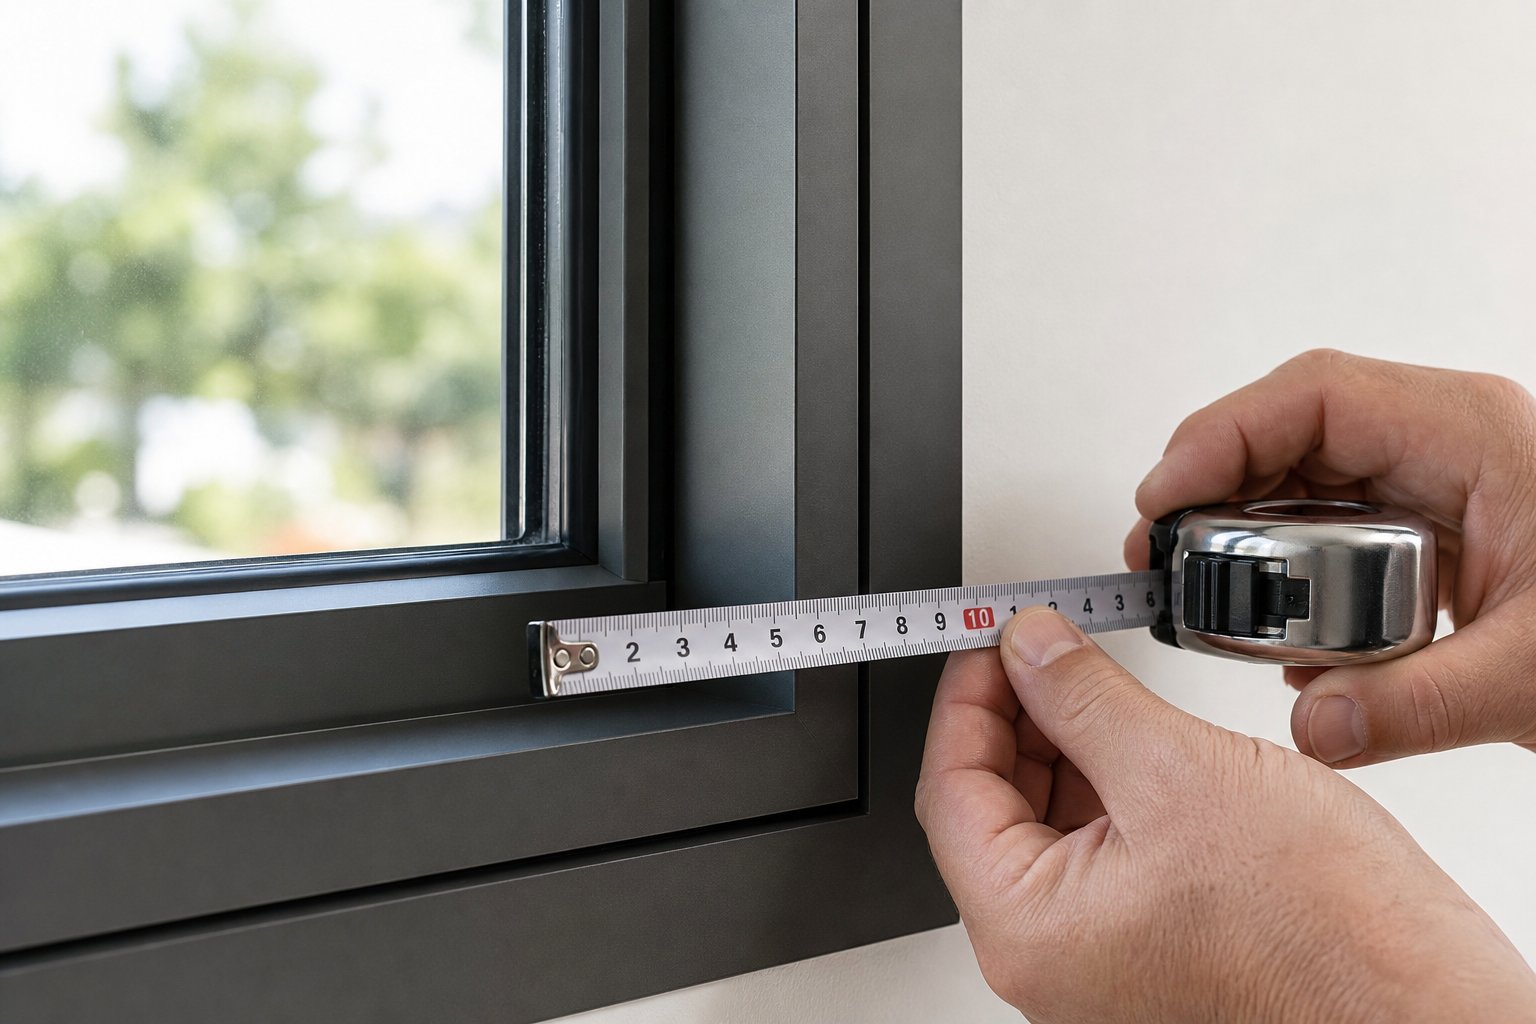
How to Measure Aluminium Windows for Fly Screens
Selecting the perfect mesh and screen type counts for nothing if the measurements are off. Aluminium window profiles are precision-extruded — often to tolerances of a millimetre or less — so your measuring approach needs to match that precision. The challenge is that a window metal frame in aluminium behaves differently from timber or uPVC when it comes to measurement reference points. Visible profile widths can be deceptively narrow, hardware projects into the opening at unexpected depths, and the structural frame behind cladding doesn’t always align with what you see from inside.
Understanding Reveal vs Face-of-Frame Dimensions
Three distinct measurement types apply to fly screen fitting, and confusing them is where most ordering errors begin:
Reveal measurement refers to the distance between the inner edges of the structural opening — the brickwork, plaster, or timber lining that the aluminium frame sits within. This dimension matters for screens that install inside the reveal, independent of the window frame itself.
Face-of-frame measurement is taken across the front surface of the aluminium profile. This is what you need for frame screen systems that mount directly onto the window using clips, brackets, or turnbuckles. The face dimension is usually smaller than the reveal because the aluminium frame sits recessed within the wall opening.
Daylight measurement captures the clear glass area — the unobstructed opening you can see through. It’s the smallest of the three and applies mainly when sizing mesh panels that sit within the sash rebate.
Which measurement you need depends entirely on your mounting method. A recess-fit aluminum frame screen uses the reveal dimensions (minus clearance). A face-fixed screen uses the face-of-frame width and height. Mixing these up — say, ordering a recess-fit screen using face-of-frame numbers — guarantees a screen that’s too small and gaps around the edges.
One common pitfall: generic sizing guides for a home depot screen window frame assume standard timber reveals with consistent depths. Australian aluminium frames often have narrower visible profiles than the structural extrusion behind the wall cladding, meaning the measurement point you think is the frame edge may actually be a decorative cover cap sitting forward of the true mounting surface.
Step-by-Step Measurement Process
Grab a steel tape measure (not a fabric one — they stretch) and follow this sequence for each window opening:
- Identify your mounting method first. Decide whether you’re fitting into the reveal, onto the face of the frame, or within a dedicated screen channel. This determines which surfaces you measure between.
- Measure the width in three places. Take a horizontal measurement at the top of the opening, at the midpoint, and at the bottom. Record all three figures in millimetres.
- Measure the height in three places. Take a vertical measurement on the left side, at the centre, and on the right side. Record all three.
- Use the smallest dimension. For both width and height, your ordering size is the smallest of the three readings. Aluminium windows screen frame openings are rarely perfectly parallel — even a 2 mm taper means a screen sized to the largest measurement won’t fit at the narrow point.
- Subtract fitting clearance. For recess-fit aluminum frame window screens, deduct 2–3 mm from both the final width and final height. This clearance allows the screen to slide into position without binding against the frame.
- Note all hardware projections. Measure how far handles, friction stays, window restrictors, and locking mechanisms protrude into the opening. Record these as clearance zones the screen must avoid.
Checking for Square and Accounting for Clearances
Aluminium frames hold their shape better than timber over time, but the surrounding wall structure can shift — particularly in older brick veneer or weatherboard homes. To check whether your opening is square, measure both diagonals from corner to corner. If the two diagonal figures differ by more than 6 mm, the opening is out of true and a standard rectangular frame screen may not seal evenly on all four sides. Flag this with your supplier — many Australian screen manufacturers can build to slightly trapezoidal dimensions for an additional charge.
Hardware clearance deserves particular attention on aluminium windows. Friction stays on awning and casement windows often swing through an arc that intrudes 30–50 mm into the frame opening. Winder handles on chain-operated awnings project inward. If your screen doesn’t account for these projections, it either won’t close properly or the hardware will press against the mesh and deform it over time. Measure the maximum projection of each piece of hardware and mark it on your sketch — this tells you exactly how much unobstructed space the screen actually has to work within.
The discipline of measuring at three points and recording the smallest value applies universally, whether you’re ordering a custom aluminum frame screen from a local supplier or sizing a DIY kit. Skipping this step — taking a single measurement at the centre and assuming the frame is consistent — is the single most common cause of ill-fitting screens on aluminium windows. With accurate dimensions in hand, the next question becomes how the screen actually attaches to the frame without compromising its powder coat or anodised finish.
Installation Methods That Protect Aluminium Profiles
Getting a fly screen to stay put on an aluminium frame without damaging its finish is the real installation challenge. Unlike timber, you can’t simply drive a screw anywhere and fill the hole later if things go wrong. A powder-coated or anodised surface that gets scratched, cracked, or stripped of its protective layer becomes a corrosion entry point — one that’s visible and difficult to repair. The installation method you choose needs to hold the aluminum screen window securely while respecting the frame’s coating and narrow profile geometry.
Six main attachment approaches exist, and each comes with distinct trade-offs depending on your frame finish, tenancy situation, and window hardware layout.
No-Drill Methods for Renters and Delicate Frames
If you’re renting, or simply don’t want to put holes in expensive aluminium joinery, three methods keep things reversible:
Spring-loaded tension fit
These screens use internal spring plungers that press outward against the reveal walls, holding the frame in place through friction alone. They suit reveal-mounted installations where the surrounding wall provides a solid surface to push against.
- No holes, no adhesive, no residue on removal
- Easy to reposition or remove for window cleaning
- Can slip or rattle in high-wind areas if not tensioned correctly
- Requires a consistent reveal depth — won’t grip well on flared or tapered openings
Magnetic attachment
Magnetic strips adhere to the frame perimeter with a backing tape, and the screen snaps on magnetically. This approach works well for aluminum window screen replacement scenarios where you want quick seasonal removal.
- Simple to install and remove — good for renters
- Clean seal around the perimeter with no gaps
- Backing adhesive may fail on textured powder coat finishes — the rougher the texture, the less surface contact the tape achieves
- Not suitable for heavy or large mesh panels
Adhesive-backed strips (hook-and-loop or foam)
Velcro-style or foam-tape mounting sounds straightforward, but adhesion failure on aluminium surfaces is common. The issue isn’t the adhesive itself — it’s the substrate. Smooth anodised aluminium provides reasonable bond strength, but heavily textured powder coatings create an uneven surface with minimal actual contact area. Heat cycling then finishes the job: the tape softens in summer sun, the bond weakens, and the screen drops off within a few months.
- Cheapest option with zero tools required
- Works acceptably on smooth anodised or lightly textured frames
- Fails frequently on heavily textured powder coat and in high-heat locations
- Residual adhesive can be difficult to remove without solvents
If you’re comparing products at a home depot aluminum frame display or similar retail environment, check what surface your frames actually have before committing to an adhesive-only system. A quick fingernail test across the profile face tells you whether the texture is smooth enough for tape to grip.
Permanent Mounting Options for Homeowners
Homeowners who plan to keep their screens long-term benefit from mechanical fixing — it’s more reliable across all weather conditions and surface types.
Screw-fixed into the frame
Small-gauge stainless steel screws driven directly into the aluminium profile create the strongest possible connection. The key is using the correct drill bit (a sharp 2–3 mm HSS bit) to pre-drill the aluminium, then fastening with screws that won’t cause galvanic corrosion. This is the method commonly used for clip-style screen retention on Australian-made aluminium windows, where fly screen clips are screwed into the jamb reveal to hold the mesh panel in position.
- Strongest hold — resists wind, vibration, and impacts
- Works on any aluminium surface regardless of texture
- Penetrates the protective coating, so screw locations must be sealed or primed
- Permanent — leaves visible holes if removed later
Face-mounted brackets
L-shaped or Z-shaped brackets fix to the face of the frame or the surrounding wall, and the screen hooks or clips into them. This separates the screen from the window, making replacement screens for aluminum windows straightforward — you swap the panel without touching the brackets.
- Screen is removable without tools once brackets are in place
- Brackets can be positioned to avoid narrow profile sections
- Requires accurate bracket placement — misalignment causes rattling or poor sealing
- Adds slight visual bulk around the frame perimeter
Clip-on systems
Spring-loaded clips hook over the aluminium frame lip and tension against the profile’s geometry. They rely on the frame having a protruding edge deep enough to engage with — typically 8–10 mm minimum. Many modern slim-line aluminium profiles fall below this threshold, making clip-on systems incompatible without supplementary brackets.
- No drilling — reversible yet reasonably secure
- Fast to remove for cleaning
- Limited to frames with adequate lip depth
- Can scratch anodised finishes if clips aren’t plastic-tipped
Well-designed aluminium window systems anticipate screen integration at the manufacturing stage. MEICHEN’s aluminium windows, for example, incorporate frame profiles with dedicated screen channels, compatible hardware placement, and sufficient depth for both clip-on and tension-fit systems. When the window is designed with fly screen attachment in mind from the outset, replacing an aluminum screen or upgrading the mesh later becomes a simple swap rather than an engineering exercise.
Working Around Window Hardware and Stays
Every aluminium window has hardware that projects into the potential screen zone: winder handles on chain-driven awnings, friction stays on casement and awning sashes, locking cams, and child-safety restrictors. The screen — and its attachment points — must clear all of these in both the open and closed positions.
Friction stays are the most common obstacle. On a standard awning window, the stay arm swings through a 30–50 mm arc inside the frame reveal. If you place a screw-fixed clip directly in this arc, the stay collides with the clip every time the window opens. The practical solution is positioning clips above or below the stay’s travel range, or using skirt pieces — small aluminium channels fitted either side of the winder mechanism — that allow the screen to seat around the hardware rather than over it.
Handles present a different challenge. A projecting handle means the screen must either sit far enough from the frame face to clear it, or the screen frame needs a recessed section (sometimes called a handle notch) cut into the profile. When purchasing an aluminum screen home depot kit or similar off-the-shelf product, these notches are rarely included — they’re a feature of custom-ordered screens sized to specific hardware layouts.
The rule is simple: map every piece of hardware, record its maximum projection, and confirm that your chosen screen type and mounting method leave unobstructed clearance at every point. Anything less invites binding, mesh deformation, or hardware damage over time — problems that compound with each seasonal cycle of use.
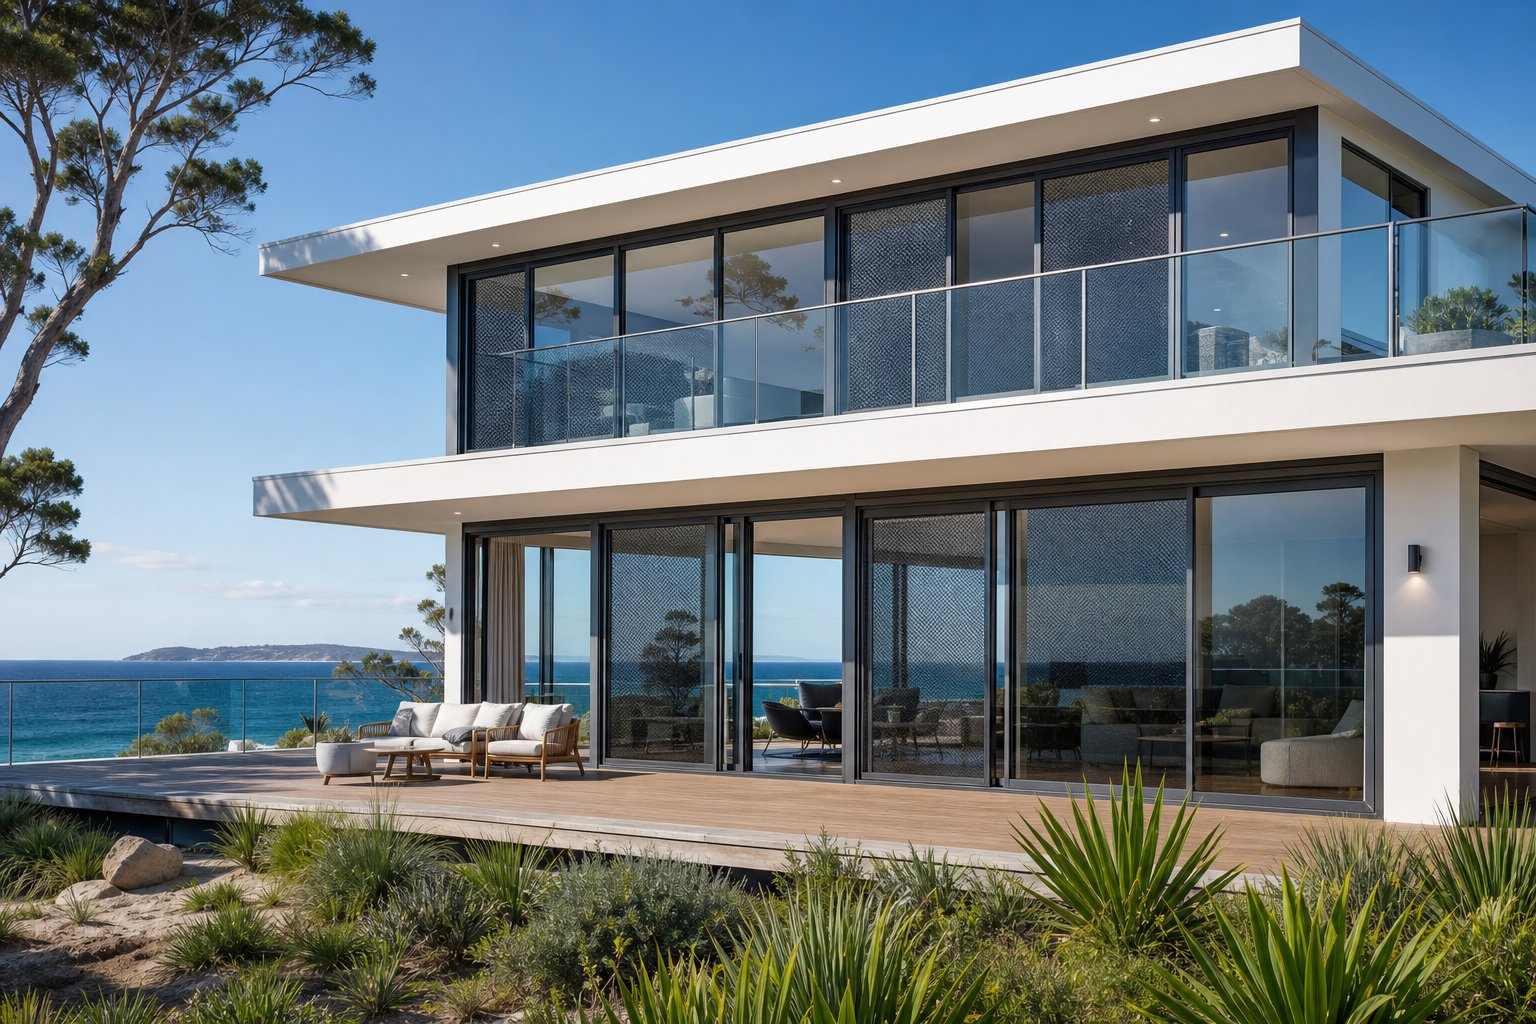
Climate and Environment Considerations for Metal Window Screens
Where your home sits on the map shapes the fly screen decision just as much as window type or mounting method. A beachside home in Noosa faces salt corrosion that would never trouble a house in suburban Canberra. A property in the Blue Mountains bushfire zone needs ember-rated metal screen mesh for windows that a Melbourne apartment simply doesn’t require. And a Darwin home with year-round insect pressure demands finer mesh grades than anything you’d bother with in temperate Hobart.
Climate doesn’t just influence which mesh material to pick — it affects how the screen is mounted, how the aluminium frame itself behaves across seasons, and how long the entire system lasts before needing replacement.
Coastal and High-Wind Environments
Salt-laden air is relentless. Within a few hundred metres of the shoreline, airborne salt particles settle on every exposed surface, accelerating corrosion on metals and degrading adhesives. For fly screens on aluminium windows in coastal areas — whether that’s the NSW Northern Beaches, Victoria’s Great Ocean Road, or anywhere along the WA coast — material selection must prioritise corrosion resistance above all else.
The risk compounds when dissimilar metals sit in contact. A mild steel or iron screen mesh in direct contact with an aluminium frame creates a galvanic cell in the presence of salt moisture, and the aluminium corrodes rapidly. Even stainless steel mesh requires isolation from the aluminium frame using rubber gaskets or nylon mounting points to prevent electrochemical degradation over time.
- Mesh choice: 316-grade marine stainless steel or aluminium mesh. Avoid fibreglass in exposed positions — coastal UV breaks down polymer-based mesh within a few years, turning it brittle and prone to tearing in wind.
- Frame finish: Marine-grade powder coating with a minimum 60-micron thickness, or high-quality anodising. Standard residential powder coat in thin-film applications pits under sustained salt exposure.
- Fasteners: Stainless steel screws and brackets only. Zinc-plated hardware corrodes rapidly in salt air — sometimes within a single season.
- Mounting security: Screw-fixed or heavy-duty bracket systems rather than adhesive or magnetic options. High coastal winds generate sustained pressure on mesh panels, and friction-fit or adhesive systems can dislodge during storm events.
- Maintenance cycle: Rinse screens with fresh water every three months (or after any storm) to remove salt deposits before they attack coatings and hardware.
Wind load is the other coastal factor. Gusts along exposed headlands or high-rise balconies flex mesh panels repeatedly, fatiguing the material and loosening spline retention. Heavier-gauge window screen metal and reinforced corner joints handle this stress far better than budget-weight alternatives. If your aluminium windows face a prevailing onshore breeze, invest in thicker mesh and additional mounting points spaced no more than 300 mm apart along each edge.
Bushfire Zones and Ember Protection
For homes in designated Bushfire Attack Level (BAL) zones — common across much of regional NSW, Victoria, South Australia, and WA — fly screens must do more than stop mosquitoes. Under AS 3959 (Construction of buildings in bushfire-prone areas), openable windows in BAL-12.5 through BAL-40 zones require screening that prevents ember entry. Standard fibreglass and polyester mesh do not meet this requirement. Only non-combustible metal window screening — typically stainless steel or bronze mesh with apertures no larger than 2 mm — satisfies the standard.
This creates a practical dual benefit. A stainless steel window metal screen rated for ember protection simultaneously functions as a high-durability insect barrier and, in heavier gauges, as a security screen. One installation serves three purposes: bushfire compliance, insect exclusion, and intrusion resistance.
- Required mesh: Corrosion-resistant steel or bronze with a maximum 2 mm aperture, compliant with AS 3959. The mesh must be non-combustible and maintain its integrity when exposed to radiant heat and direct ember contact.
- Frame requirements: Aluminium frames are acceptable under the code — they won’t combust at the radiant heat levels specified for BAL-12.5 through BAL-40. However, frame joints must remain tight under heat to prevent ember intrusion around the screen perimeter.
- BAL-FZ (Flame Zone): At this extreme rating, standard window openings may not be permitted at all. Consult your bushfire consultant and local council before specifying any screen system for BAL-FZ applications.
- Installation: Screens must be fixed permanently — not removable clip-on panels. The National Construction Code requires that bushfire screens remain in place during a fire event, so spring-tension and magnetic systems are non-compliant in BAL-rated zones.
Thermal expansion becomes particularly relevant in bushfire zones. On extreme heat days — the very days a bushfire is most likely — aluminium frames expand noticeably. Thermal expansion in aluminium is a temporary, natural reaction that reverses once temperatures equalise, but it means the screen frame and the window frame may shift relative to each other during a hot day. Quality bushfire screen installations account for this by incorporating small expansion gaps at mounting points — enough to absorb frame movement without compromising the ember seal.
Tropical and High-Insect-Pressure Areas
Northern Australia — from Cairns through the Top End and across to Broome — combines intense insect populations with cyclone-rated wind events, high humidity, and brutal UV exposure. Standard mesh grades designed for temperate climates simply don’t cut it here.
Insect pressure in tropical regions goes beyond common flies and mosquitoes. Sandflies (biting midges) can pass through standard insect mesh with apertures of 1.2 mm or larger. If your home is near mangroves, estuaries, or rainforest margins, a finer mesh grade — sometimes called “midge mesh” with apertures around 0.7–0.9 mm — becomes necessary. The trade-off is reduced airflow, which matters in a climate where natural ventilation keeps cooling costs manageable.
- Mesh aperture: Standard insect mesh (1.0–1.2 mm) for general fly and mosquito exclusion. Step down to 0.7–0.9 mm for sandfly-prone locations. Accept the roughly 15–20% airflow reduction as the cost of bite-free evenings.
- UV stability: Tropical sun degrades polymer-based mesh faster than anywhere else in Australia. Fibreglass may last only three to four years before becoming brittle. UV-stabilised polyester or metal mesh lasts significantly longer without deterioration.
- Cyclone compliance: Homes in cyclone-rated wind regions (typically Region C and D under AS/NZS 1170.2) may require screens and their fixings to withstand design wind speeds exceeding 69 m/s. Metal window screens with reinforced frames and structural-grade fixings are often the only compliant choice.
- Humidity and mould: High humidity encourages mould growth on mesh surfaces, reducing airflow and visibility. Non-porous materials like stainless steel and aluminium resist mould better than fibreglass or polyester, which can harbour organic growth in their woven fibres.
- Frame finish: Powder coat in tropical zones should be polyester-based rather than epoxy — polyester withstands UV degradation and maintains its colour and adhesion far longer in high-sun environments.
Across all three climate scenarios, the underlying principle holds: environment dictates material. Choosing metal screen mesh for windows in a coastal or bushfire zone isn’t an upgrade — it’s a baseline requirement. Choosing finer apertures in the tropics isn’t over-engineering — it’s the minimum for comfort. Matching your screen system to local conditions from the start avoids premature failure, costly re-screening, and in bushfire zones, potential non-compliance with life-safety regulations.
Climate-informed choices reduce errors at the selection stage, but plenty of mistakes still happen during the ordering and fitting process itself — problems that have nothing to do with where you live and everything to do with overlooked details.
Common Mistakes When Fitting Fly Screens to Aluminium Windows
Even with the right screen type and mesh material chosen, the project can still go sideways during ordering and installation. Some of these errors are obvious in hindsight — others only reveal themselves months later when a screen rattles loose, mesh corrodes, or a window can no longer open fully. Here are the most frequent mistakes ranked from the ones nearly everyone makes to the subtler traps that catch even experienced installers.
Measurement and Sizing Errors
- Measuring at a single point only. Taking one width reading at the centre assumes the frame is perfectly parallel — aluminium frames rarely are. Even a 2–3 mm taper means a screen sized to the widest point won’t fit at the narrow end.
Fix: Measure width at top, middle, and bottom. Measure height at left, centre, and right. Order to the smallest dimension. - Ignoring handle and stay projection clearances. Friction stays, winder handles, and child-safety restrictors project 30–50 mm into the opening. A screen ordered to the full reveal dimension collides with this hardware the first time the window opens.
Fix: Map every piece of hardware, record its maximum projection in both the open and closed positions, and deduct that clearance from your available screen depth. - Ordering standard sizes for non-standard aluminium profiles. Off-the-shelf kits — including replacement window screens home depot stocks and similar big-box offerings — are manufactured around common timber reveal dimensions. Australian aluminium window profiles rarely match these templates precisely.
Fix: Order custom-cut screens based on your actual measurements. The modest price premium over a standard kit is always cheaper than reordering after a poor fit.
Material Compatibility Mistakes
- Choosing mesh that causes galvanic corrosion. A metallic screen made from mild steel or ungalvanised iron in direct contact with an aluminium frame creates an electrochemical cell when moisture is present. Galvanic corrosion pits the aluminium around every contact point, weakening the frame and staining the finish with white oxidation deposits.
Fix: Use aluminium mesh (same metal, no galvanic risk), fibreglass, or 316-grade stainless steel isolated from the frame with nylon or rubber gaskets. If you’re browsing a home depot metal screen display or similar retail section, check whether the mesh metal matches or is properly isolated from your frame material. - Using adhesive on textured powder coat without surface preparation. Heavily textured powder-coat finishes have peaks and valleys that reduce actual contact area for adhesive tape. The bond may feel firm initially, then fails within weeks as heat cycling softens the adhesive.
Fix: Clean the surface with isopropyl alcohol first. On rough textures, apply a thin coat of adhesion-promoting primer before attaching tape. Better yet, choose a mechanical fixing method if the texture is pronounced. When selecting screen material home depot or local hardware suppliers carry, match the attachment system to your frame’s actual surface finish — not just its colour.
Overlooking Access and Maintenance Needs
- Selecting a screen that blocks window opening function. A fixed metal screen window installed on the exterior of a tilt-and-turn frame prevents the sash from swinging inward. A thick-framed panel on a sliding window can obstruct the second sash entirely.
Fix: Before ordering, physically simulate the screen’s position using a piece of cardboard or timber cut to size. Open and close the window fully with the mock-up in place to confirm nothing binds or collides. - Forgetting that the screen must come off for window cleaning. Permanently fixed window screen aluminum panels with no release mechanism make exterior glass cleaning nearly impossible without removing screws every time. Over the life of the screen, that means dozens of removal-and-refitting cycles that wear screw holes and damage coatings.
Fix: Specify quick-release clips, turn-buckles, or lift-out retention systems that allow the screen to be removed tool-free. If you’re sourcing a home depot replacement screen or equivalent product, confirm it includes a removal mechanism rather than permanent-fix-only hardware.
Most of these mistakes share a common thread: they stem from ordering before fully understanding the specific window being screened. A five-minute inspection of hardware clearances, a three-point measurement routine, and a quick material compatibility check prevent the vast majority of costly re-orders and frame damage. The question that usually follows — whether to tackle installation yourself or hand it to a professional — depends on which screen type you’ve chosen and how confident you feel working with aluminium profiles.
DIY vs Professional Installation for Aluminium Windows
Confidence with a tape measure and a drill doesn’t automatically mean you should install every screen yourself. Some fly screen types genuinely suit a weekend DIY effort, while others punish anything less than trade-level precision. Knowing where that line falls saves both money and frustration — and keeps your aluminium frames intact.
When DIY Makes Sense
Fixed-frame screens with spring clips or plunger pins are the simplest category. If you’ve measured correctly (three points, smallest dimension, clearances noted), an aluminum screen frame kit from a local supplier slots into a standard reveal without specialised skills. Lift-out panels, magnetic systems, and adhesive mesh for small openings also sit comfortably in DIY territory.
The realistic question is how much are window screens going to cost you through DIY versus professional channels. A basic fixed-frame kit runs $80–$180 AUD per opening (supply only), while a professional supply-and-install service typically charges $180–$350 per opening for the same screen type. That gap narrows fast once you factor in tools you don’t already own or a re-order from a measurement error.
When to Call a Professional
Retractable roller systems, security mesh, multi-panel sliding setups, and any screen requiring structural fixing into the aluminium profile benefit from professional fitting. These products demand precise tensioning, exact bracket alignment, and — for security-grade mesh — installation to Australian standards that maintain warranty coverage. Most manufacturers void their product warranty if a non-licensed installer fits the screen, which means a DIY attempt on a $600 retractable unit risks the entire investment if something fails.
People sometimes ask does home depot replace window screens — and while big-box retailers in North America offer in-store screen window repair, Australian buyers are better served by local screen specialists who measure on-site, fabricate to your exact aluminium profile, and guarantee the fit. That on-site measurement alone eliminates the sizing errors that account for most failed DIY installations.
Tools and Materials for DIY Installation
If you’re handling the job yourself, the right tools prevent frame damage:
- Sharp HSS drill bits (2–3 mm) — aluminium requires high-speed steel bits that cut cleanly without grabbing. Blunt bits wander across powder coat and gouge the profile.
- Stainless steel screws (self-tapping, countersunk) — these won’t cause galvanic corrosion against the aluminium frame. Avoid zinc-plated or brass fasteners.
- Steel tape measure and combination square — for checking reveal dimensions and confirming frame is true.
- Masking tape — applied to the frame surface before drilling to prevent the bit skidding and scratching the coating.
- Touch-up paint or clear sealant — dab onto any screw penetrations to reseal the powder coat against moisture entry.
Longevity rewards good installation. A well-fitted screen on a quality aluminium frame — with correct fasteners, no coating damage, and proper clearance from hardware — will perform reliably for ten to fifteen years with nothing more than occasional mesh cleaning and a hardware check each spring. Cut corners on the install, and you’ll be searching for home depot replacement window screens or local equivalents far sooner than necessary.
| Factor | DIY Installation | Professional Installation |
|---|---|---|
| Cost per opening (AUD) | $80–$200 (supply only) | $180–$500 (supply and install) |
| Time investment | 30–90 minutes per screen (plus measuring) | Installer handles everything; typical half-day for a full house |
| Skill level required | Basic — measuring, drilling, clip fitting | None required from homeowner |
| Warranty coverage | Product warranty only (may void if install causes damage) | Full product and installation warranty (often 5–10 years) |
| Best suited screen types | Fixed-frame, magnetic, spring-tension, simple sliding panels | Retractable, security mesh, multi-panel, motorised, bushfire-rated |
| Risk of frame damage | Moderate — depends on skill and tools | Low — experienced with aluminium profiles |
Whether you DIY a home depot window screen kit equivalent or commission a professional fit, the underlying principle stays the same: match the installation complexity to your actual skill level, and never gamble your aluminium frame’s finish on a method you haven’t researched thoroughly. With installation approach settled, the final step is pulling every decision together — window type, mesh, climate, and budget — into a single framework that points you toward the right screen for your specific situation.
Matching the Right Fly Screen to Your Aluminium Window System
Every choice covered so far — screen type, mesh material, measurement method, installation approach, climate adaptation — feeds into a single practical question: which combination actually suits your home? Rather than revisiting each variable in isolation, this section connects them into a decision path you can follow from start to finish.
Decision Framework by Window Type and Lifestyle
The decision flows through four layers, each narrowing your options until only one or two sensible configurations remain:
1. Window type — determines which screen mechanisms are physically compatible. A sliding aluminium window needs a sliding mesh panel or retractable system. A casement needs a hinged or retractable screen mounted internally. Start here because it eliminates incompatible products immediately.
2. Environment — filters your mesh material options. Coastal salt air rules out non-isolated steel. Bushfire zones mandate non-combustible metal mesh. Tropical insect pressure may require finer aperture grades. Temperate inland areas have the widest material freedom.
3. Priority — ranks your competing needs. Do you value maximum visibility and minimal visual bulk? Security and ember protection? Pet durability? Or is budget the overriding constraint? Your top priority selects the mesh grade and frame weight within whatever your environment already permits.
4. Installation method — locks in based on tenancy status and frame finish. Renters choose tension-fit or magnetic. Homeowners with powder-coated frames choose screw-fixed clips or brackets with sealed penetrations. Properties with dedicated screen channels use the integrated clip system the window was designed for.
Following this sequence prevents the common trap of falling in love with a product before confirming it physically works on your windows, in your climate, with your constraints.
Scenario-Based Recommendations
Real situations rarely fit neatly into a single category. Most homes combine multiple factors — a coastal location with pets, a bushfire zone with awning windows, or a high-rise rental with sliding frames. The table below maps common Australian scenarios to specific recommendations:
| Scenario | Recommended Screen Type | Mesh Material | Installation Method | Maintenance Level |
|---|---|---|---|---|
| Coastal home with pets (sliding windows) | Sliding mesh panel | Pet-resistant polyester or 316 stainless steel (isolated from frame) | Screw-fixed track with stainless fasteners | High — quarterly freshwater rinse, annual hardware check |
| Urban apartment renter (casement/awning windows) | Retractable roller or spring-tension fixed frame | Fibreglass or UV-stabilised polyester | Tension-fit or magnetic strips (no drilling) | Low — wipe down mesh seasonally |
| Bushfire-zone homeowner (mixed window types) | Permanently fixed frame, screw-mounted | 316 stainless steel, max 2 mm aperture (AS 3959 compliant) | Structural screw-fix with sealed penetrations | Moderate — check seal integrity before fire season |
| High-rise with awning windows (wind-exposed) | Fixed-frame with reinforced corners | Aluminium mesh or heavy-gauge fibreglass | Face-mounted brackets with additional mid-span fixings | Moderate — inspect fastener tension after storms |
| Tropical home, sandfly-prone (louvre or casement) | Fixed-frame with midge-grade mesh | UV-stabilised polyester, 0.7–0.9 mm aperture | Screw-fixed clips with polyester powder-coat frame | Moderate — clean mould buildup monthly in wet season |
| Suburban family home with dogs (sliding doors and windows) | Sliding panel or hinged screen | Pet-resistant heavy-duty polyester | Screw-fixed track or bracket-mount | Low-moderate — replace mesh if clawed through |
Notice how the same window type produces different mesh and mounting answers depending on environment. Alu screens for a suburban Melbourne home look nothing like the setup required for the same window profile in Port Douglas. That’s precisely why no single “best” product exists — only the best match for a given set of conditions.
How long do window screens last under these configurations? In temperate, low-exposure settings, expect 10–15 years from a well-installed fixed frame with fibreglass mesh. Coastal stainless steel setups maintained properly can exceed 15 years. Budget fibreglass in tropical UV tops out around 4–5 years before the mesh becomes brittle and needs replacement. Longevity depends less on the initial purchase price and more on whether the materials suit the environment they’re installed in.
Planning Fly Screens Into Your Window System
Four principles hold regardless of scenario:
- Always measure before buying. Three-point measurement at every opening. Smallest dimension wins. No exceptions — even for aluminum window screens marketed as “universal fit.”
- Match mesh to environment. Coastal demands corrosion resistance. Bushfire zones demand non-combustible metal. Tropical areas demand UV stability and fine apertures. Don’t let aesthetics override what your climate requires.
- Choose installation method by frame finish and tenancy. Renters: no-drill systems. Homeowners with powder coat: pre-drill, seal, and use stainless fasteners. Frames with integrated screen channels: use them — they exist for exactly this purpose.
- Consider whether your windows were designed with screens in mind. This is the factor most buyers only appreciate after struggling with a retrofit. Aluminium window systems designed with dedicated screen channels, recessed hardware, and adequate profile depth make screen installation straightforward. Systems that weren’t designed for screens force compromises at every step.
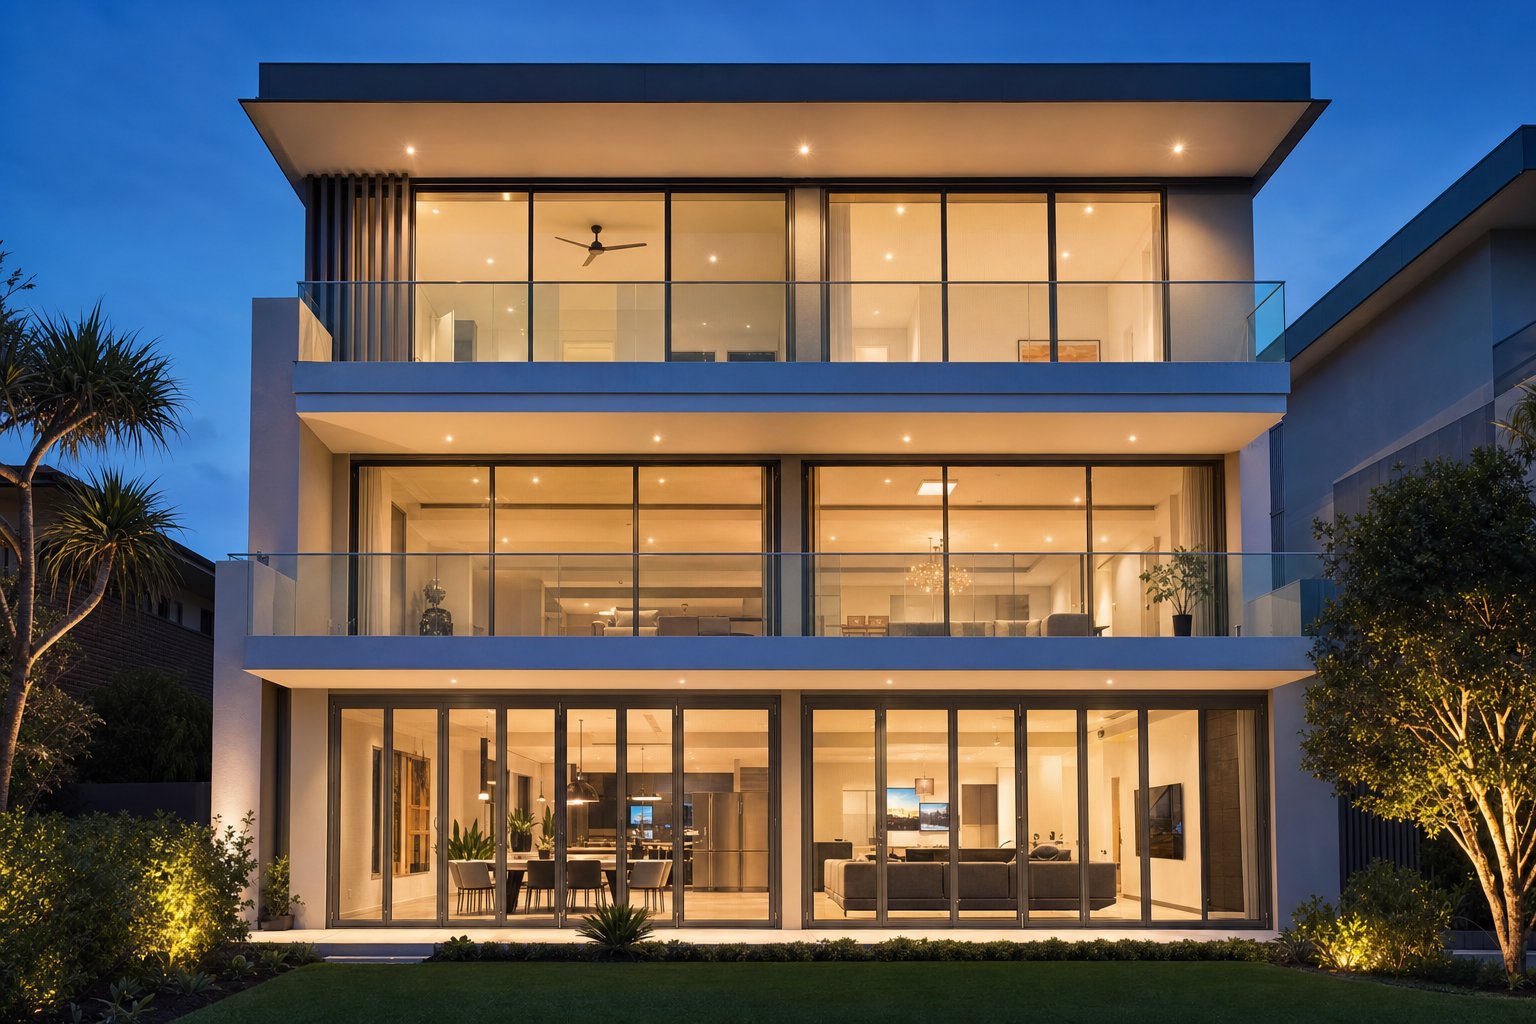
For new builds or full window replacement projects, this last point matters most. Selecting aluminium window systems that integrate fly screen provision from the design stage — with purpose-built channels, compatible stay positions, and sufficient frame depth — eliminates the retrofitting headaches covered throughout this guide. MEICHEN’s aluminium windows are one example of this approach: custom frame profiles and hardware configurations designed so that screen attachment is a planned feature rather than an afterthought. Exploring integrated solutions like these at the window selection stage delivers a better long-term fly screen outcome than any amount of clever retrofitting can achieve.
Whether you’re browsing window screens for sale to retrofit existing frames or specifying a complete window-and-screen system for a new project, the path to a good result is the same: understand your window, respect your environment, measure precisely, and install in a way that protects the aluminium profile you’re attaching to. Get those fundamentals right, and your screens will perform quietly in the background for years — keeping bugs out and letting airflow through, exactly as intended.
Frequently Asked Questions About Fly Screens for Aluminium Windows
1. What type of fly screen works best on aluminium casement windows?
Hinged fly screens and retractable roller screens are the most practical options for aluminium casement windows. Because the sash swings outward, the screen must sit on the interior face of the frame. Hinged screens allow full access for cleaning and emergency egress, while retractable systems roll into a compact cassette when not in use, preserving your view. Fixed-frame screens also work well if fitted with quick-release clips for occasional removal. The key is ensuring the screen doesn’t interfere with friction stays or winder handles that project into the opening.
2. Can you install fly screens on aluminium windows without drilling holes?
Yes, several no-drill options exist for aluminium windows. Spring-loaded tension-fit screens press outward against the reveal walls using internal plungers. Magnetic strips attach to the frame perimeter and allow the mesh panel to snap on and off. Adhesive-backed hook-and-loop strips also work, though they perform poorly on heavily textured powder-coat finishes. These methods suit renters or anyone wanting a reversible solution, but they may not hold up in high-wind areas. For permanent and reliable attachment, screw-fixed clips or face-mounted brackets with stainless steel fasteners remain the strongest choice.
3. Does stainless steel mesh cause corrosion on aluminium window frames?
Stainless steel and aluminium are dissimilar metals, and when moisture bridges the gap between them, galvanic corrosion can develop — the aluminium sacrifices itself electrochemically. This risk is highest in coastal environments where salt spray accelerates the reaction. The solution is isolating the mesh from the frame using rubber gaskets, nylon mounting points, or plastic spacers at every contact point. Well-designed screen systems include these non-conductive barriers as standard. Alternatively, aluminium mesh eliminates the issue entirely since it shares the same base metal as the frame.
4. How do you measure aluminium windows for fly screens accurately?
Measure each opening at three points: width at the top, middle, and bottom, plus height on the left, centre, and right. Always use the smallest reading for your order size, since aluminium frame openings are rarely perfectly parallel. Determine your mounting method first — reveal-fit screens use the distance between inner wall edges, while face-of-frame screens measure across the aluminium profile itself. Subtract 2-3 mm fitting clearance for recess-fit systems. Also measure the projection of all handles, stays, and restrictors to ensure the screen clears them in both open and closed positions.
5. What fly screens are required for bushfire-prone areas in Australia?
Under AS 3959, openable windows in BAL-12.5 through BAL-40 zones require non-combustible metal mesh screening with apertures no larger than 2 mm to prevent ember entry. Standard fibreglass and polyester mesh do not comply. Typically, 316-grade stainless steel or bronze mesh is used. These screens must be permanently fixed — not removable clip-on panels — and the frame joints must remain tight under radiant heat exposure. This creates a practical triple benefit: bushfire compliance, insect exclusion, and security protection from a single installation. Always confirm specific requirements with your bushfire consultant and local council.
More Window & Door Guides