What Are Aluminium Window Surrounds
Specifiers often conflate surrounds with generic exterior window trim or decorative window mouldings. They are not the same thing. Surrounds carry structural and weatherproofing responsibilities that standard trim simply does not.
What Aluminium Window Surrounds Actually Are
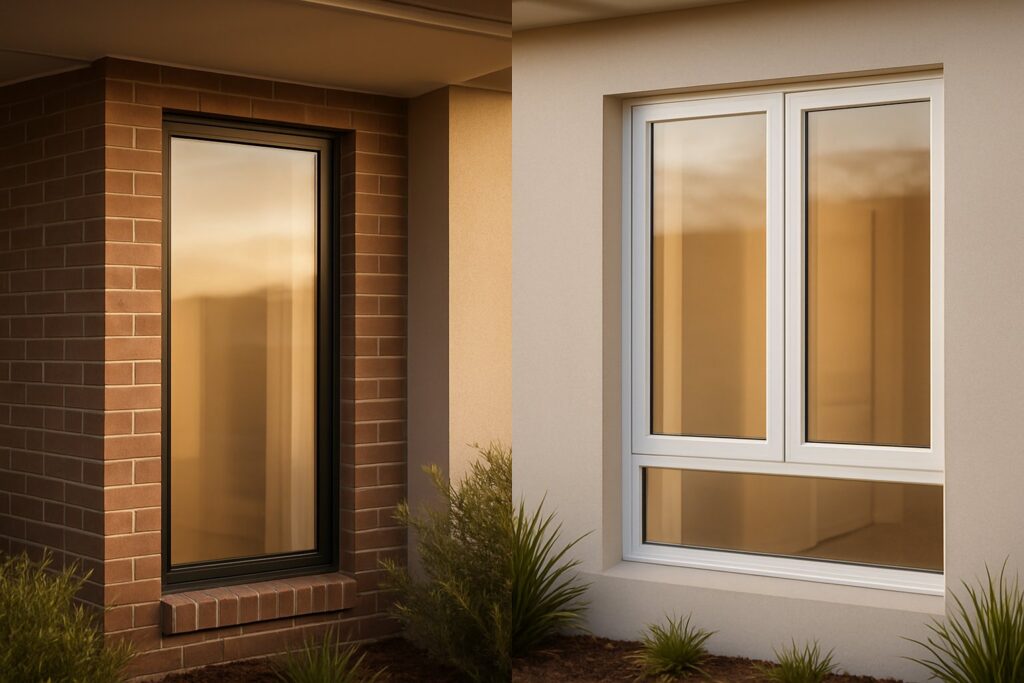
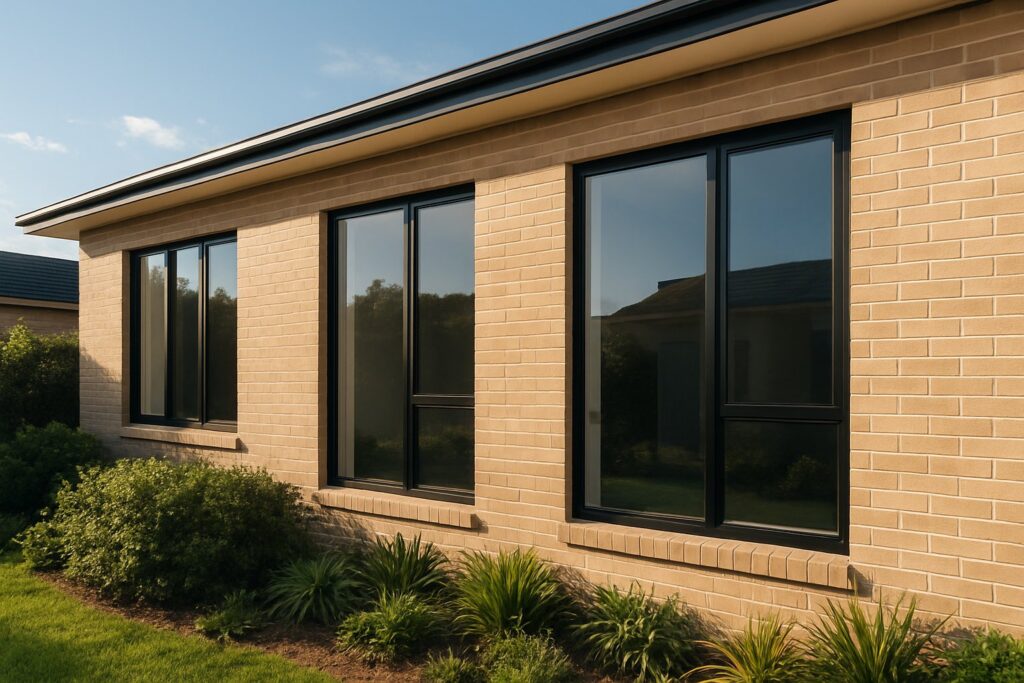
Aluminium window surrounds are pre-formed aluminium profiles fitted around the full external perimeter of a window opening. They create a clean, finished frame between the window unit and the surrounding wall, providing weather protection, thermal transition detailing, and a precise aesthetic edge that general trim or moulding cannot deliver.
Where basic aluminum window trim covers a gap, a surround system manages the entire junction between window frame and wall substrate. It sheds water, accommodates thermal movement, and presents a consistent architectural line across the facade. Think of it as the engineered interface rather than a cosmetic cover strip.
Key Components of a Window Surround System
Every surround assembly comprises the same core elements, regardless of profile style or project scale:
- Head profile — the horizontal section spanning the top of the opening, typically incorporating a drip edge to direct water away from the lintel
- Jamb profiles — the two vertical sections running down each side, connecting head to sill and managing lateral weatherproofing
- Sill profile — the bottom section, angled or stepped to promote drainage and prevent water pooling
- Corner joints — mitred or mechanical connections that tie the four sections into a continuous frame
These components work together as a system. A missing drip detail on the head or a poorly sealed corner joint compromises the entire assembly, which is why surrounds demand more precision than standard window mouldings nailed to a facade.
Why Aluminium Dominates External Applications
Aluminium earns its place in exterior window trim applications through a combination of practical advantages. It resists corrosion in coastal and high-UV environments common across Australia. It accepts powder-coat finishes in virtually any RAL colour without the ongoing repainting cycles timber demands. It is non-combustible, lightweight, dimensionally stable, and fully recyclable at end of life. For specifiers balancing durability, design freedom, and compliance with the National Construction Code, no other material ticks as many boxes in a single profile.
That said, choosing aluminium is only the starting point. The real complexity lies in how surrounds interact with the building envelope, and that is where most specification errors begin.
The Architectural Role of Window Surrounds in Building Design
Beyond their weatherproofing function, aluminium window surrounds shape how a building is perceived from the street. A flat wall punctuated by glass alone can feel unresolved. Add a considered surround profile and the window becomes a deliberate architectural feature rather than a hole in the facade.
How Surrounds Frame Windows as Architectural Features
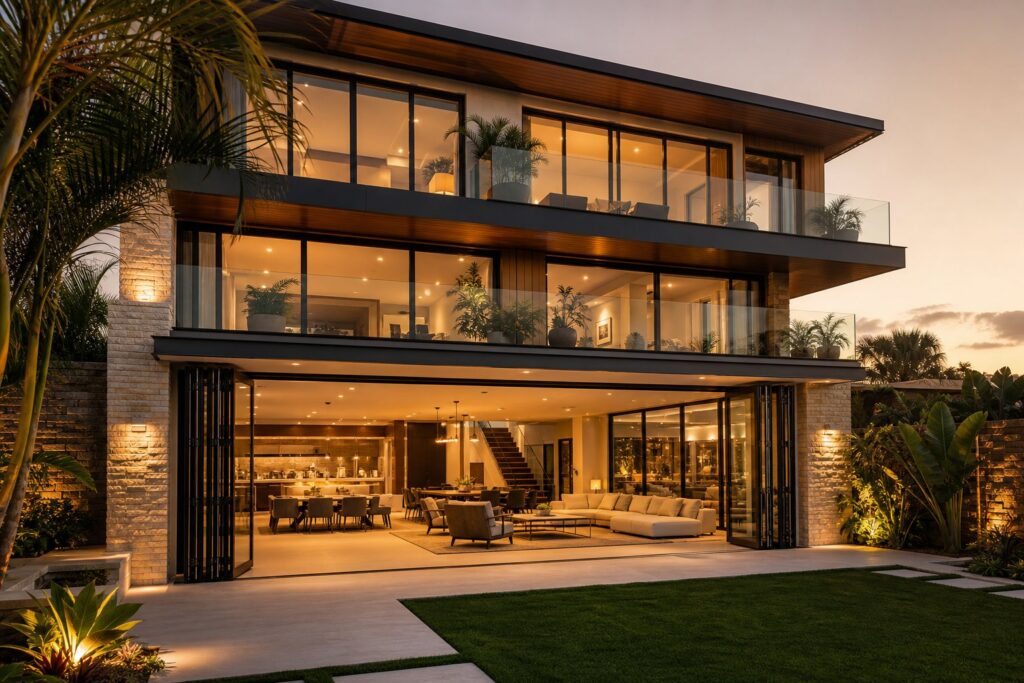
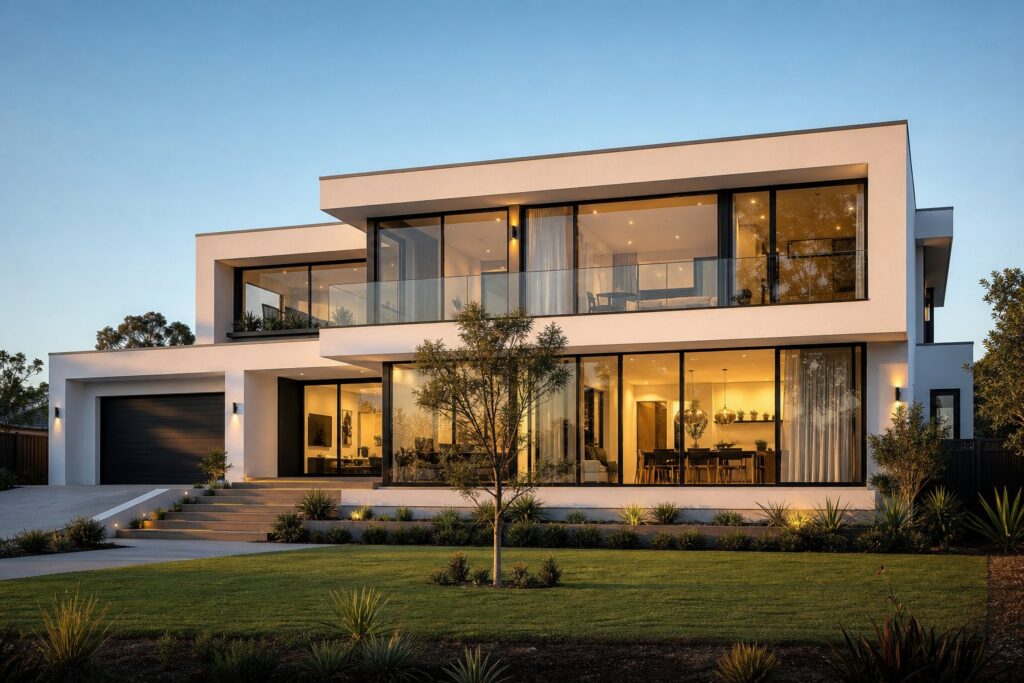
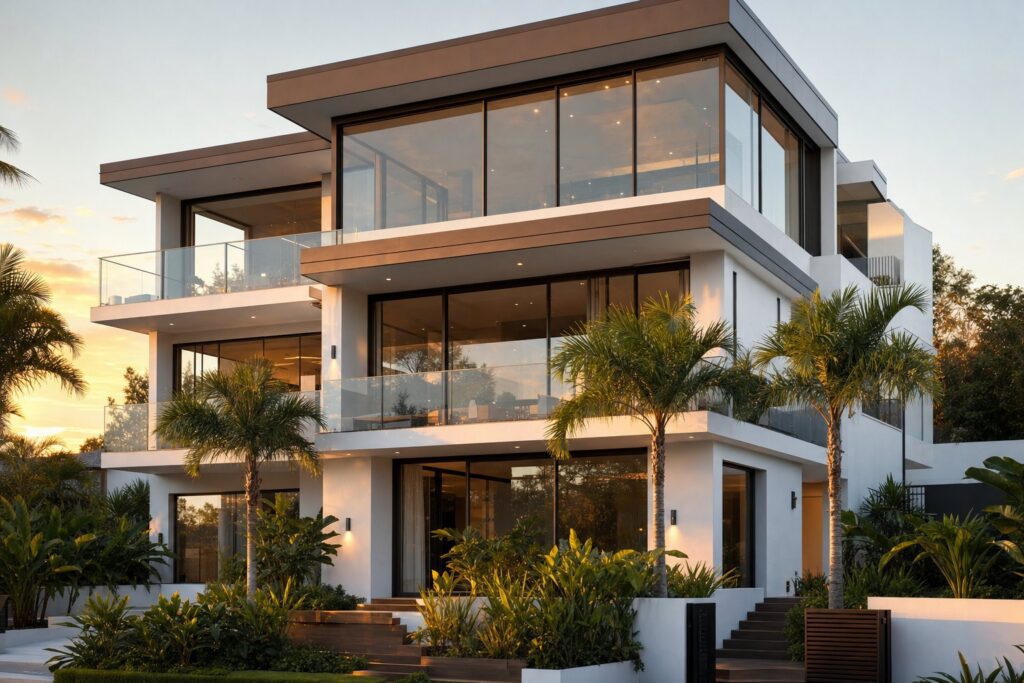
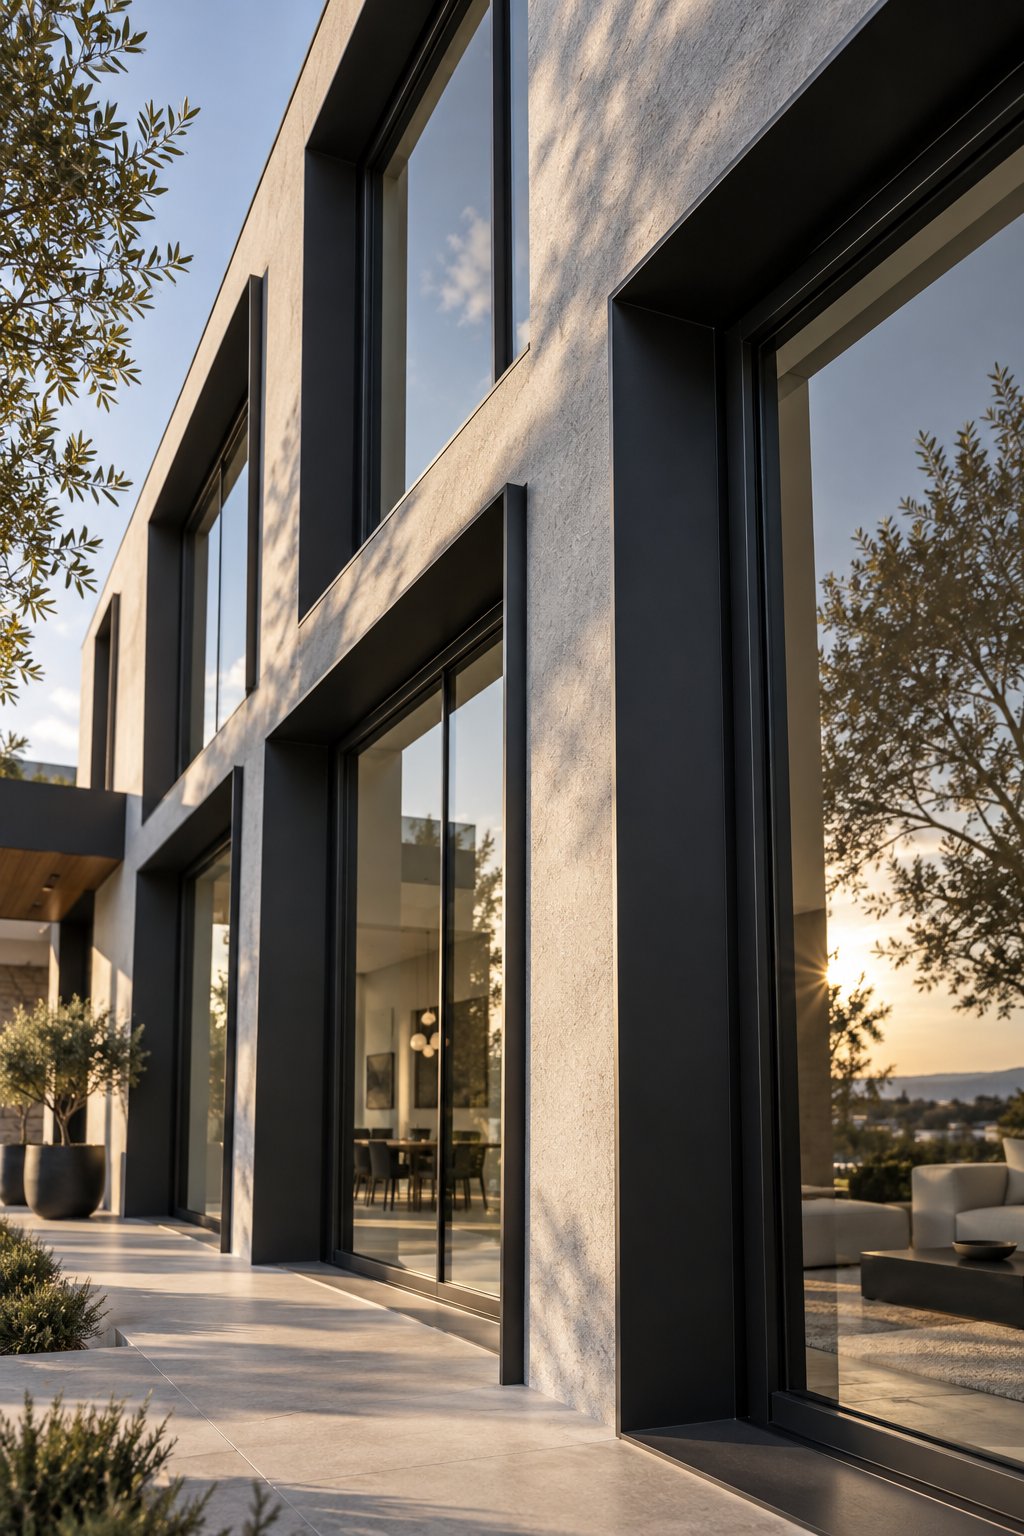
Surrounds introduce visual depth. They cast shadow lines that change character throughout the day, giving a facade a sense of dimension that flat surfaces cannot achieve on their own. As one architectural case study demonstrated on a two-storey modern home, projected aluminium boxes around windows heightened the perception of depth and helped break down the scale of large wall planes. The effect is similar to how a picture frame elevates artwork — the surround tells the viewer where to look and signals that the opening is intentional, composed, and considered.
On facades with multiple window sizes, surrounds create visual cohesion. A consistent profile running around every opening — regardless of whether it is a narrow highlight window or a full-width glazing panel — ties the composition together and establishes rhythm across the elevation.
Profile Depth and Visual Impact on Facades
The depth and geometry of the profile you select determines the building’s character more than almost any other single detail. A shallow flat trim window approach sits nearly flush with the wall, producing clean lines suited to minimalist contemporary homes. A deeper profile projects further, catching more light and shadow, and can reference classical decorative window trim proportions without resorting to ornamental excess.
Common profile styles and their architectural effects:
- Flat/square — minimal projection, sharp edges, suits modern facades where square window trim reads as a precise, restrained border
- Chamfered — angled edges soften the profile and reduce visual weight, working well on rendered walls where a subtle transition is preferred
- Deep reveal — projects 50 mm or more from the wall face, creating pronounced shadow lines that add drama and scale to larger buildings
- Picture frame — a continuous, equal-depth profile on all four sides that mimics traditional picture frame window molding, ideal for giving individual openings a strong, self-contained identity on the facade
Colour and Finish Options for Design Flexibility
Modern powder-coating technology means aluminium surrounds are not limited to silver or grey. Any RAL colour is achievable, and textured finishes can replicate timber grain, anodised bronze, or matte black. This flexibility lets specifiers match surrounds to window frames, contrast them against wall finishes, or use colour to highlight specific openings as focal points. A flat trim window in charcoal against a white rendered wall, for instance, creates a bold graphic quality. The same profile in a matching white virtually disappears, letting the glass itself dominate.
Colour and profile choices are powerful, but they only deliver their intended effect if the surround material can hold its finish over decades of UV exposure, salt air, and rain. That durability question is where the comparison between aluminium, timber, and uPVC becomes unavoidable.
Aluminium vs Timber vs uPVC Window Surrounds Compared
Each material brings genuine strengths to exterior window trim molding applications. The mistake most specifiers make is choosing based on upfront cost alone, ignoring the decades of performance that follow installation day.
Timber Surrounds and Their Limitations
Timber remains the right choice for heritage and character homes where council overlays demand sympathetic materials on street-facing elevations. Wood window trim exterior profiles deliver a warmth and tactile quality that no synthetic material truly replicates. On Federation-era homes or architect-designed residences where natural grain is part of the design language, timber earns its place.
The trade-off is maintenance. Timber needs recoating every five to eight years in temperate climates, and as often as every three to five years in harsh coastal or tropical exposures. Moisture is the core enemy — timber requires a moisture content of just 20% for fungal decay to take hold, and rot typically starts at the sill, bottom rail, and joints where water pools or enters through end-grain absorption. Painting over damp timber only traps moisture inside, accelerating the problem rather than solving it. For exterior window trim wood applications exposed to Australian sun and rain cycles, this ongoing burden adds real cost over the life of the building.
uPVC Surrounds and Where They Fall Short
uPVC offers solid thermal performance and zero rot risk, making it a sensible option for budget-driven residential projects where energy efficiency is the top priority. It ignores termites, requires no painting, and costs less than timber in most supply-and-install scenarios.
Its limitations become apparent over time. Colour options are restricted — most uPVC profiles come in white, cream, or a handful of woodgrain laminates that can peel or fade under prolonged UV exposure. Profile shapes are limited by the extrusion process, so achieving the crisp, slim lines of aluminium window frames is difficult. There is also a perception issue around recyclability; while uPVC is technically recyclable, end-of-life collection infrastructure in Australia remains limited compared to aluminium scrap markets. In multi-storey or commercial contexts, uPVC’s combustibility rating rules it out entirely for exterior window molding where fire compliance matters.
Why Aluminium Outperforms in Most External Applications
Aluminium sits at the intersection of longevity, design freedom, and low maintenance. Powder-coated finishes last 30 years or more with nothing beyond occasional cleaning. The same coating technology that protects aluminium window frames enables any RAL colour, timber-grain texture, or metallic finish — giving specifiers the aesthetic range of timber without the repainting cycle. Aluminium is non-combustible (Euroclass A1), fully recyclable with no loss of material quality, and dimensionally stable across temperature extremes. For coastal properties within five kilometres of the shoreline, marine-grade aluminium with enhanced coatings resists salt corrosion where standard powder-coat might chalk over time.
The table below summarises how the three window moulding materials compare across the criteria that matter most for exterior surround applications:
| Criteria | Aluminium | Timber | uPVC |
|---|---|---|---|
| Expected lifespan | 40+ years | 30–50 years (with maintenance) | 25–30 years |
| Maintenance frequency | Minimal — clean annually | Recoat every 5–8 years | Minimal — clean annually |
| Fire rating | Non-combustible (A1) | Combustible | Combustible (self-extinguishing) |
| Colour options | Unlimited RAL colours, woodgrain, metallic | Any paint colour (requires recoating) | Limited range; laminate prone to fading |
| Recyclability | 100% recyclable, strong scrap market | Biodegradable, reusable | Technically recyclable, limited infrastructure |
| Best application context | Commercial, multi-storey, coastal, modern residential | Heritage overlays, character homes | Budget residential, energy-focused retrofits |
No single material wins every scenario. Timber belongs on heritage projects. uPVC serves tight budgets where thermal performance outweighs aesthetics. But for the majority of new builds, commercial facades, and exterior window trim molding applications where decades of maintenance-free performance and design flexibility matter, aluminium is the material that delivers without compromise.
Material selection, however, is only half the specification. Where and how surrounds are applied — new build versus retrofit, residential versus commercial — introduces an entirely different set of considerations that shape the final outcome.
Application Contexts From New Builds to Retrofit Projects
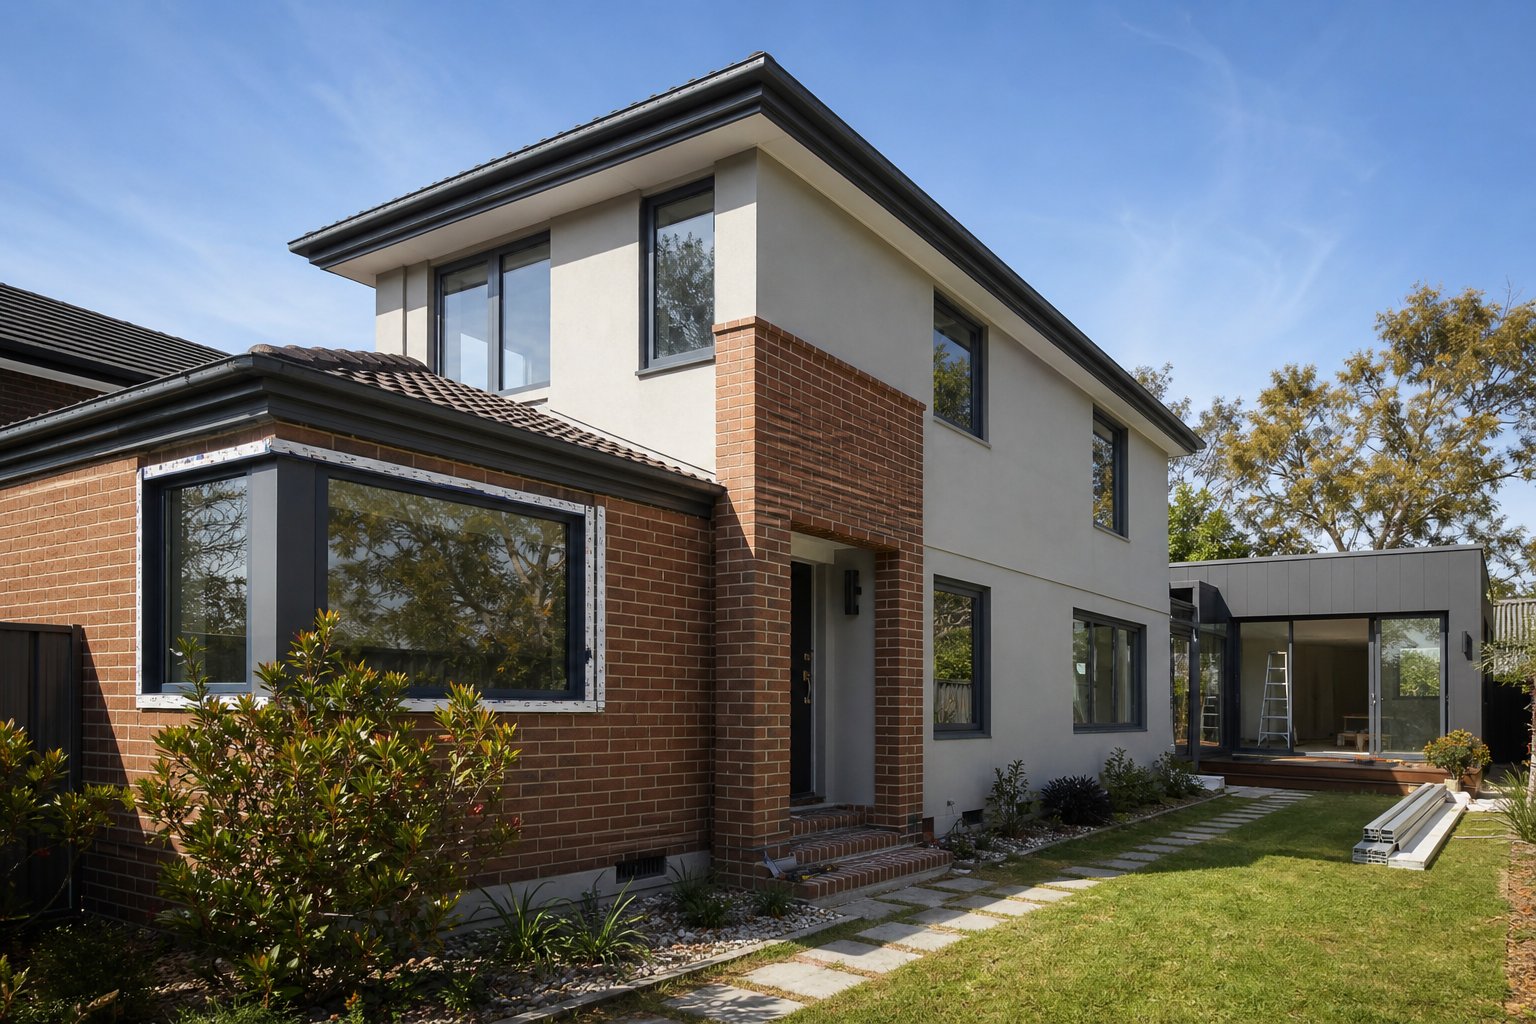
A surround that performs flawlessly on a new rendered facade may be entirely wrong for a weatherboard retrofit. The application context dictates profile selection, fixing method, sequencing on site, and even the supplier you should be talking to. Getting this wrong is one of the most common specification failures — and it usually stems from treating every project as if it were the same.
New Build Integration With Cladding and Render
On new builds, aluminium window surrounds are specified during the design phase and coordinated with the external cladding or render system. This is not an afterthought bolted on once the walls are up. The surround profile needs to align with the cladding depth, sit correctly against waterproofing membranes, and allow for proper flashing at the head and sill.
Sequencing matters enormously. Windows typically go in before cladding begins, which means surrounds must be designed to receive the cladding edge or render bead cleanly. As Melbourne facade specialists note, poor sequencing around windows is a major cause of programme blowouts on luxury builds — rework at sill details, trims, and waterproofing junctions eats time and budget. Specifying surrounds early, with clear dimensions communicated to the cladding contractor, eliminates most of these clashes.
Retrofit Solutions for Ageing Timber and uPVC
Retrofit projects present a different challenge entirely. The window itself may be structurally sound, but the surrounding trim has deteriorated — peeling paint, soft timber, cracked uPVC that has yellowed beyond recovery. Full window trim replacement is one option, but window capping offers a faster, less disruptive alternative.
Capping windows with aluminum involves fitting pre-formed aluminium profiles over the existing timber frame, encapsulating the wood and protecting it from further moisture damage. The timber stays in place as a substrate, and the aluminium cap becomes the new external face. This approach eliminates ongoing painting and sealing cycles while extending the life of the original frame by decades. Aluminum capping on windows has become increasingly popular across Australian suburbs where ageing brick veneer and weatherboard homes need a refresh without the cost of full window replacement.
For homes where the existing frames are too far gone, exterior window trim kits provide a complete surround system — head, jambs, sill, and corner pieces — that replaces deteriorated trim without disturbing the window unit or the surrounding wall finish. This keeps disruption to a minimum and avoids triggering broader compliance upgrades that a full window swap might require.
Residential vs Commercial Specification Differences
Residential and commercial projects share the same core product but diverge sharply on performance demands. A two-storey home in suburban Melbourne needs surrounds that look sharp and keep water out. A six-storey mixed-use building in a capital city CBD needs all of that plus verified fire ratings, acoustic performance data, and compliance documentation for the building certifier.
Commercial surrounds must meet stricter fire-rating requirements under the National Construction Code, particularly for buildings over 25 metres where non-combustible materials are mandatory across the entire facade. Aluminium’s A1 classification satisfies this without additional treatment. Commercial projects also demand heavier-gauge profiles to span wider openings and resist higher wind loads — considerations that rarely apply to standard residential window siding trim.
The following list breaks down the key benefits of aluminium surrounds by project type, helping you identify where your own project sits:
- New build — design integration with cladding systems, consistent finish across all openings, single-source specification with window units, no maintenance from day one
- Retrofit — capping over existing timber eliminates repainting, minimal disruption to the building envelope, exterior window trim kits allow component-level replacement without full window swap
- Residential — improved kerb appeal, increased property value, colour-matched profiles that complement any facade material, low lifetime cost
- Commercial — non-combustible fire rating, heavier profiles for larger spans, compliance documentation for certifiers, consistent aesthetic across repetitive openings
Identifying your project context narrows the specification considerably. But regardless of whether you are capping a 1970s weatherboard or detailing a new apartment facade, the next critical step is the same: accurate measurement. And this is where the most costly mistakes tend to happen.
Measuring and Specifying Aluminium Window Surrounds Correctly
A perfectly chosen profile in the ideal colour means nothing if the dimensions are wrong. Measurement errors account for more surround rework on Australian building sites than any other single issue — and most of them stem from a misunderstanding of what, exactly, you are measuring to.
Measuring Reveal Depth and Opening Dimensions
The reveal depth is the distance from the face of the external wall to the window frame trim. This dimension determines how deep your surround profile needs to be, and it varies at every corner of the opening because walls are never perfectly plumb or flat. Measure at all four corners and record each figure separately.
For opening width and height, measure the structural opening — not the window frame itself. This is the single most common mistake. The aluminum window frame sits inside the structural opening with packing and sealant gaps around it. If you measure to the frame edge, your surround will be undersized and unable to cover the junction properly.
Take width measurements at the top, middle, and bottom of the opening. Take height measurements at the left, centre, and right. Use the largest dimension in each direction, then add your specified tolerance — typically 5 mm to 10 mm — to allow for shimming and sealant joints during installation.
Checking for square is equally critical. Measure both diagonals of the opening. If they differ by more than 3 mm, the opening is out of square, and your surround fabricator needs to know. Out-of-square openings require either tapered profiles or site-trimming allowances built into the specification.
Face-Fix vs Reveal-Fix: Why It Changes Your Dimensions
The fixing method you choose fundamentally alters what you measure. A face-fix surround sits on the wall surface around the outside of the opening. Your critical dimension is the overall external measurement — the opening width plus the profile width on each side. A reveal-fix surround sits inside the reveal, pressed against the structural opening. Here, the internal dimensions of the reveal are what matter, and tolerances become tighter because the surround must fit within the opening rather than overlapping it.
Face-fix is more forgiving of imperfect openings and is the standard approach for most Australian residential applications. Reveal-fix produces a cleaner, more recessed look but demands greater precision — both in measurement and in the squareness of the opening itself.
Accounting for External Wall Insulation Depth
External wall insulation (EWI) systems add a layer of complexity that catches many specifiers off guard. When rigid insulation board — commonly 50 mm to 100 mm thick — is applied to the outside of the structural wall, the effective reveal depth increases dramatically. The surround must bridge from the outer face of the insulation back to the window frame, which may now sit 100 mm or more behind the finished wall plane.
This is not a minor adjustment. As Fine Homebuilding’s guide to continuous exterior insulation demonstrates, accommodating insulation depth often requires a window buck — an extension frame built out to the insulation face — before the surround can be fitted. In Australian EWI retrofits, the surround profile depth must account for the full build-up: structural wall, insulation board, render carrier board or cladding battens, and any air gap. Miss any one of these layers and the window trim casing will either fall short of the wall face or project beyond it.
Measure the total wall build-up at each opening individually. Insulation thickness can vary where services penetrate the wall or where existing render has been left in place beneath the new system.
What to Include in Your Specification Order
Fabricators cannot produce accurate surrounds from dimensions alone. A complete specification order includes profile geometry, colour, fixing method, corner detail, and project-specific notes. Missing any of these forces assumptions — and assumptions on a fabrication drawing become expensive mistakes on site.
Follow this step-by-step process to ensure your order is complete:
- Record opening dimensions — width, height, and reveal depth at multiple points per opening, noting any out-of-square conditions
- Confirm the wall build-up — substrate type, insulation thickness, cladding or render system, and total depth from structural wall to finished face
- Select the fixing method — face-fix or reveal-fix, and confirm the substrate material (masonry, timber frame, steel, or SIPs) so the fabricator can specify appropriate fixing provisions
- Choose the profile style and depth — flat, chamfered, deep reveal, or picture frame, with the exact projection dimension confirmed
- Specify colour and finish — RAL number, texture (smooth, matte, woodgrain), and coating standard (standard powder-coat or marine-grade for coastal sites)
- Define corner details — mitred joints for a seamless look, or butt joints with cover plates for easier site assembly and tolerance absorption
- Note any integration requirements — whether the surround must accept a cladding edge, render bead, or flashing tape overlap
One approach that eliminates many of these coordination headaches is specifying surrounds and window units from the same supplier. When the window trim casing and the aluminium window frame are designed as a single system, dimensional accuracy is built in from the factory rather than reconciled on site. Suppliers like MEICHEN offer integrated aluminium window systems where surrounds, frames, and hardware are specified together — ensuring consistent finish, matched tolerances, and a single point of accountability if anything does not align. For projects with repetitive openings, this integrated approach saves considerable time during both specification and installation.
Trim around windows exterior is only as good as the information behind it. Rushing the measurement stage or omitting a single detail from the order — say, forgetting to specify the exterior trim on windows fixing method — can delay a project by weeks while profiles are re-fabricated. Spend the time upfront, measure twice at every opening, and give your fabricator everything they need in one clear submission.
Accurate dimensions get the right profiles to site. But how those profiles attach to the building — and what happens at the junction between aluminium and substrate — introduces a whole new set of decisions around fixing methods, thermal performance, and weatherproofing details.
Fixing Methods and Substrate Compatibility Explained
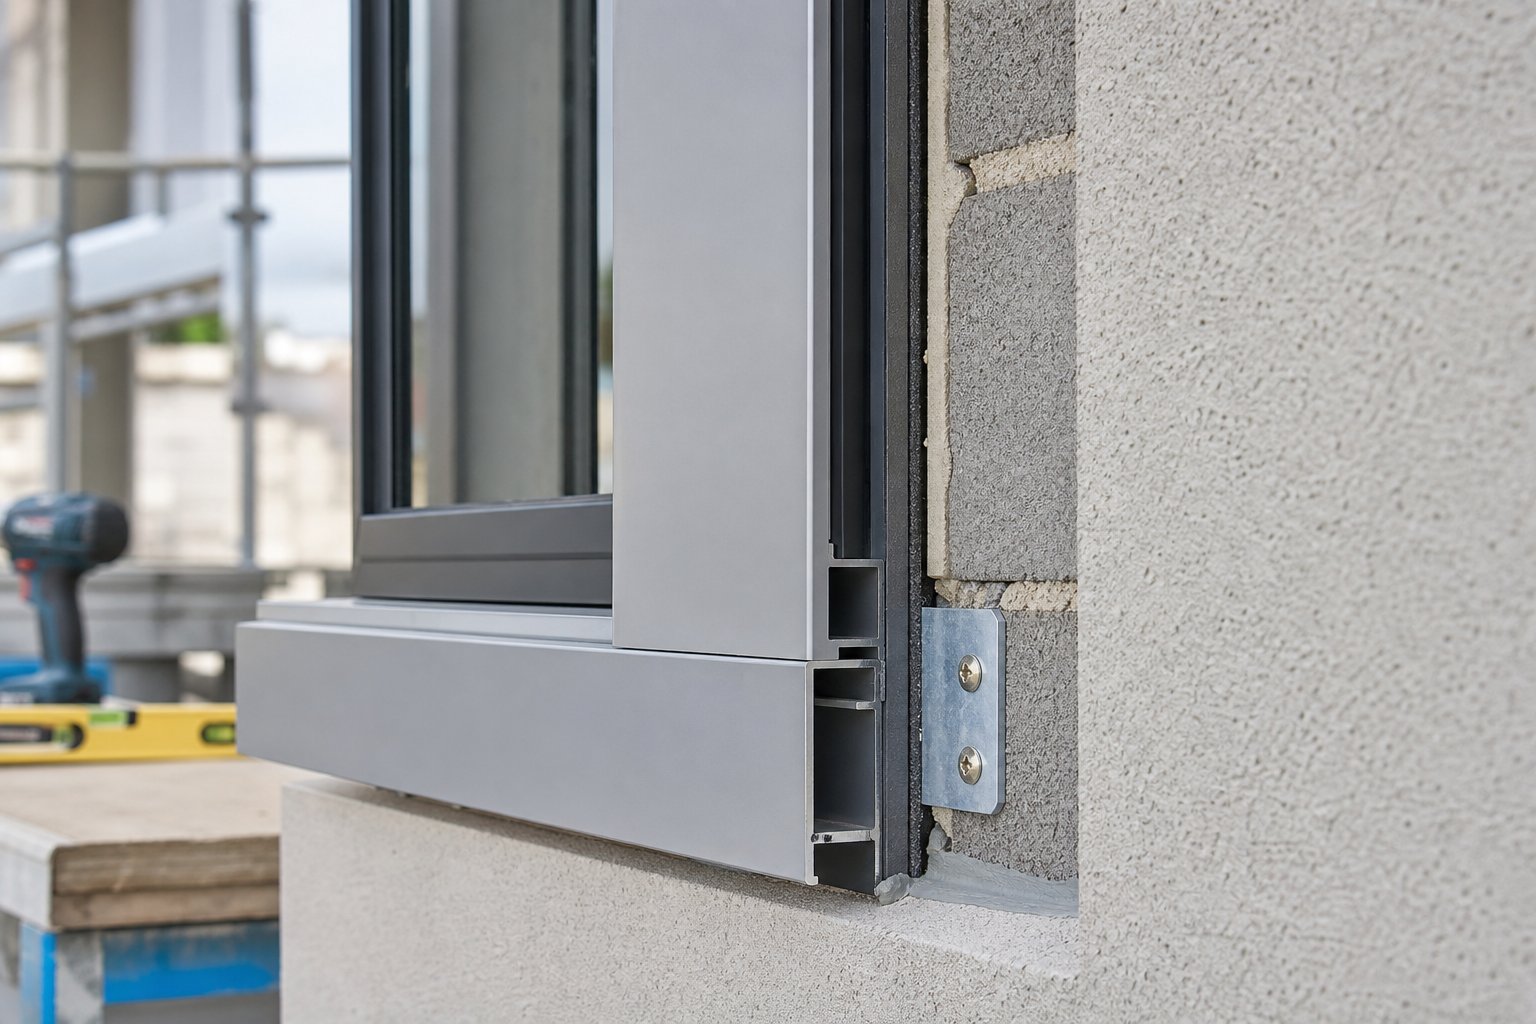
Getting the right profile to site is only half the job. How that exterior window casing attaches to the building — and what sits between the aluminium and the wall — determines whether the surround performs for decades or fails within a few seasons. Australian construction uses a wide range of substrates, and each one demands a different fixing strategy.
Fixing to Masonry, Timber Frame, and Steel Substrates
The substrate behind the surround dictates the fixing type, spacing, and any additional preparation required. A fixing that works perfectly in double-brick masonry will pull straight out of a lightweight steel stud. Specifiers need to confirm the substrate at every opening — not assume it is consistent across the building — because mixed construction is common in Australian residential and commercial projects.
For masonry (brick, block, or concrete), mechanical fixings such as nylon frame anchors or sleeve anchors driven into pre-drilled holes provide reliable pull-out resistance. Fixings should penetrate at least 25 mm into solid masonry, spaced at no more than 600 mm centres with corner fixings positioned 100 mm to 150 mm from each end. This aligns with standard aluminium installation practice where each jamb requires a minimum of two fixings.
Timber frame construction — whether stud walls behind cladding or solid hardwood battens — accepts self-drilling screws directly into the framing members. The key consideration is locating the studs accurately. Fixing into plasterboard or cladding alone provides no structural support. Where battens are used behind external cladding, the outside window casing can be secured through the cladding into the batten, but the fixing length must account for the full build-up depth.
Steel-frame construction requires thread-cutting or self-drilling screws rated for the steel gauge. For light-gauge steel up to 2 mm thick, self-drilling tek screws work well. Heavier structural steel above 2 mm needs pre-tapped holes with machine screws of at least 5 mm diameter. All fixings into steel must be isolated from the aluminium surround to prevent galvanic corrosion — a stainless steel or nylon washer between dissimilar metals is essential.
Structural Insulated Panels (SIPs) present a unique challenge. The outer skin is typically oriented strand board (OSB), which holds screws adequately, but the foam core does not. Fixings must engage the OSB facing or the internal timber spline around the opening. Longer screws that pass through the foam into the structural timber behind offer the most secure connection.
| Substrate Type | Recommended Fixing | Thermal Break Required | Key Considerations |
|---|---|---|---|
| Masonry (brick/block/concrete) | Nylon frame anchors or sleeve anchors, min. 25 mm embedment | Yes — polyamide spacer or thermal isolator pad | Pre-drill; avoid mortar joints where possible; check for cavity behind |
| Timber frame | Self-drilling screws into studs or battens | Recommended in cold climates | Locate studs accurately; account for cladding depth in screw length |
| Steel frame (light gauge) | Self-drilling tek screws | Yes — galvanic isolation essential | Use stainless or nylon washers to prevent bi-metallic corrosion |
| Steel frame (heavy gauge) | Machine screws into pre-tapped holes, min. 5 mm diameter | Yes — galvanic isolation essential | Requires site drilling and tapping; plan access carefully |
| SIPs | Long screws through OSB skin into timber spline | Recommended | Foam core has no holding capacity; fixings must reach structural timber |
Thermal Breaks and Cold Bridge Prevention
Aluminium conducts heat roughly 1,500 times more effectively than timber. Without intervention, an aluminium surround fixed directly to a cold masonry wall creates a thermal bridge — a fast lane for heat to escape the building envelope. In winter, this bridge chills the internal wall surface around the window, and the temperature drop invites condensation right where you least want moisture.
The solution is a thermal break between the aluminium profile and the substrate. In window frame systems, this is typically a polyamide strip bonded between inner and outer aluminium sections. For surrounds, the approach is simpler but equally important: a polyamide spacer, neoprene isolator pad, or thermal break tape placed behind the surround at every fixing point. This prevents the aluminium from making direct metal-to-substrate contact and dramatically reduces heat transfer through the connection.
The width and material of the thermal break matters. A 5 mm polyamide spacer provides meaningful improvement in most residential applications. For projects targeting high NatHERS ratings or Passivhaus-level performance, wider breaks or continuous thermal isolator strips running the full length of each profile may be necessary. The goal is to keep the internal face of the wall around the window warm enough that condensation cannot form — particularly critical in southern Australian climates where winter overnight temperatures regularly drop below 5°C.
Corner Joints and Weatherproofing Details
Every window casing kit — whether site-assembled or factory-welded — must address the corners. This is where water finds its way in if detailing is poor. Two primary approaches exist, each with distinct trade-offs.
Mitred joints produce a clean, seamless appearance where the profiles meet at 45 degrees. They look sharp but demand precise cutting and tight tolerances. Any gap at the mitre becomes a water entry point. On site, mitred joints are sealed with neutral-cure silicone — never acetic-cure, which corrodes aluminium — and may include a spline or biscuit inside the joint for alignment. Mitred corners suit pre-fabricated welded frames where factory conditions allow the precision these joints demand.
Butt joints with cover plates are more forgiving. One profile runs past the corner, the other butts against it, and a pressed aluminium cover plate conceals the junction. This approach absorbs site tolerances better than mitres and simplifies installation for a j channel window detail where the surround receives cladding panels into a channel rebate. Cover plates also allow for thermal movement — aluminium expands roughly 2.4 mm per metre over a 100°C temperature range — without opening visible gaps at the corners.
Sealant selection ties the whole assembly together. Neutral-cure silicone is the only appropriate choice for aluminium applications. It cures without releasing acetic acid, which would attack the aluminium surface and degrade the powder-coat finish over time. Apply sealant against a closed-cell foam backing rod to control joint depth and prevent three-sided adhesion, which restricts movement and causes premature sealant failure.
At sill level, drainage provisions are non-negotiable. The sill profile must incorporate weep slots or a stepped drainage channel that directs water outward and away from the wall face. Sealing the sill joint completely — a common installer error — traps moisture behind the surround and accelerates substrate deterioration. Leave the bottom edge of the sill unsealed or provide discrete drainage openings at each end.
The choice between site-assembled surrounds and pre-fabricated welded frames comes down to project scale and precision requirements. A window casing kit assembled on site from individual head, jamb, and sill sections suits residential projects where each opening varies slightly. Pre-fabricated welded frames — assembled and finished in the factory as a single unit — deliver tighter tolerances and faster installation on commercial projects with repetitive openings, but they require exact measurements with no room for site adjustment.
Fixing method and substrate compatibility keep the surround physically attached to the building. But the surround also sits within the thermal envelope, and how it interacts with insulation layers, fire-rating requirements, and building regulations introduces compliance considerations that many specifiers overlook entirely.
Thermal Performance and Building Regulation Compliance
A surround can be perfectly measured, correctly fixed, and beautifully finished — and still fail the building if it creates a weak point in the thermal envelope or falls short of fire-safety requirements. These two compliance areas trip up specifiers more than any other aspect of aluminium window surrounds, partly because the consequences are invisible until condensation appears or a certifier rejects the documentation.
Thermal Bridging and Condensation Management
Aluminium’s thermal conductivity — roughly 160 W/mK — makes it an excellent heat conductor, which is precisely the problem at the building envelope. Where a metal window trim profile bridges from the warm interior side of the wall to the cold exterior face, it creates a linear thermal bridge. Heat flows through the aluminium far faster than through the surrounding insulation, chilling the internal wall surface at the surround junction.
That localised cold spot is where condensation forms. Warm, moisture-laden indoor air meets the cooled surface and deposits water — right at the edge of the window where mould growth is most visible and most damaging to finishes. In southern Australian climates where winter overnight temperatures regularly sit below 5°C, this is not a theoretical risk. It happens in poorly detailed buildings every season.
External wall insulation (EWI) systems amplify the challenge. When 50 mm to 100 mm of rigid insulation wraps the outside of the structural wall, the window opening becomes a deep recess. The surround must bridge from the outer insulation face back to the window frame, crossing the full insulation layer. As EWI thermal bridging research highlights, up to 30% of heat loss in poorly detailed buildings occurs through these hidden pathways — and window perimeters are among the most common culprits.
Correct detailing prevents the problem entirely. Continuous thermal break strips behind the surround — polyamide or neoprene — interrupt the conductive path. Where exterior window wrap or window wrapping systems are used to weatherproof the junction, the wrap layer must lap over the insulation edge and tuck behind the surround without compressing the thermal break. The goal is a continuous thermal line with no aluminium-to-substrate contact that bypasses the insulation.
Fire Rating Advantages of Aluminium Surrounds
Fire performance is where aluminium separates itself from every competing surround material. Under the European EN 13501-1 classification system — referenced by Australian standards for non-combustibility testing — aluminium achieves a Euroclass A1 rating, the highest possible classification for non-combustible materials.
Aluminium is classified as Euroclass A1 — fully non-combustible. It does not ignite, does not spread flame, and produces no significant smoke or flaming droplets. For multi-storey buildings where the National Construction Code mandates non-combustible facade materials, aluminium window surrounds comply without additional treatment, fire-retardant coatings, or design compromises.
This matters enormously for buildings over 25 metres in effective height, where the NCC requires all external wall cladding, attachments, and components — including window caps exterior and surround profiles — to be non-combustible or meet strict fire-testing criteria. Timber surrounds fail this requirement outright. uPVC, while self-extinguishing, still melts and produces toxic smoke under fire conditions. Aluminium passes without qualification.
The practical implication for specifiers: choosing aluminium for your window caps exterior and surround system on any project above three storeys eliminates an entire category of compliance risk. No fire-engineering reports, no alternative solution pathways, no additional testing — just a material that inherently satisfies the requirement.
Building Regulation Compliance Considerations
Australian building compliance for surrounds sits across two primary NCC performance requirements:
- Section J (Energy Efficiency) — surrounds must not compromise the thermal performance of the external wall system. Where a surround creates a thermal bridge, the resulting heat loss must be accounted for in the NatHERS energy rating or deemed-to-satisfy calculations. Poorly detailed aluminum wrap around window openings can reduce a home’s star rating by degrading the effective R-value of the wall at every opening.
- Section C (Fire Resistance) — for Type A and Type B construction (typically buildings over 25 m or three storeys), external wall assemblies including surrounds must satisfy non-combustibility requirements. Aluminium’s A1 classification provides a direct deemed-to-satisfy pathway without further testing.
Beyond the NCC, state-based variations add further layers. In bushfire-prone areas, surrounds on BAL-rated homes must resist ember attack and radiant heat exposure — aluminium’s non-combustibility and high melting point (660°C) make it suitable for BAL-29 and BAL-40 applications where combustible materials are prohibited within certain distances of the glazing line.
Coastal projects within corrosion zones also face durability compliance under AS 2047, which governs window performance including the interface between frame and surround. Marine-grade powder coatings or anodised finishes may be required to satisfy the expected design life in these environments.
Compliance documentation is the specifier’s responsibility. Ensure your surround supplier provides test certificates confirming non-combustibility classification, powder-coat warranty details referencing the relevant Qualicoat or equivalent standard, and thermal performance data if the project requires energy modelling of the window-to-wall junction. Without this paperwork, even a correctly installed surround can stall a building certification.
Regulation compliance keeps the certifier satisfied. But for the building owner, the longer-term question is simpler: how much maintenance will these surrounds demand over the next few decades, and what happens when they eventually reach end of life?
Maintenance Requirements and Long-Term Durability
The honest answer is: very little. Powder-coated aluminium window trim demands a fraction of the upkeep that timber or uPVC requires over the same timeframe. No repainting cycles, no sanding back peeling finishes, no yellowing that slowly degrades the facade. For building owners, this translates directly into lower lifetime costs and fewer disruptions to occupants.
Routine Cleaning and Care for Powder-Coated Finishes
Cleaning outdoor window trim in aluminium is straightforward. The powder-coat layer is a thermally bonded resin finish — durable, but not impervious to neglect. Salt deposits, airborne grime, and industrial pollutants accumulate on the surface over time, and if left unchecked, they degrade the coating’s gloss and can eventually compromise its protective function.
The process itself takes minutes per opening. Industry cleaning guidelines recommend three simple steps: remove loose deposits with a wet sponge, wash with a soft brush and dilute pH-neutral detergent in warm water, then rinse thoroughly with clean fresh water. That is the entire routine. For stubborn stains, isopropyl alcohol or methylated spirits applied to the affected area will lift most contaminants without damaging the finish.
What you must avoid matters just as much. Abrasive cleaners, scouring pads, thinners, citrus-based solvents, and cutting compounds will scratch or chemically attack the powder-coat surface. Sunscreen — surprisingly — is also a known aggressor. If someone leans against outside window trim with sunscreen on their hands, wipe it off promptly. Damage from incompatible chemicals may not appear immediately but can take months to manifest as discolouration or chalking.
A practical maintenance schedule for most Australian environments:
- Every 3 months — wash aluminium window trim with mild detergent and rinse (increase to monthly for beachfront or heavy industrial sites)
- Every 12 months — inspect sealant joints at corners and sill for cracking, shrinkage, or adhesion loss; reseal any failed sections with neutral-cure silicone
- Every 5 years — check mechanical fixings for looseness or corrosion; inspect the powder-coat finish for chalking, blistering, or localised damage that may need touch-up
Lifespan Expectations in Different Environments
High-quality powder-coated aluminium surrounds deliver a service life of 40 years or more in standard urban and suburban environments. The alu trim itself — the aluminium substrate — does not degrade in any meaningful timeframe. It is the coating that determines when the surround starts looking tired.
Environment is the dominant variable. AS 4312 corrosivity classifications define how aggressively the local atmosphere attacks coated surfaces. A home in an arid inland town (corrosivity zone C2) places minimal stress on the finish — annual cleaning is sufficient, and coating life extends well beyond manufacturer warranties. A beachfront property within five kilometres of surf (zone C5) subjects outside window molding to constant salt-laden air, demanding six-monthly cleaning and potentially reducing coating life if maintenance lapses.
Other factors that shorten coating longevity include prolonged UV exposure on north-facing elevations, industrial fallout from nearby manufacturing, and microclimates created by sheltered areas where salt and pollutants accumulate without being washed away by rain. Sheltered spots — under eaves, behind parapets — are often more vulnerable than fully exposed surfaces because rainfall never rinses the deposits naturally.
Warranty coverage reflects these realities. Leading powder-coat systems offer 15-year adhesion warranties for standard Qualicoat Class 1 coatings and up to 25 years for Class 2 or Class 3 coatings designed for harsher exposures. When evaluating a supplier’s finish guarantee, look for the Qualicoat class rating, the specific warranty duration for adhesion and colour retention, and whether the warranty requires adherence to a documented maintenance schedule. Most warranties become void if the recommended cleaning frequency is not followed — a detail buried in the fine print that catches owners out years later.
End-of-Life Recyclability and Replacement
Replacement becomes necessary when the coating has degraded beyond cosmetic acceptability — widespread chalking, colour shift, or blistering that cleaning cannot resolve — or when physical damage from impact or structural movement has compromised the profile’s weatherproofing integrity. In practice, this point rarely arrives before 30 to 40 years for well-maintained outside window molding in moderate environments.
When that day does come, aluminium’s recyclability makes disposal genuinely responsible. The material is 100% recyclable with no loss of structural quality, and Australia’s scrap aluminium market is well established. Recycling aluminium uses roughly 5% of the energy required to produce primary aluminium from bauxite ore, making it one of the most energy-efficient recycling loops of any building material. Old surround profiles are simply collected, melted, and re-extruded into new products — a closed loop that timber cannot match and uPVC struggles to achieve at scale.
For owners replacing aged outside window trim, the removal process is straightforward: unscrew fixings, peel back sealant, and lift the profiles away from the wall. The substrate beneath is typically undamaged because the aluminium has been protecting it for decades. New profiles can be fitted to the same fixing points, often without any remedial work to the wall or window frame — a far simpler process than stripping and replacing rotted timber surrounds that have allowed moisture into the structure behind them.
Low maintenance and long service life are compelling on their own. But they only deliver their full value when the surround was correctly specified in the first place — the right profile, the right colour, the right fixing method for the right project. Pulling all those decisions together into a coherent specification is the final step.
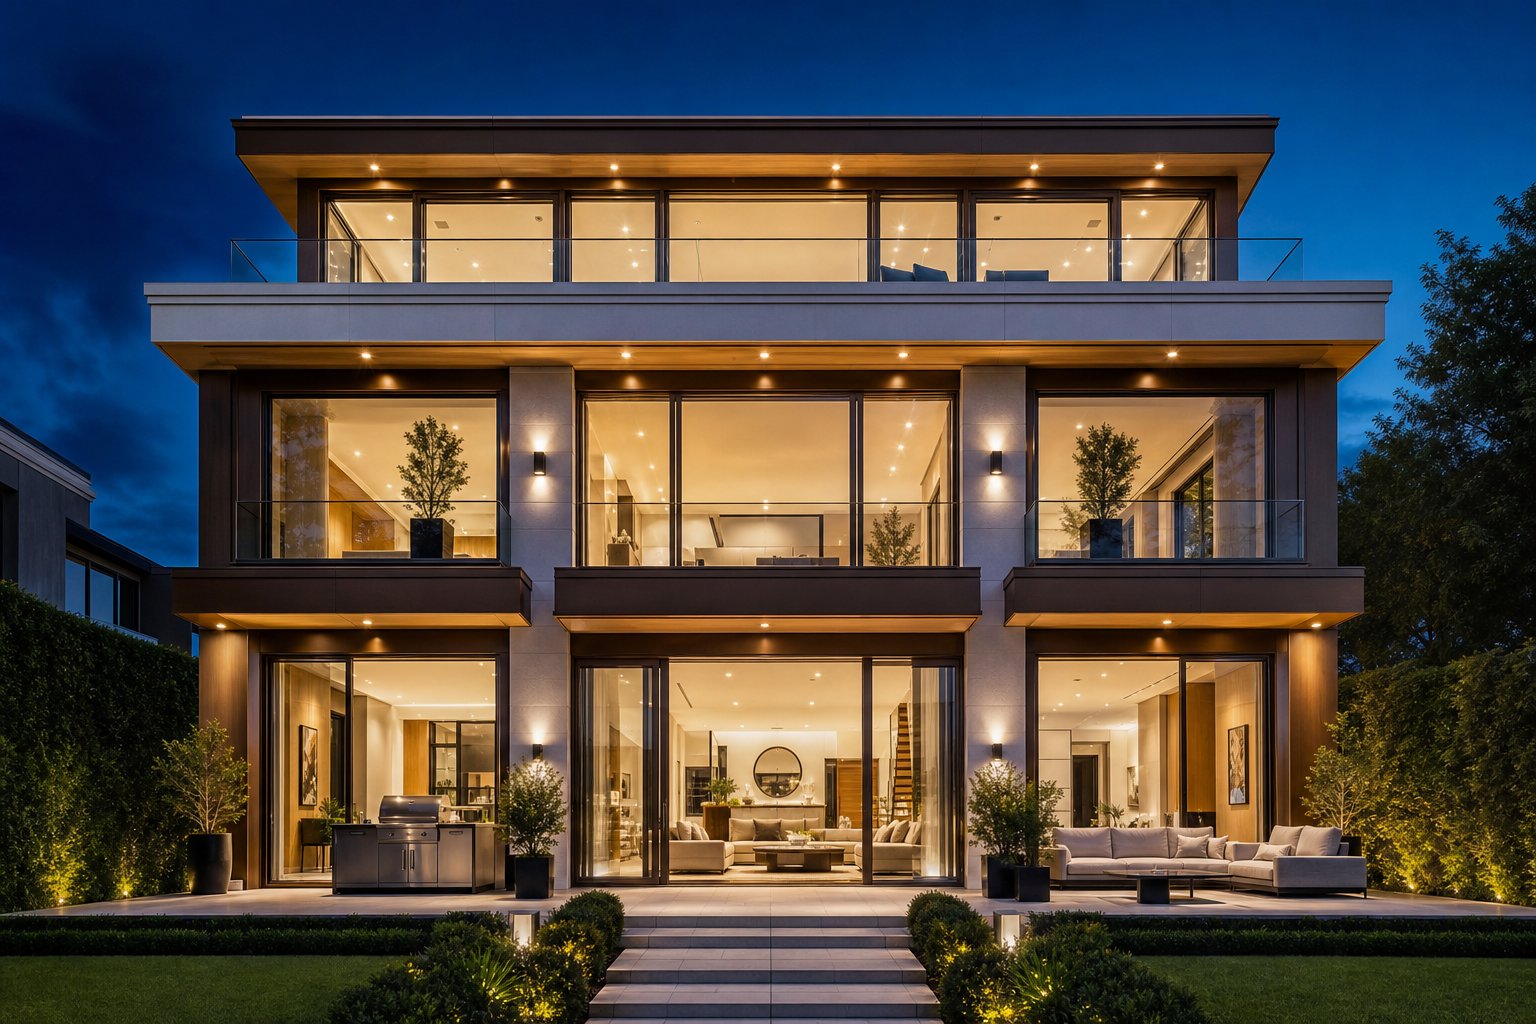
Choosing the Right Aluminium Surrounds for Your Project
Every decision covered in this guide — material, profile, fixing method, thermal detailing, compliance — converges at a single point: your specific project. A beach house in coastal Queensland faces different demands than a four-storey apartment block in inner Melbourne. The framework below helps you match the right specification to your context without over-engineering or under-specifying.
Decision Framework for Your Project Type
Start with three questions. First, what is the building type and height? Buildings over three storeys or 25 metres in effective height require non-combustible facade materials under the NCC — aluminium satisfies this inherently, while timber and uPVC do not. If your project falls into this category, the material decision is already made.
Second, what is the exposure environment? Coastal sites within five kilometres of surf need marine-grade coatings and more frequent maintenance. Bushfire-prone areas at BAL-29 or above demand non-combustible materials at the glazing perimeter. Inland suburban sites have the widest range of options and the lowest ongoing maintenance burden.
Third, what is the budget priority — upfront cost or lifetime cost? Timber and uPVC cost less to supply initially, but aluminium’s zero-repainting lifecycle and 40-year-plus durability make it cheaper over any timeframe beyond 15 years. For owner-occupiers planning to stay long-term, the lifetime calculation favours aluminium decisively. For developers selling on completion, the aesthetic impact and maintenance-free handover still justify the modest premium.
Key Specification Choices at a Glance
Once you have confirmed aluminium is the right material, the window exterior trim specification narrows to a handful of decisions. Each one affects appearance, performance, and installation complexity:
- Profile type — flat/square for minimalist facades, chamfered for softer transitions, deep reveal for bold shadow lines, picture frame for self-contained window identity
- Projection depth — 50 mm slimline for subtle definition, 100 mm deepline for strong architectural presence
- Colour and finish — RAL colour matched to aluminum window frames and other facade elements; standard powder-coat for urban sites, marine-grade for coastal exposure
- Fixing method — face-fix for most residential applications (more forgiving of imperfect openings), reveal-fix for a recessed aesthetic on precision builds
- Corner detail — mitred joints for seamless appearance on pre-fabricated frames, butt joints with cover plates for site-assembled surrounds where tolerance absorption matters
- Supplier integration — sourcing surrounds alongside window units from a single manufacturer for dimensional consistency and matched finishes
That last point — supplier integration — deserves emphasis. Trim around exterior windows specified in isolation from the window system itself creates coordination gaps. Colour batch variations between separate suppliers, dimensional mismatches between frame and surround, and conflicting warranty responsibilities all become real problems on site.
Integrating Surrounds With Your Window System
The strongest outcomes happen when surrounds are treated as part of the window assembly rather than an afterthought bolted on by a different trade. When trims and windows come from the same manufacturer, the surround profile is designed to interface precisely with the frame geometry. Tolerances are built into the system at the factory. Colour matching is guaranteed within a single powder-coat batch. And if something does not fit, there is one phone call to make — not a finger-pointing exercise between two suppliers.
For homeowners, builders, and project teams ready to specify aluminium surrounds as part of a cohesive window system, MEICHEN’s aluminium window range offers exactly this integrated approach. Surrounds, frames, hardware, and glazing are designed together — factory-matched for dimensional accuracy and consistent finish across the entire window assembly. It is a practical next step for anyone who wants window trim exterior that performs as a system rather than a collection of separately sourced parts.
Aluminium window surrounds are not complicated. But they are precise. The specifiers who get them right are the ones who treat every decision — from material selection through to supplier choice — as interconnected. Skip a step, and the facade tells the story. Get it right, and the surrounds disappear into the architecture exactly as they should: quietly doing their job for decades without asking for attention.
Frequently Asked Questions About Aluminium Window Surrounds
1. What is the difference between aluminium window surrounds and standard window trim?
Standard window trim is primarily a cosmetic cover strip that hides the gap between a window frame and the wall. Aluminium window surrounds, by contrast, are engineered profile systems that manage the entire junction between the window unit and the building envelope. They incorporate weatherproofing details like drip edges on the head profile, drainage channels at the sill, and sealed corner joints. Surrounds carry structural and thermal transition responsibilities that basic trim does not address, making them critical for long-term building performance rather than just appearance.
2. How long do aluminium window surrounds last in Australian conditions?
In standard urban and suburban Australian environments, high-quality powder-coated aluminium surrounds deliver a service life of 40 years or more. The aluminium substrate itself does not degrade in any meaningful timeframe — it is the powder-coat finish that determines when replacement becomes necessary. Coastal properties within five kilometres of surf face more aggressive conditions and may require marine-grade coatings and more frequent cleaning (every three months minimum) to maintain coating integrity. Leading powder-coat systems offer warranties ranging from 15 years for standard Qualicoat Class 1 coatings up to 25 years for Class 2 or Class 3 coatings designed for harsher exposures.
3. Can aluminium surrounds be fitted over existing timber window frames?
Yes. Aluminium capping involves fitting pre-formed aluminium profiles over existing timber frames, encapsulating the wood and protecting it from further moisture damage. The timber remains in place as a substrate while the aluminium cap becomes the new external face. This approach eliminates ongoing painting and sealing cycles and extends the life of the original frame by decades. It is a popular retrofit solution across Australian suburbs where ageing brick veneer and weatherboard homes need refreshing without the cost and disruption of full window replacement. For frames that are too deteriorated for capping, exterior window trim kits provide complete surround systems that replace the trim without disturbing the window unit itself.
4. Are aluminium window surrounds compliant with Australian fire regulations for multi-storey buildings?
Aluminium achieves a Euroclass A1 rating — the highest classification for non-combustible materials. Under the National Construction Code, buildings over 25 metres in effective height require non-combustible facade materials, including window surrounds and attachments. Aluminium satisfies this requirement without additional fire-retardant treatments, coatings, or design compromises. This gives it a decisive advantage over timber (combustible) and uPVC (combustible, though self-extinguishing) in any project above three storeys. Aluminium surrounds also suit bushfire-prone areas at BAL-29 and BAL-40 ratings where combustible materials are prohibited near the glazing line.
5. How do I measure correctly for aluminium window surrounds?
Measure the structural opening — not the window frame itself. This is the most common mistake specifiers make. Take width measurements at the top, middle, and bottom of the opening, and height measurements at left, centre, and right. Use the largest dimension in each direction, then add 5 mm to 10 mm tolerance for shimming and sealant joints. Measure reveal depth at all four corners separately, as walls are never perfectly plumb. Check both diagonals to confirm squareness — if they differ by more than 3 mm, your fabricator needs to know. For projects with external wall insulation, measure the total wall build-up at each opening individually, accounting for insulation board, render carrier, and any air gaps.
More Window & Door Guides