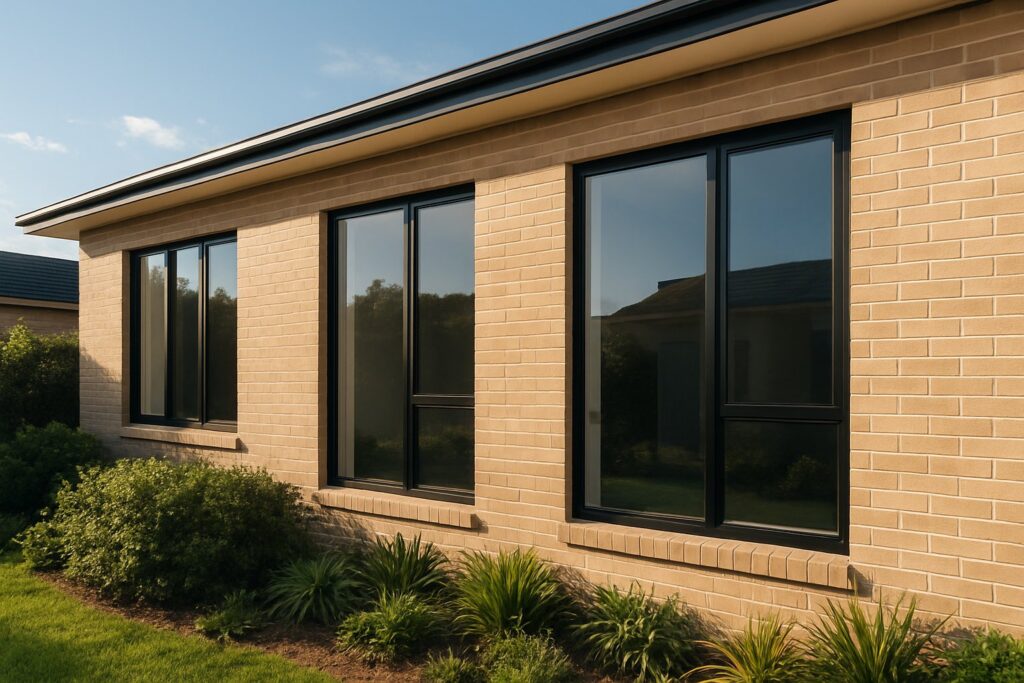
What Aluminium Window Recolouring Really Involves
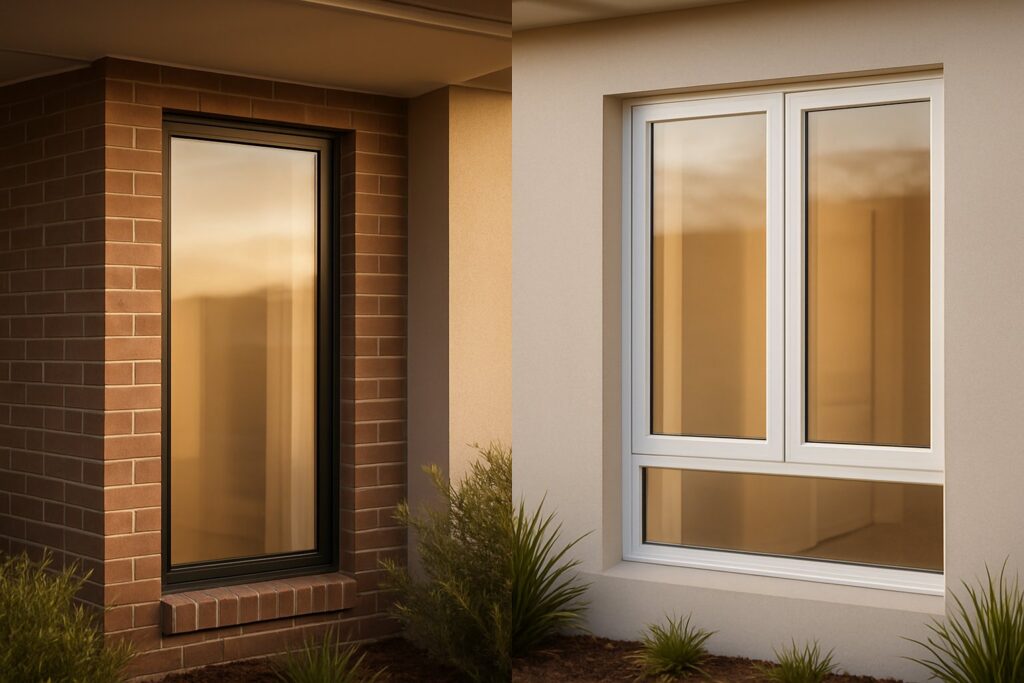
Aluminium window recolouring is the process of changing or restoring the colour of existing aluminium window frames using methods such as painting, professional respraying, powder coating, anodising, or clear coat restoration — without replacing the frames themselves.
Most people hear “recolouring” and immediately think of a tin of paint and a brush. That is one option, but it barely scratches the surface. The term covers a whole spectrum of approaches, from a weekend DIY spray job through to factory-grade powder coating that requires removing frames entirely. Each method delivers different results, lasts a different length of time, and suits different budgets.
What Aluminium Window Recolouring Means Beyond Just Paint
Can you paint aluminium window frames? Absolutely. But painting is just one path among several. A professional on-site respray uses two-pack coatings for a durable, smooth finish. Powder coating bakes colour onto the metal at high temperatures for a result almost identical to a factory finish. Clear coat restoration works for frames where the original colour is still intact beneath a layer of oxidation. Even re-anodising is possible for certain frame profiles. The right choice depends on your frame condition, your budget, and how long you need the result to last.
Can you paint a window frame and expect it to hold up for years? Yes — provided you choose the correct window frame paint for the substrate and follow proper preparation. Can window frames be painted by a homeowner with no trade experience? Also yes, though the finish quality and longevity will differ from professional methods. This guide walks through the full decision journey: assessing your frames, comparing every available method, understanding preparation requirements, and deciding whether to tackle the job yourself or call in a specialist.
Who Should Consider Recolouring Their Frames
Recolouring suits a surprisingly wide range of properties and situations:
- Modern homes seeking a colour refresh to match updated exteriors or landscaping
- Heritage properties needing sympathetic restoration that retains original frames
- Rental properties requiring a cost-effective visual upgrade before new tenants
- Commercial buildings updating their facade without the disruption of full window replacement
If your frames are structurally sound but visually tired, recolouring can deliver a transformation at a fraction of replacement cost. The challenge is knowing which method matches your specific situation — and that starts with understanding why your frames look the way they do right now.
Why Aluminium Window Frames Fade and Discolour
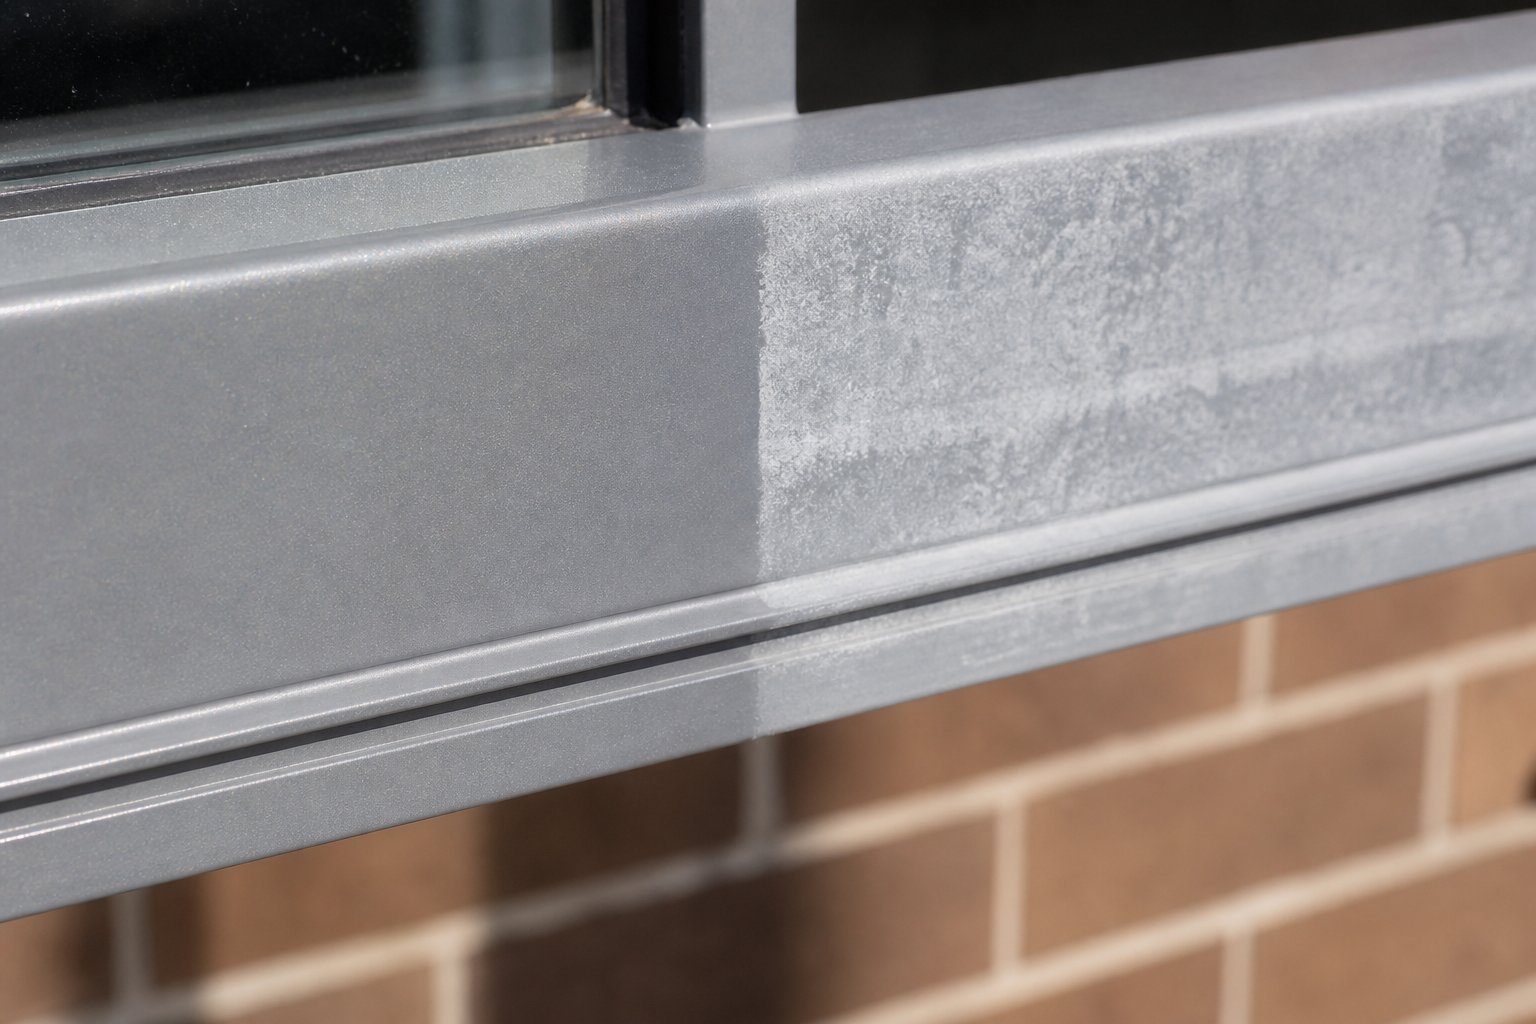
That faded, chalky look on your window frames did not happen overnight. It is the result of years of chemical and physical processes working against the surface coating — not the aluminium itself. Understanding what is actually breaking down helps you pick a recolouring method that targets the root cause rather than just covering it up.
UV Exposure and Coating Breakdown
Ultraviolet radiation is the single biggest driver of colour loss on aluminium window frames. UV rays break the chemical bonds in paint films and powder coatings, degrading the resin binder that holds pigment particles together. As the binder deteriorates, those pigment particles loosen and sit on the surface as a fine, chalky powder — run your finger across a faded frame and it often comes away white or tinted with the original colour.
This chalking process is not a sign the coating has completely failed. Industry body QUALICOAT notes that chalking indicates UV degradation has brought the binder to the surface, and regular cleaning can often keep it in check on newer coatings. But on frames exposed to harsh Australian sun for a decade or more, the damage goes deeper. Rich colours — particularly bold reds and blues — fade faster than lighter neutral tones because their pigments absorb more UV energy.
Factory-applied powder coatings resist UV significantly longer than brush-applied paint because the baked-on finish forms a denser, more chemically stable film. A previously painted surface, especially one applied without proper primers, degrades faster and often peels rather than chalking uniformly.
Oxidation vs Corrosion on Aluminium Surfaces
Here is where aluminium differs dramatically from steel. Steel rusts — an ongoing, destructive reaction that eats into the metal. Aluminium does not contain iron, so rust is chemically impossible. Instead, aluminium oxidises, forming a thin aluminium oxide layer on the surface when exposed to oxygen.
Aluminium oxidation is actually protective. Unlike rust on steel, which flakes away and exposes fresh metal to further attack, aluminium oxide forms a stable barrier that shields the metal underneath. The problem is purely aesthetic — this layer appears as a dull, white or grey haze that makes oxidized windows look tired and neglected.
On uncoated or damaged frames, oxidation builds over time and creates a rough, chalky surface. This is what you are seeing on old oxidized aluminum window frames with a whitish, powdery appearance. The metal beneath remains structurally sound, but it looks terrible. Aluminium window corrosion in the true sense — pitting, crevice attack, or galvanic corrosion — only tends to occur in aggressive environments such as coastal salt-spray zones or where dissimilar metals are in direct contact.
Environmental Factors That Accelerate Fading
UV does the bulk of the damage, but environmental conditions determine how fast it happens. Several factors compound the problem:
- Salt air: Properties within 5 km of the coast face accelerated window corrosion. Airborne salt deposits on frame surfaces and, if not washed off regularly, etches into coatings and promotes pitting beneath the paint layer.
- Industrial pollutants: Acidic particulates from traffic emissions, factory discharge, and bushfire smoke create chemical reactions on the coating surface that speed degradation.
- Temperature cycling: Repeated expansion and contraction from hot days and cool nights stresses coatings, eventually causing micro-cracking that allows moisture and pollutants to reach the aluminium beneath.
- Humidity and moisture: Persistent dampness — common in tropical Queensland or shaded south-facing elevations — keeps the surface wet longer, giving pollutants more time to react with the coating.
North and west-facing frames cop the worst of both UV and heat in Australian homes, which is why fading often appears uneven across the same property. A frame on the southern side might look fine while its north-facing counterpart has visibly chalked.
All of these degradation mechanisms are working against the protective coatings applied during manufacturing — coatings that were never designed to last forever. Whether your frames have a factory powder coat or a previous paint job, the finish has a finite lifespan. Recognising which type of degradation is affecting your frames is the first step toward choosing the right recolouring approach and preparation method.
Assessing Your Frame Condition Before You Start
Knowing why your frames have deteriorated is useful. Knowing how far that deterioration has progressed is what actually determines your next move. A lightly faded frame and a heavily pitted one might both look “tired,” but they require completely different recolouring approaches — and in some cases, the damage rules out certain methods entirely.
Grab a clean white cloth and head outside. The assessment takes five minutes per window, and it will save you from wasting money on a method that was never going to work for your situation.
Signs of Light Fading vs Heavy Oxidation
Old aluminium windows fall into three broad condition categories. Each one narrows your recolouring options differently.
Level 1 — Lightly faded: The surface still feels smooth under your fingertips. Original colour is clearly visible, though duller than it once was. Wipe a white cloth across the frame and you will pick up a fine chalky residue — that is loosened pigment from UV-degraded coating. The frame itself has no roughness, pitting, or paint flaking. This is the easiest condition to address and gives you the widest choice of recolouring methods.
Level 2 — Moderately oxidised: A visible white or grey haze covers sections of the frame, particularly on sun-exposed faces. The surface feels noticeably rough or gritty. Small pits may be forming, and any previous paint may be lifting at edges or around hardware. Old metal window frames in coastal areas often reach this stage within 10 to 15 years if maintenance has been minimal. Recolouring is still viable, but preparation becomes significantly more involved.
Level 3 — Heavily deteriorated: Paint is peeling in sheets or flaking away from the substrate. Deep pitting is visible — you can catch a fingernail in the surface craters. Corrosion may be spreading from screw holes or where dissimilar metals contact the aluminium. Seals may have perished, and you might notice condensation between glass panes indicating blown double-glazed units. At this stage, aluminium window frame repair may be needed before any cosmetic work can begin — and in some cases, the frame is beyond economical recovery.
| Condition Level | Visual Signs | Touch Test | Suitable Methods |
|---|---|---|---|
| Level 1 — Lightly Faded | Colour dulled but visible; no flaking or haze | Smooth surface; chalky residue on white cloth | Clear coat restoration, DIY spray, professional respray, powder coating |
| Level 2 — Moderately Oxidised | White haze on exposed faces; minor pitting; paint lifting at edges | Rough or gritty texture; fingertip catches on surface | DIY spray (with heavy prep), professional respray, powder coating |
| Level 3 — Heavily Deteriorated | Peeling paint; deep pitting; corrosion at joints; blown seals | Fingernail catches in pits; loose material flakes off | Professional respray or powder coating after structural repair — or replacement |
When Frame Damage Goes Beyond Cosmetic
Recolouring addresses how a frame looks. It does nothing for how it performs structurally. Before committing to any method, check for problems that paint alone cannot solve:
- Cracked or separated corners: Aluminium frames are mitred and crimped or welded at corners. If joints have opened up, moisture is entering the frame cavity and the structural integrity is compromised.
- Failed drainage slots: Those small slots at the bottom of the frame allow water to escape. If they are blocked by corrosion or old filler, water sits inside the frame and accelerates hidden damage.
- Blown sealed units: Condensation or fogging between the glass panes means the seal has failed. This is a glazing issue, not a frame colour issue — but it often coincides with old aluminium window frames that have deteriorated enough to warrant the full repair-or-replace conversation.
- Hardware mounting failure: If screws no longer grip because the surrounding aluminium has corroded away, the frame needs structural aluminium window repair before cosmetic treatment makes any sense.
The key takeaway is simple: condition determines method. A Level 1 frame can be recoloured by almost anyone with patience and the right products. A Level 3 frame needs professional assessment first — and may turn out to be a candidate for replacement rather than recolouring. The next step is understanding exactly what each recolouring method involves and how it matches your frame’s current state.
Every Recolouring Method Compared Side by Side
Five distinct methods exist for recolouring aluminium window frames, and each one sits at a different intersection of cost, skill, disruption, and durability. No single approach is universally “best” — the right choice maps directly to your frame condition, budget, and expectations. Here is what each method actually involves.
DIY Brush and Roller Application
Painting metal window frames with a brush or mini roller is the most accessible entry point. You apply a suitable primer and topcoat by hand, working methodically around each frame profile. The process is slow, heavily reliant on preparation quality, and brush marks are difficult to eliminate entirely on smooth aluminium surfaces. The best paint for aluminium in a brush application is a high-quality acrylic enamel formulated for metal — it offers reasonable adhesion and UV stability without requiring spray equipment.
This method suits rear-facing windows, sheds, or situations where budget is the primary concern. Expect to invest a full day per window once masking and preparation time are factored in.
DIY Spray Painting for Smoother Results
A rattle-can or HVLP spray gun delivers a noticeably smoother finish than brushwork. Painting on aluminium with spray equipment allows thin, even coats that self-level and reduce visible texture. The trade-off is overspray management — you will need extensive masking of glass, walls, and surrounding surfaces.
DIY spray painting works well for homeowners comfortable with careful masking and patient enough to apply multiple light coats rather than one heavy pass. It is a meaningful step up from brush application in finish quality, though preparation requirements remain identical.
Professional Respray and Powder Coating Services
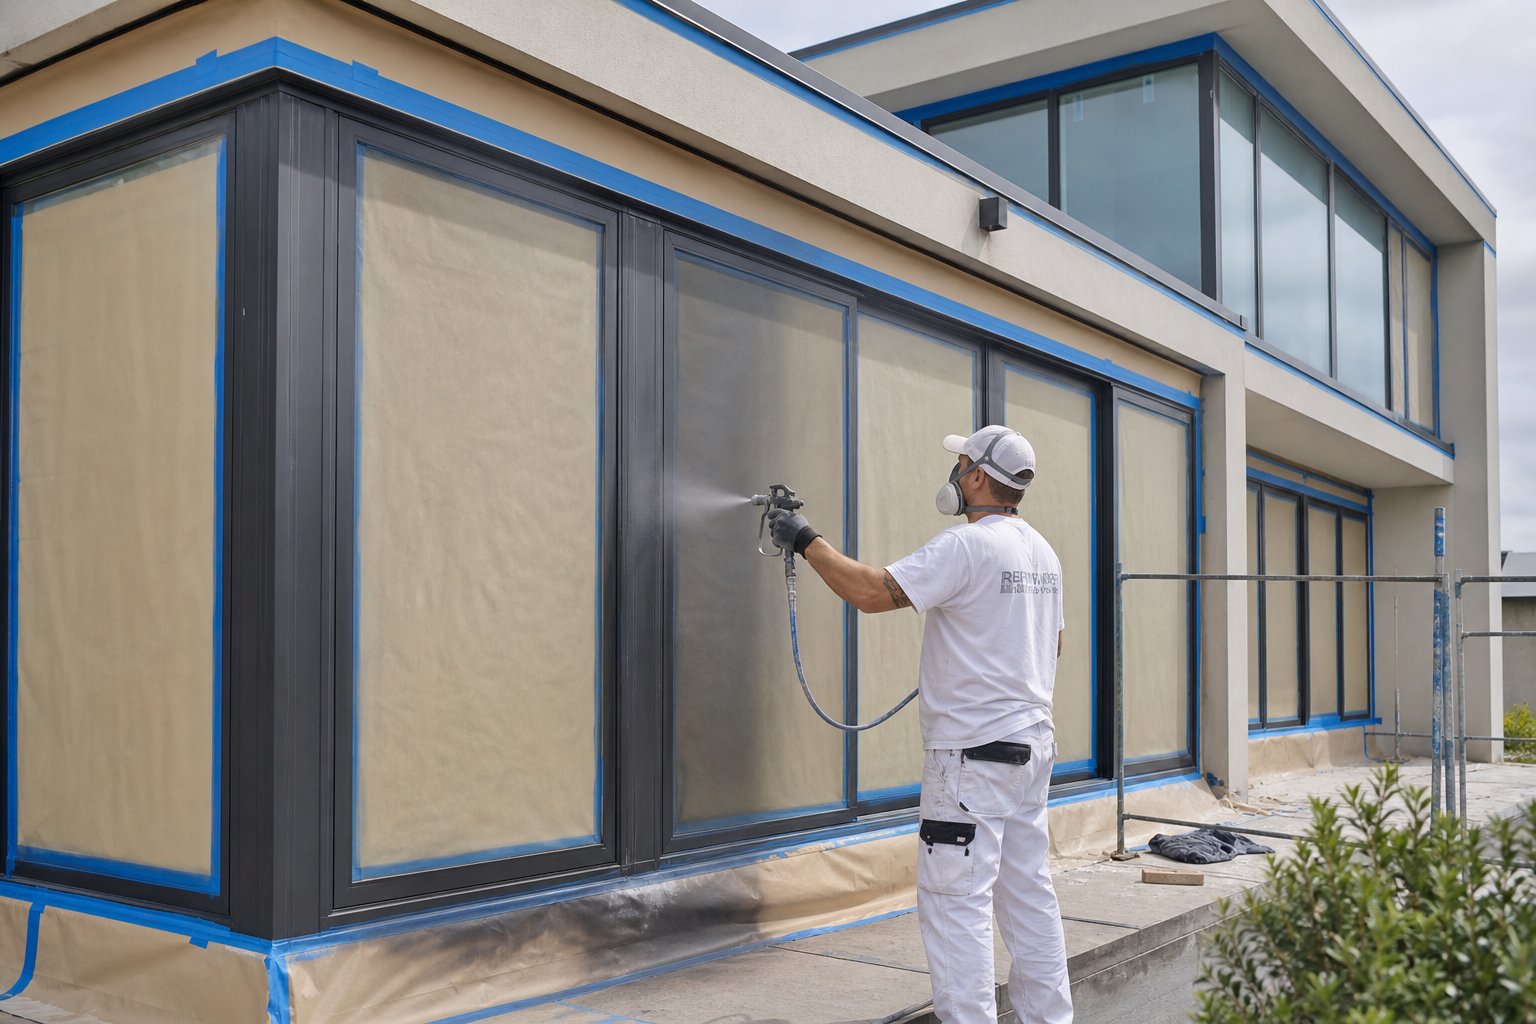
Professional on-site respraying uses two-pack polyurethane coatings applied with commercial spray equipment. The frames stay in place — no removal, no temporary boarding up of openings. Trained technicians handle all preparation, priming, and application, typically completing an average home in two to three days. This is the best way to paint aluminium when you want a high-quality result without the disruption of frame removal.
Powder coating windows takes things further. Frames are physically removed from the building, transported to a facility, stripped back to bare metal, electrostatically sprayed with dry powder, and baked in an industrial oven at around 200°C. The result is virtually indistinguishable from a factory finish — hard, uniform, and extremely resistant to chipping and UV fade. The catch is logistical: your window openings sit empty during the process, and the cost reflects the labour-intensive removal and reinstallation.
A fifth option — clear coat restoration — applies specifically to lightly faded frames where the original colour is still intact beneath surface chalking. Specialist products dissolve the oxidised layer, restore colour depth, and seal the surface with a UV-protective clear coat. It is not repainting aluminium window frames in the traditional sense; it is revealing and preserving what is already there. This method is only viable for Level 1 condition frames with no peeling or deep degradation.
| Method | Finish Quality (1-10) | Durability | Skill Level | Approx. Cost Per Window (AUD) | Disruption | Best Suited For |
|---|---|---|---|---|---|---|
| DIY Brush/Roller | 4-5 | 2-5 years | Beginner | $30-$80 (materials) | Low | Rear or concealed windows; tight budgets |
| DIY Spray Paint | 6-7 | 3-6 years | Intermediate | $50-$120 (materials) | Low-Medium | Visible windows where finish matters; confident DIYers |
| Professional On-Site Respray | 8-9 | 7-12 years | Professional | $150-$350 | Medium | Whole-house projects; street-facing facades; quality-focused homeowners |
| Off-Site Powder Coating | 9-10 | 15-25 years | Professional | $300-$600+ | High | Premium renovations; new builds; long-term investment |
| Clear Coat Restoration | 7-8 | 3-5 years | Beginner-Intermediate | $40-$100 (materials) | Low | Lightly faded frames with intact original colour |
A few patterns emerge from this comparison. Professional respray hits a sweet spot — excellent finish quality, strong durability, and no frame removal. Powder coating delivers the closest result to a factory finish, but the logistics and cost make it impractical for many residential situations where frames are already installed. For homeowners repainting aluminium window frames on a budget, the DIY spray route offers the best return on effort provided preparation is thorough.
Method selection is only half the equation, though. Every option in this table shares one non-negotiable requirement: surface preparation matched to your frame’s condition. That preparation — done properly or cut short — is what ultimately separates a recolouring job that lasts from one that peels within months.
Surface Preparation Tailored to Frame Condition
Preparation accounts for roughly 80% of whether your recolouring job holds or fails. Cut corners here and the topcoat peels within months — regardless of how expensive your paint is. The trick is matching your prep intensity to the actual condition of your frames rather than following a one-size-fits-all checklist.
So how do you paint aluminium window frames that will actually stay painted? You start with the right preparation track for your situation.
Track 1 — Lightly faded frames (Level 1 condition):
- Wash the frame thoroughly with a sugar soap solution or mild detergent to remove dirt, salt, and loose chalking.
- Rinse with clean water and allow to dry completely.
- Lightly scuff sand with 320-grit sandpaper to create a uniform matte texture — no glossy spots should remain.
- Wipe down with a lint-free cloth dampened with methylated spirits or isopropyl alcohol to remove sanding dust and residual oils.
- Apply one coat of bonding primer or self-etching primer.
- Apply two thin coats of exterior acrylic enamel topcoat, allowing full drying between coats.
Track 2 — Moderately oxidised frames (Level 2 condition):
- Wash with sugar soap solution, scrubbing oxidised areas with a non-metallic scouring pad.
- Apply an aluminium-specific oxidation remover or use a fine abrasive pad (such as Scotch-Brite) to remove the white haze and expose a cleaner surface beneath.
- Sand the entire frame with 180- to 220-grit sandpaper to create a mechanical key for the primer.
- Clean thoroughly with a solvent-based degreaser — methylated spirits or a dedicated wax-and-grease remover — to eliminate all contamination.
- Apply a self-etching primer formulated for aluminium. One even coat is sufficient for most products.
- Follow with two coats of exterior topcoat, maintaining the manufacturer’s recommended recoat window.
Track 3 — Previously painted or peeling frames (Level 3 condition):
- Strip all existing paint using a chemical paint stripper suitable for metal, or sand back to bare aluminium with 120-grit paper followed by 220-grit to smooth.
- Treat any corrosion or pitting with an aluminium-safe rust converter or further sanding.
- Sand the entire bare surface to a uniform 220-grit finish.
- Degrease completely with solvent — any oils, including fingerprints, will cause adhesion failure.
- Apply etch primer within a few hours of sanding (bare aluminium oxidises almost instantly on contact with air).
- Build two coats of exterior topcoat, allowing proper cure time between each.
Cleaning and Degreasing Aluminium Surfaces
How do you clean aluminium window frames well enough for paint to grip? Ordinary household cleaners are not sufficient. Aluminium holds invisible contaminants — silicone residue from cleaning sprays, skin oils transferred during handling, and environmental pollutants embedded in the oxidation layer. A heavy-duty degreaser such as trisodium phosphate (TSP) or a dedicated wax-and-grease remover cuts through these contaminants where general-purpose detergents leave residue behind.
The critical rule: degrease twice. The first pass lifts the bulk of contamination. The second pass, using a fresh cloth, catches anything the first round missed. Always work in one direction to avoid redepositing grime onto clean areas, and wear nitrile gloves from this point forward — one fingerprint on a freshly prepped surface creates a spot where primer will not bond.
Priming Bare vs Previously Coated Aluminium
This is where most DIY projects go wrong. Standard multipurpose primers — the kind you would use on timber or plasterboard — do not chemically bond to aluminium. They sit on top of the oxide layer and eventually lift away, taking your topcoat with them.
Bare aluminium demands an etch primer. These products contain mild acids (typically phosphoric acid) that dissolve the aluminium oxide layer and simultaneously deposit a zinc phosphate conversion coating that paint can grip. The chemical reaction creates both a mechanical and chemical bond — far stronger than any surface primer alone can achieve. Self-etching spray primers containing zinc phosphate are the most accessible option for DIYers and deliver reliable adhesion on properly cleaned bare aluminium.
Two-part epoxy primers take adhesion further. They form an extremely hard chemical bond and offer superior moisture resistance, making them the professional choice for coastal properties or frames exposed to harsh conditions. The trade-off is a limited pot life once mixed — you need to work efficiently.
Previously coated frames that still have intact, well-adhered primer or powder coat underneath need a different approach. If the existing coating is sound (no peeling, flaking, or bubbling), a thorough scuff-sand to 320-grit followed by a high-adhesion bonding primer is sufficient. You are building on what is already there rather than starting from scratch.
Preparation Steps for Anodised Frames
Painting anodised aluminium window frames presents a unique challenge. Anodising creates an extremely hard, non-porous ceramic-like oxide layer through an electrochemical process — and that hardness is precisely what makes adhesion difficult. Chemical etch primers alone often cannot penetrate the anodic layer.
The solution is mechanical. You need to scuff-sand the anodised surface with 320-grit sandpaper using a firm backing block until every trace of gloss is gone and the frame shows a uniform matte finish. Work methodically — any shiny spots left behind are areas where primer will not bite. Follow with a 400-grit refinement pass if your primer system recommends it, though most self-etching and epoxy primers bond well to a 320-grit scratch profile.
How to paint aluminium window frames with an anodised finish successfully comes down to two non-negotiable steps: achieving that complete matte scuff across every surface, and following immediately with an epoxy or two-part primer rather than a standard single-pack product. The anodised layer remains in place beneath your paint system, continuing to provide corrosion resistance — but only if you have created enough mechanical tooth for the primer to lock into.
Regardless of which track you follow, timing matters. Bare aluminium begins oxidising the moment it contacts air. Apply primer within a few hours of completing your preparation — leaving prepped frames overnight without primer undoes much of your sanding and etching work. And if rain threatens, postpone entirely rather than rushing through prep steps to beat the weather. A single shortcut in preparation often means redoing the entire job within a year.
Choosing a Colour That Performs and Lasts
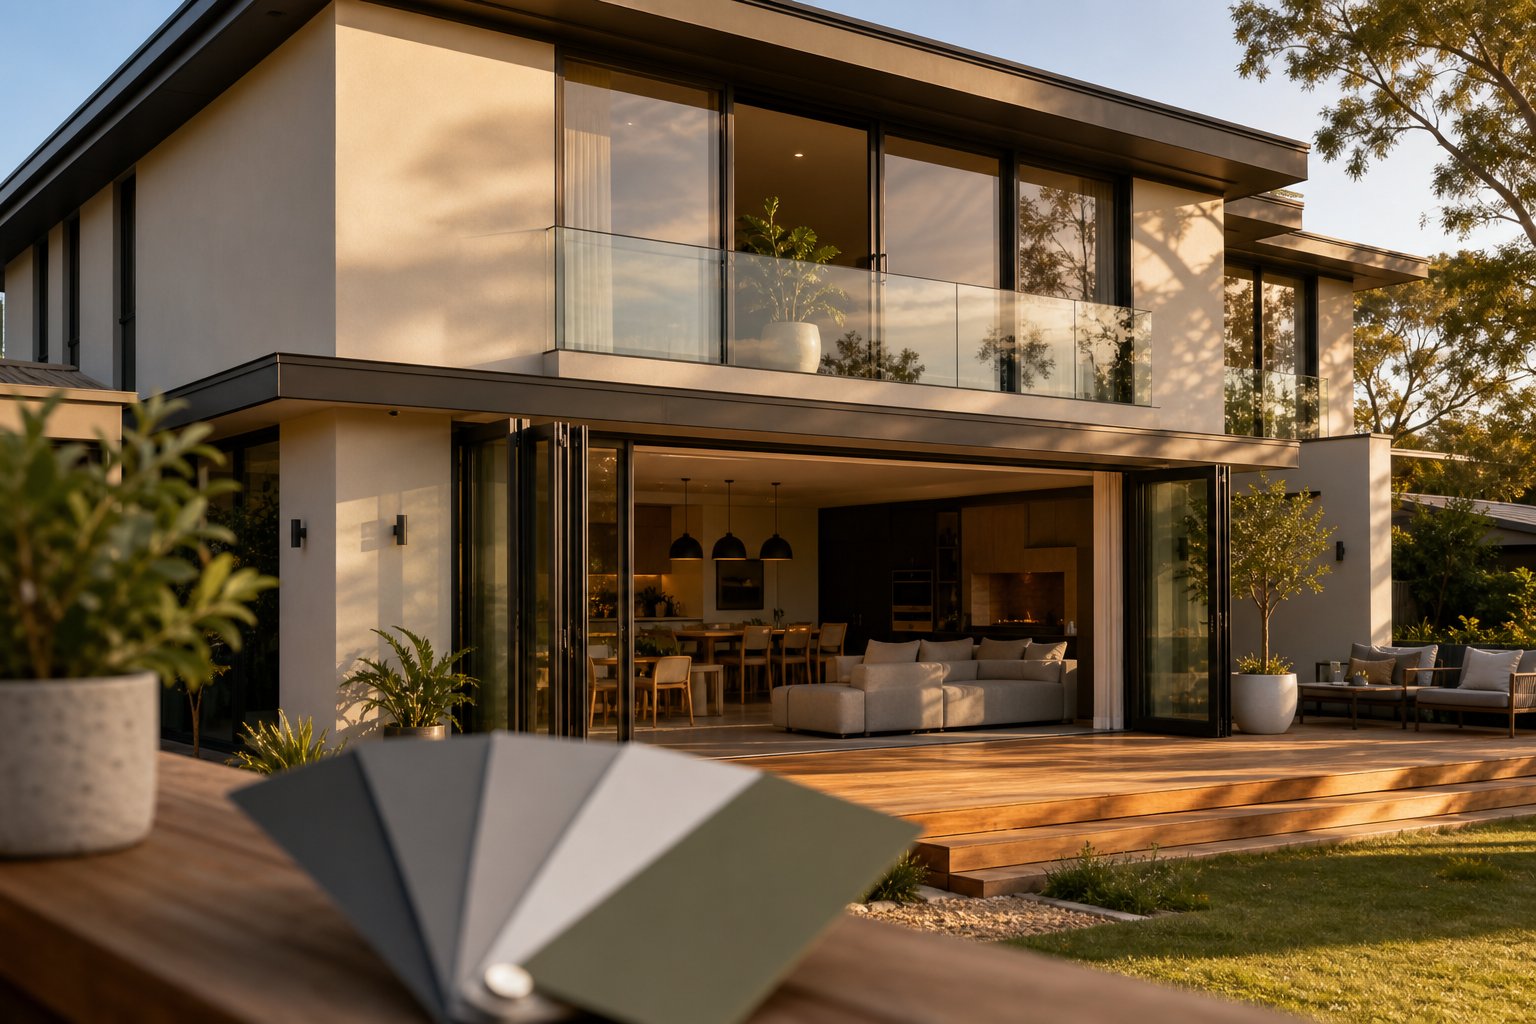
Colour selection feels like the fun part of a recolouring project — and it is — but picking a shade based purely on what looks good on a swatch card can create problems you did not anticipate. The colour you choose affects thermal performance, regulatory compliance, maintenance demands, and how long the finish holds its vibrancy. A few practical considerations upfront save regret later.
How Frame Colour Affects Heat Absorption
Darker aluminium window frame colours absorb significantly more solar radiation than lighter ones. A matt black frame on a north-facing elevation will reach surface temperatures well above ambient on a 35°C day, while a surfmist or white frame stays comparatively cool. Does this mean dark frames overheat your home? Not exactly. The frame material itself matters more for heat transfer than the colour — aluminium conducts heat regardless of shade, and properly specified glazing (Low-E coatings, double glazing, thermal breaks) handles the bulk of energy management.
Where colour creates a genuine concern is at the component level. Elevated frame temperatures stress rubber seals and gaskets over time, potentially shortening their lifespan. Dark frames next to insulated glass units can create localised heat differentials that place subtle pressure on sealed units. Thermally broken aluminium frames handle this far better than standard profiles because the insulating barrier limits heat conduction from the exterior face to the interior. If your frames lack thermal breaks and face intense sun, staying with mid-tone or lighter colours reduces cumulative thermal stress on hardware and seals.
Popular Colour Choices for Australian Homes
The current trend in Australian residential architecture leans heavily toward darker tones — charcoal, matt black, and dark bronze dominate contemporary builds and renovations. These colours create bold contrast against light-rendered walls and visually slim down bulky frame profiles. Powder coated aluminium windows in Monument, Woodland Grey, and similar Colorbond-matched shades have become the default specification for new builds across Sydney, Melbourne, and Brisbane.
For broader architectural compatibility, neutral tones remain the reliable choice. Surfmist, Paperbark, Dune, and Shale Grey work across Federation renovations, mid-century homes, and modern designs without dating quickly. If resale is on your radar, neutrals appeal to the widest buyer pool.
Anodized aluminum window frames offer a different aesthetic entirely — a subtle metallic sheen rather than a painted surface. Aluminium painted in standard colours looks opaque and uniform, while anodised finishes reveal the metal’s natural grain. Re-creating an anodised look through paint is difficult; if your frames were originally anodised and you want to maintain that character, professional re-anodising or clear coat restoration gives a more authentic result.
When selecting from the available aluminium window frame colours, consider these practical factors:
- UV stability: Lighter and mid-tone colours resist visible fading longer than deep, saturated hues
- Heat absorption: Dark colours stress seals and hardware on sun-exposed elevations
- Neighbourhood character compliance: Heritage overlays and body corporate rules may restrict your palette
- Resale appeal: Neutral tones attract broader buyer interest than bold statement colours
- Maintenance visibility: Darker frames show dust, water spots, and cobwebs more readily than light ones
On the compliance front, do not assume colour is entirely your decision. In Victoria, properties within a Heritage Overlay may require a planning permit to change exterior colours — including window frames. Body corporate rules in apartments and townhouse complexes often restrict external colour changes to approved palettes. Check with your local council or strata committee before committing to a colour that triggers an enforcement notice.
Colour permanence also varies by method. Paint for aluminium windows applied by brush or rattle-can fades noticeably faster than professionally sprayed two-pack coatings, and both degrade sooner than factory-applied powder coat. If you are choosing a bold, dark colour, the investment in a more durable application method pays off — visible fading on a charcoal frame is far more obvious than on a light neutral. Professional resprayers and powder coaters can also spectrophotometer-match an existing colour from a physical sample, which is essential when recolouring select frames to match others that remain untouched.
Colour choice is where aesthetics meets engineering. Get it right and your recoloured frames blend seamlessly into the facade for years. Get it wrong and you are managing heat stress, compliance issues, or premature fading — problems that circle back to the question of whether to handle this project yourself or bring in professional help.
DIY or Professional Service for Your Project
Can you paint aluminium window frames yourself and get a result you are happy with? In many cases, yes. But “can” and “should” are different questions — and the answer depends on factors that have nothing to do with your skill level alone. The decision between DIY and professional service comes down to project scale, access logistics, finish expectations, and what happens if things go wrong.
| Factor | Favours DIY | Favours Professional |
|---|---|---|
| Number of windows | 1-4 windows; manageable weekend project | 5+ windows; per-frame cost drops with volume |
| Accessibility | Ground-floor frames easily reached from ground level | Upper-storey windows requiring ladders or scaffolding |
| Desired finish quality | Rear or concealed windows where minor imperfections are acceptable | Street-facing facades where finish quality affects kerb appeal |
| Frame condition | Level 1 frames needing minimal preparation | Level 2-3 frames requiring heavy prep, stripping, or repair |
| Risk tolerance | Low-visibility windows where a redo is inconvenient but not costly | High-visibility windows where peeling paint damages property presentation |
| Budget | Materials only: $30-$120 per window | $150-$600+ per window depending on method |
Projects Best Suited to DIY Recolouring
Painting aluminium windows yourself makes solid sense in specific scenarios. A handful of ground-floor frames on the back of the house, where a slightly uneven finish will not bother you, is the ideal DIY candidate. The same applies to garage windows, sheds, or granny flats where visual perfection is less important than getting the frames protected and presentable.
Can you paint window frames exterior surfaces without professional equipment? Absolutely — provided those frames are in Level 1 or mild Level 2 condition and you are prepared to invest properly in preparation. The materials cost per window stays low, and you control the timeline entirely. If you are comfortable with how to paint metal window frames (the process covered in the preparation chapter applies here), a patient approach with quality products delivers a respectable result.
Where DIY falls apart is at scale. Once you pass four or five windows, the time commitment balloons. A full weekend per window — including masking, prep, priming, and two topcoats — adds up to weeks of project time for an average home. And fatigue breeds shortcuts, which shows in the finish.
When Professional Services Deliver Better Value
Professional window frame painters bring equipment, coatings, and speed that shift the value equation. A team respraying an entire home typically completes the job in two to three days — work that would occupy a homeowner for several weekends. They use commercial-grade two-pack coatings that outlast retail products by years, and their spray technique delivers a uniform, factory-like finish across every frame.
Painting exterior metal window frames on upper storeys introduces genuine safety concerns. Working from ladders while spraying above head height is risky and produces poor results. Professionals carry scaffold systems, elevated platforms, and the insurance to match. That insurance matters — if a DIY attempt damages glass, stains brickwork, or results in a fall, the cost implications dwarf any savings on labour.
For whole-house projects, the per-window cost of professional painting aluminium windows drops considerably. A professional respray across 10 or 15 windows often works out cheaper per frame than tackling five windows yourself once you factor in equipment hire, wasted materials, and rework.
Finding and Vetting Recolouring Professionals
Not every painter can handle aluminium. General residential painters may lack experience with etch primers, two-pack systems, and the masking precision that window work demands. Can you paint metal window frames well using the same approach as timber fascias? The short answer is no — aluminium requires specific products and techniques that many generalists have never used.
Look for operators who specialise in aluminium window recolouring specifically. Key vetting criteria include:
- Portfolio of completed aluminium window projects (ask for recent before-and-after photos)
- Clear explanation of their preparation process and coating system
- Written warranty — reputable specialists typically offer 7-year warranties on their resprays
- Public liability and professional indemnity insurance covering window work specifically
- Willingness to provide a physical colour sample or test patch before committing to the full job
Ask what happens if the finish fails within the warranty period. A confident operator will have a clear rectification process. Be cautious of anyone offering rock-bottom pricing with no warranty — the cheapest quote often means single-pack paint over minimal preparation, which is exactly what you are trying to avoid by hiring a professional in the first place.
The reality is straightforward: small, accessible, low-stakes projects suit DIY. Larger jobs, visible facades, difficult access, or frames needing serious prep work all favour calling in a specialist. Either path can deliver a good result — the difference is matching the right approach to your specific project rather than defaulting to one extreme. What matters equally is understanding how long that result will actually last once the work is done, which depends as much on aftercare as on the method itself.
How Long Your Recolouring Will Last
A freshly recoloured frame looks fantastic on day one. The real question is how it looks in year three, year seven, or year fifteen. Durability varies enormously between methods — and Australian conditions test coatings harder than most environments on earth. Knowing the realistic lifespan of each approach helps you weigh upfront cost against long-term value rather than chasing the cheapest option and redoing it twice.
Expected Lifespan by Recolouring Method
Every recolouring method sits on a durability spectrum. The numbers below reflect real-world Australian performance rather than ideal laboratory conditions — meaning full sun exposure, temperature cycling, humidity, and for coastal homes, salt-air assault.
DIY brush or roller paint: 2 to 5 years. Hand-applied coatings go on thinner and less uniformly than sprayed finishes. Brush marks create micro-ridges that trap moisture and accelerate localised breakdown. Preparation quality is the biggest variable here — a well-prepped frame with quality acrylic enamel sits closer to five years, while a rushed job on oxidised aluminium may start peeling within 18 months.
DIY spray paint: 3 to 6 years. Spray application delivers a more uniform film thickness, which translates directly into better UV resistance and longer colour retention. The coating is still a single-pack product from a rattle can or consumer spray gun, so it lacks the chemical hardness of professional systems. Painting aluminum windows this way gives a meaningful durability bump over brushwork for relatively little extra effort.
Professional on-site respray: 7 to 15 years. This is where durability takes a genuine leap. Professional operators use two-pack polyurethane or automotive-grade coating systems that cure to a harder, denser film than anything available in retail cans. The chemical crosslinking in two-pack paints creates exceptional resistance to UV degradation, moisture penetration, and mechanical damage. Homes directly on the beachfront may see the lower end of this range due to constant salt exposure, while properties further inland or with sheltered frames often push past 12 years before needing attention.
Powder coating: 15 to 25 years. Repainting aluminium windows through off-site powder coating delivers factory-equivalent performance. The baked-on finish forms a thick, uniform barrier with exceptional resistance to chipping, fading, and abrasion — far surpassing any liquid-applied paint system. Powder coating aluminum windows is the only recolouring method that genuinely matches the original factory finish in both appearance and longevity. Under moderate Australian conditions, 20-plus years of colour stability is realistic.
For homeowners weighing whether to recolour ageing frames or start fresh, that 15-to-25-year powder coating figure is worth contextualising. New aluminium window systems come with factory-applied powder coat finishes and custom colour options specified at the point of manufacture — meaning the durability clock starts from day one with no removal, transport, or reinstallation logistics. If you are exploring what factory-finish colour customisation looks like for new aluminium windows, MEICHEN’s aluminium window range provides a useful reference for understanding available colour systems and specifications.
Maintenance Routines That Extend Colour Life
Lifespan figures assume reasonable maintenance. Neglect cuts those numbers short — sometimes dramatically. The good news is that aluminium frame aftercare is neither complicated nor time-consuming. It boils down to removing the contaminants that degrade coatings before they have time to cause chemical damage.
Regular washing is the single most effective maintenance step. Salt deposits, industrial fallout, and organic matter (pollen, bird droppings, tree sap) all create localised chemical reactions on paint and powder coat surfaces. A simple rinse with fresh water followed by a wipe-down with mild detergent and a soft cloth neutralises these threats before they compromise the coating.
Cleaning frequency depends entirely on your environment:
- Beachfront or within 1 km of coast: Wash frames monthly. Salt deposition is relentless and accelerates coating breakdown faster than any other environmental factor.
- Coastal zone (1-5 km from coast): Wash every 3 months. Salt levels are lower but still significant, particularly during onshore wind events.
- Urban or suburban inland: Wash every 6 months. Traffic pollutants and general dust accumulate but at a manageable rate.
- Rural inland: Wash every 6 to 12 months. Lower pollutant loads mean coatings degrade more slowly, though dust and pollen still warrant periodic cleaning.
- Industrial areas: Wash every 3 to 4 months. Acidic particulates from nearby facilities are particularly aggressive on painted surfaces.
Beyond washing frequency, a few practices make a measurable difference to how long your paint window frames stay looking good:
Use non-abrasive cleaners only. Cream cleansers, steel wool, and abrasive pads scratch through topcoats and expose the primer or bare aluminium beneath. A soft cloth or sponge with mild detergent is all you need. If stubborn marks resist gentle cleaning, a soft-bristled brush is the most aggressive tool you should reach for.
Avoid solvent-based cleaners on finished frames. Products containing acetone, thinners, or strong alkaline solutions can soften and dull paint films. Stick with pH-neutral or mildly alkaline household detergents.
Apply UV-protective clear coat as a maintenance step. For frames approaching mid-life — say four to five years into a professional respray — a clear UV-resistant sealer applied over the existing topcoat adds another layer of protection without full recoating. This is particularly worthwhile on north and west-facing frames that absorb the most UV energy.
Inspect seals and drainage slots during cleaning. While you have a cloth in hand, check that rubber seals are intact and drainage slots at the base of each frame are clear. Blocked drainage leads to water pooling inside the frame cavity, which attacks coatings from behind where you cannot see it.
Salt-air environments deserve special emphasis. Properties within 5 km of the Australian coastline face coating degradation rates roughly double those of inland homes. This is why a professional respray that would last 12 years in suburban Melbourne might only deliver 7 to 8 years on a Sunshine Coast beachfront — and why coastal homeowners often find the durability gap between a DIY spray job and a professional two-pack system even more pronounced. Investing in a higher-durability method upfront costs less over a decade than repainting aluminium windows every few years.
Maintenance is not glamorous work, but it is the difference between a recolouring job that hits its expected lifespan and one that falls short. A 15-minute wash every few months protects an investment that took days of preparation and hundreds of dollars in materials or labour — a trade-off that makes sense by any measure. The final piece of the decision puzzle is whether recolouring delivers better long-term value than replacing your frames entirely.
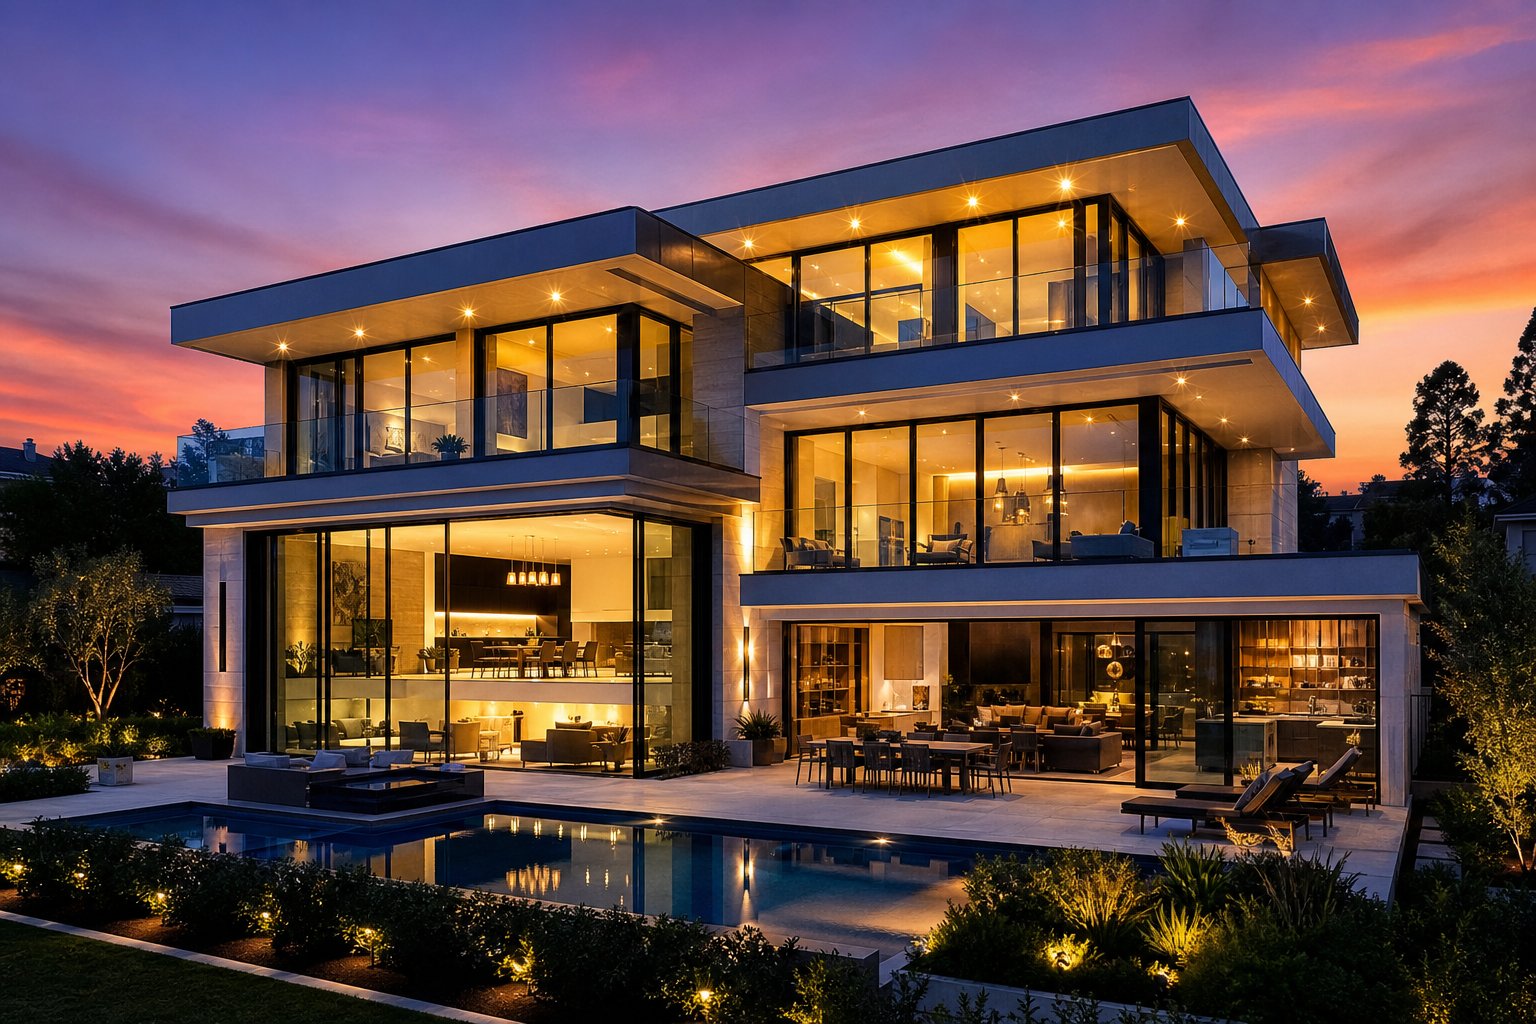
Recolour or Replace Your Aluminium Windows
Every recolouring project eventually forces one honest question: is restoring these frames the smartest use of your money, or are you pouring effort into metal window frames that should be retired? The answer is not the same for every home. Some frames deserve a second life. Others have deteriorated past the point where cosmetic work makes financial sense.
When Recolouring Gives You the Best Return
Recolouring wins clearly when the underlying structure is sound. If your old aluminium window frames pass the condition assessment — no cracked corners, no blown seals, no deep pitting — then the frame itself still has decades of service left. Aluminium does not rot or warp, so a structurally intact frame only needs its surface refreshed to look and perform well again.
Can you repaint aluminium window frames and get genuine value from the investment? Absolutely, in these situations:
- Glass units are still sealed and performing (no condensation between panes)
- Hardware operates smoothly — locks engage, hinges move freely
- Budget is limited and the frames are fundamentally healthy
- Heritage overlays or body corporate rules require retaining original aluminium window framing
- Disruption must be minimal (professional respray takes days, not weeks)
Restoration specialists note that recolouring typically costs 30 to 50 percent of full replacement, making it a compelling option for homes where the frames are structurally fine but visually tired. You preserve existing architraves, brickwork, and internal linings — none of which need disturbing when the frame stays in place.
Signs That Replacement Is the Smarter Investment
Recolouring has limits. No amount of preparation or premium paint fixes structural failure, and pouring money into repairing aluminium window frames that are fundamentally compromised rarely stacks up against starting fresh. Replacement becomes the better path when:
- Sealed glass units have failed — fogging between panes means the insulating gas has escaped and thermal performance is gone
- Corners have cracked or separated, allowing water into the frame cavity
- Hardware is worn beyond simple replacement — mounting points corroded, rollers seized, locks no longer aligning
- The cumulative cost of stripping, repairing pitting, recolouring, replacing seals, and fitting new hardware approaches or exceeds the cost of new aluminium frame windows
- You want improved thermal performance — older frames without thermal breaks are significant energy liabilities that recolouring cannot address
Modern aluminium windows offer thermally broken profiles, multi-point locking systems, improved acoustic performance, and compliance with current NCC energy requirements. These are functional upgrades that recolouring an old aluminium window simply cannot deliver, regardless of how good the new paint looks.
| Consideration | Recolour Existing Frames | Replace With New Aluminium |
|---|---|---|
| Upfront Cost | 30-50% of replacement cost | Full investment ($800-$2,000+ per window installed) |
| Lifespan of Result | 7-25 years depending on method | 30-40+ years for frame; 15-25 years for factory powder coat |
| Thermal Performance Impact | None — cosmetic only | Significant improvement with thermally broken profiles |
| Disruption During Work | Low to medium (1-3 days typical) | High (openings exposed during installation; internal making-good required) |
| Outcome Quality | Refreshed appearance; same frame performance | New appearance, hardware, seals, glazing, and energy efficiency |
The decision often comes down to what your frames need beyond colour. If the answer is “just colour,” recolouring delivers outstanding value. If the answer includes better seals, thermal performance, security, or hardware — the gains from replacement extend well beyond aesthetics.
For homeowners whose assessment points toward new windows, the next step is understanding what modern aluminium systems offer in terms of factory-applied colour finishes, custom specifications, and performance features. MEICHEN’s aluminium window range provides a practical starting point for exploring window types, colour options, and system configurations suited to Australian residential and commercial projects — useful context for anyone weighing whether their existing metal window frames warrant investment or whether a fresh start delivers better long-term returns.
Frequently Asked Questions About Aluminium Window Recolouring
1. Can you paint aluminium window frames yourself?
Yes, aluminium window frames can be painted by homeowners with no trade experience. The key to a lasting DIY result is thorough surface preparation — cleaning, sanding, degreasing, and applying an etch primer formulated for aluminium. Without proper prep, paint peels within months regardless of product quality. DIY brush application typically lasts 2 to 5 years, while DIY spray painting extends that to 3 to 6 years. Ground-floor frames in Level 1 condition (lightly faded, smooth surface) are the best candidates for DIY work.
2. How long does aluminium window recolouring last in Australian conditions?
Durability depends on the method chosen and environmental exposure. DIY brush paint lasts 2 to 5 years, DIY spray paint 3 to 6 years, professional on-site respray with two-pack coatings 7 to 15 years, and off-site powder coating 15 to 25 years. Coastal properties within 5 km of the ocean experience faster degradation — roughly double the rate of inland homes — due to salt-air exposure. Regular washing every 3 to 6 months in coastal areas significantly extends coating life regardless of method.
3. What is the best paint for aluminium window frames?
For DIY applications, a high-quality exterior acrylic enamel formulated for metal substrates offers the best balance of adhesion, UV stability, and ease of use. The primer matters more than the topcoat — bare aluminium requires a self-etching primer containing phosphoric acid and zinc phosphate to create a chemical bond, not just a standard multipurpose primer. For professional work, two-pack polyurethane coatings deliver superior hardness and longevity. Powder coating remains the gold standard, producing a factory-equivalent finish that outperforms all liquid-applied systems.
4. Is it cheaper to recolour or replace aluminium windows?
Recolouring typically costs 30 to 50 percent of full replacement. A professional respray runs approximately $150 to $350 per window, while powder coating costs $300 to $600 or more per window. Full replacement ranges from $800 to $2,000 or more per window installed. Recolouring makes strong financial sense when frames are structurally sound with intact seals and functioning hardware. Replacement becomes the smarter investment when frames have structural corrosion, blown sealed units, or when the cumulative repair cost approaches replacement pricing — plus you gain modern thermal performance and security features that recolouring cannot deliver.
5. Do you need to prime aluminium before painting?
Priming is non-negotiable for a lasting result on aluminium. Standard multipurpose primers do not chemically bond to the aluminium oxide layer and will eventually lift, taking your topcoat with them. Bare aluminium requires a self-etching primer that contains mild acids to dissolve the oxide layer and deposit a conversion coating for paint adhesion. Two-part epoxy primers offer even stronger bonds for coastal or high-exposure situations. Previously coated frames with intact existing primer only need a scuff-sand and bonding primer rather than a full etch primer system.
More Window & Door Guides