
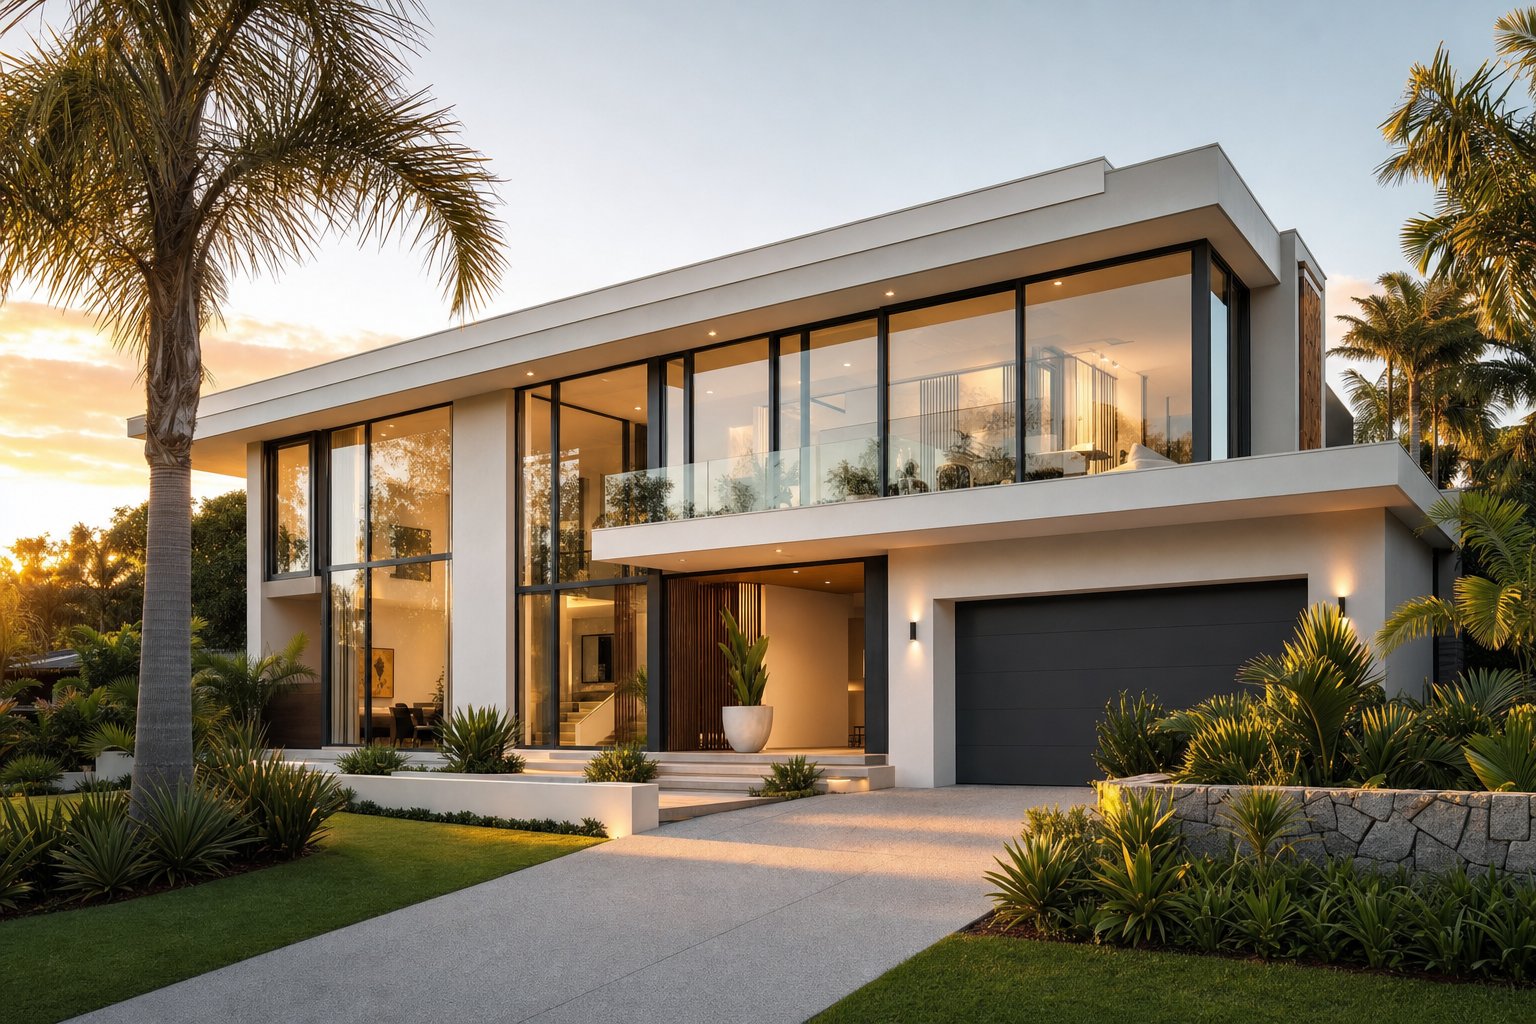
Assess Your Aluminium Frames Before Picking Up a Brush
Bronze aluminium window frames were everywhere in Australian homes built between the 1980s and early 2000s. They were practical, affordable, and matched the earthy tones popular at the time. Fast forward a couple of decades, and those same frames now look tired against freshly rendered walls or a modern colour palette. If you're staring at faded brown or cream frames and wondering how to paint aluminium window frames without the whole thing peeling off in six months, you're in good company.
Can You Actually Paint Aluminium Window Frames Successfully
The short answer: yes, you absolutely can you paint aluminium window frames — and get a result that holds up for years. The longer answer involves a few caveats. Aluminium is a non-porous metal, which means standard house paint won't grip the surface without proper preparation and the right primer system. Success hinges on surface prep, product selection, and application technique rather than luck. Skip any one of those steps and you'll be scraping flakes off the glass within a season. Done correctly, a painted finish can last 10 to 15 years even in harsh coastal conditions.
Paint or Replace — How to Decide for Your Home
Before you commit to learning how to paint aluminium window frames, take an honest look at what you're working with. Repainting saves up to 75% compared to full replacement, but it only makes sense when the underlying frames are structurally sound. Here's a quick decision guide.
Signs your frames are good candidates for painting:
- Frames are straight with no warping, bending, or visible corrosion pitting
- Hardware (rollers, locks, handles) still functions properly
- Glass seals remain intact with no fogging between panes
- Surface shows cosmetic wear — fading, chalking, or minor oxidation — but no structural damage
- Windows are accessible from ground level or a single-storey roofline
Signs replacement is the smarter path:
- Frames are bent, cracked, or corroded through to bare metal
- Seals have failed and moisture sits between glass layers
- You need improved thermal or acoustic performance (thermally broken frames, double glazing)
- The home is multi-storey and scaffold hire pushes painting costs close to replacement pricing
- You want a flawless factory finish across 15 or more openings
Common Australian Frame Scenarios That Prompt This Project
So how do you paint aluminum window frames that have baked in decades of UV and salt air? It starts with understanding your specific situation. Coastal properties from Sydney's Northern Beaches to Perth's western suburbs deal with salt-driven oxidation that leaves a chalky white residue on bare aluminium. Inland homes in places like Western Sydney or regional Victoria tend to see less corrosion but more colour fade from relentless sun exposure. Queenslanders and older brick-veneer homes often have dozens of smaller frames — a scenario where DIY painting delivers serious savings over wholesale replacement.
Budget, storey height, and your tolerance for imperfection all factor in. A single-storey home with eight to ten windows in reasonable condition is the sweet spot for a weekend DIY project. A two-storey rendered home with 20-plus openings and heavy oxidation might justify calling in a professional spray painter — or reconsidering replacement altogether.
The real key to a lasting result sits in what happens before any paint touches the frame. That means identifying exactly what type of finish your aluminium currently carries and how far the surface has deteriorated.
Step 1 Identify Your Frame Type and Surface Condition
Most DIYers grab sandpaper and start scuffing without asking a fundamental question: is this frame anodised or powder-coated? The answer changes your entire preparation approach. Get it wrong and you risk poor adhesion regardless of how good your paint is. Painting aluminium windows successfully starts here — with identification, not elbow grease.
How to Tell If Your Frames Are Anodised or Powder-Coated
Anodising is an electrochemical process that thickens aluminium's natural oxide layer, producing a finish that looks and feels like coloured metal. Powder coating, by contrast, is essentially a baked-on resin layer — it looks more like smooth paint. The visual and tactile differences are subtle but reliable once you know what to look for.
Run your fingernail across the surface. Anodised frames feel like bare metal with a slight sheen; you can still sense the aluminium grain underneath. Powder-coated frames feel like a thin plastic skin over the metal. When oxidised, powder-coated surfaces turn chalky and faded, almost dusty to the touch, while anodised surfaces retain their metallic lustre but may develop a dull haze or localised pitting.
| Characteristic | Anodised Aluminium | Powder-Coated Aluminium |
|---|---|---|
| Visual appearance | Metallic lustre, coloured metal look | Smooth paint-like finish |
| Touch/texture | Smooth, feels like bare metal | Slight plastic or resin feel |
| When oxidised | Dull haze, possible pitting | Chalky white residue, flaking |
| Colour range (original) | Limited — bronze, gold, silver, black | Wide — virtually any colour |
| Prep for painting | Solvent wipe + etch primer essential | Scuff sand + bonding primer |
| DIY difficulty | Moderate to high | Moderate |
If your home was built in the 1980s or early 1990s with bronze or gold-toned frames, there's a strong chance they're anodised. Homes from the mid-1990s onward more commonly used powder-coated finishes in colours like paperbark, cream, or woodland grey. Painting anodised aluminium window frames demands an extra solvent-wipe step and a dedicated etch primer to create a bond — skip this and the topcoat will sheet off in panels.
Assessing Oxidation and Surface Damage
Australian frames cop a unique combination of intense UV and, in coastal zones, airborne salt that accelerates corrosion. Wipe a finger across the frame. A white or grey powdery residue on bare aluminium signals oxidation — the metal reverting toward its natural state. On powder-coated surfaces, oxidation presents as a chalky bloom that dulls the original colour. Light oxidation is cosmetic and easily managed. Heavy pitting or flaking that exposes raw metal underneath means more aggressive prep — or a conversation about replacement.
The same principle applies if you're painting brushed aluminum trim or mill-finish sections around louvres and sub-sills. These uncoated areas oxidise faster and need thorough treatment before any primer will hold.
Removing Old Finishes on Vintage Australian Frames
For painting anodized aluminum window frames that carry decades of degraded finish, you have three removal paths:
- Mechanical sanding — 240 to 320 grit paper or scotch-brite pads. Suitable for light oxidation and creating a key on stable powder coat. Avoid coarse grits that gouge the soft aluminium beneath.
- Chemical strippers — alkaline-based formulations designed for aluminium (never use caustic soda, which attacks the metal). Apply, allow the coating to blister, then scrape with a plastic blade. Ideal for frames with thick, flaking powder coat.
- Professional media blasting — soda blasting or fine garnet media removes old finishes without warping thin aluminium profiles. Worth the cost when you're tackling a full house of heavily degraded frames or when painting brushed aluminum sections that need a perfectly clean substrate.
Whichever path you choose, the goal is the same: a clean, lightly textured surface free of loose material, grease, and salt deposits. That surface is what your primer will grip — and primer selection is the next critical decision that separates a five-year finish from a five-month failure.
Step 2 Gather the Right Paint and Equipment
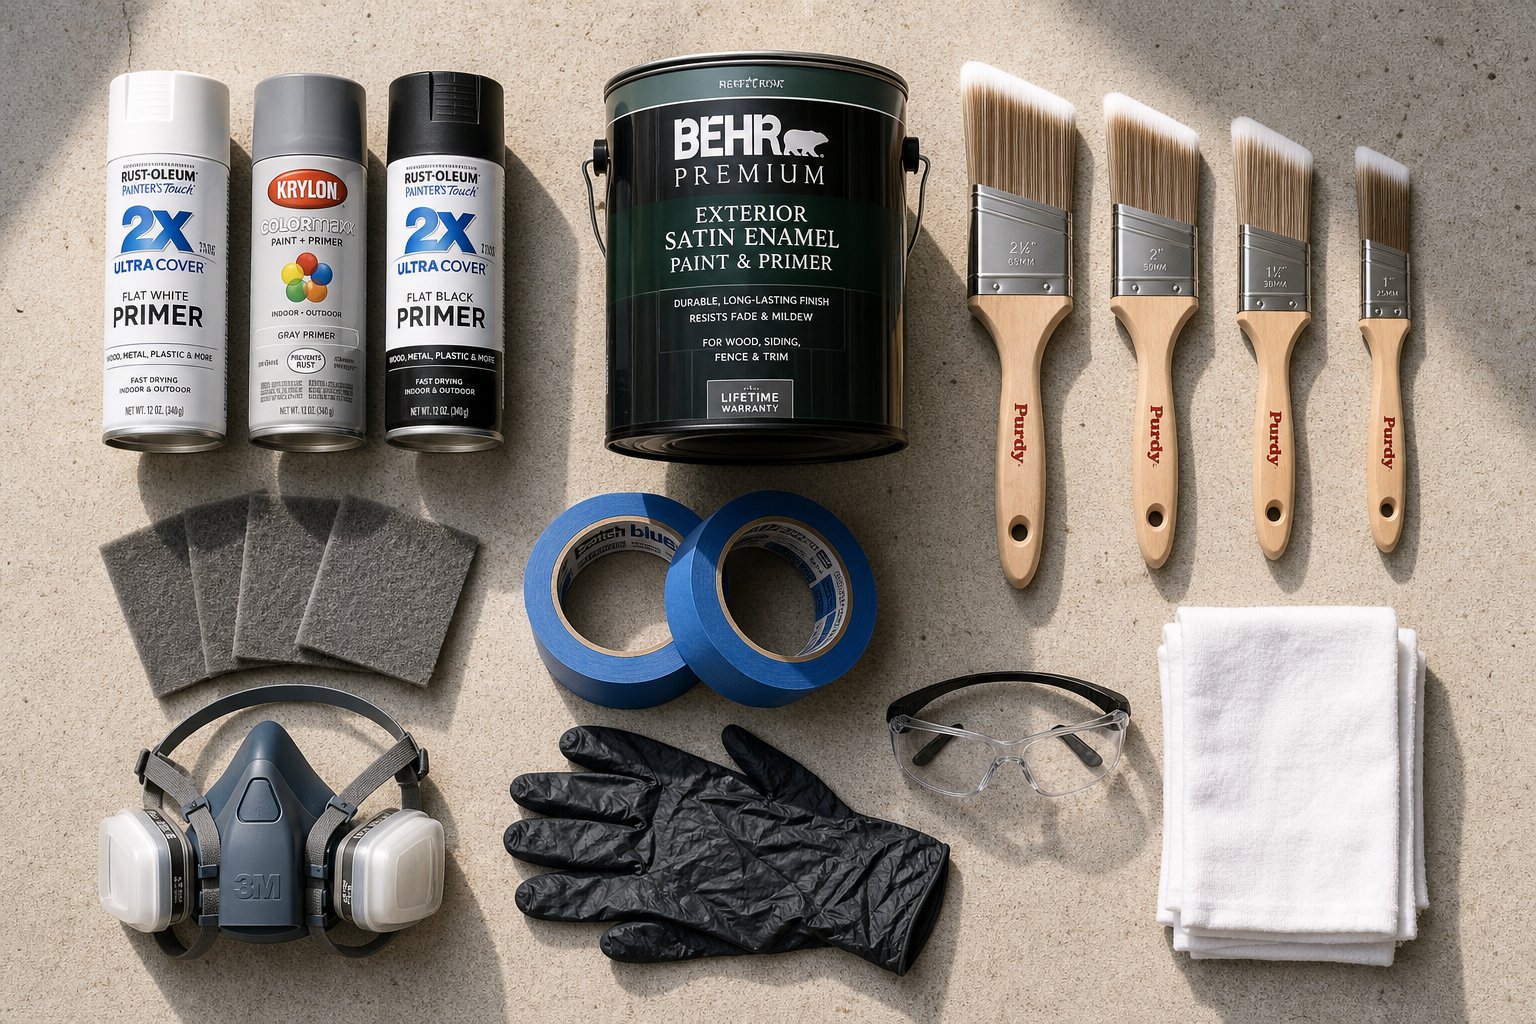
Primer selection separates lasting results from early failure — but the primer is only one piece of the puzzle. Choosing the right paint for aluminium, assembling proper tools, and sorting your safety gear before you start saves backtracking mid-project. Here's everything you need on hand before touching a frame.
Choosing the Right Paint and Primer for Aluminium
Standard wall paint won't cut it. Aluminium expands and contracts with temperature swings, so your window frame paint needs flexibility, UV resistance, and strong adhesion to a primed metal substrate. Two main topcoat categories work well in Australian conditions:
- 100% exterior acrylic latex — flexible, breathable, and easy to clean up with water. Ideal for most residential projects where frames sit under eaves or face moderate exposure. Look for products labelled "metal and trim" with built-in UV stabilisers. Expect 8 to 12 years of service in temperate climates.
- Two-pack epoxy or urethane-modified enamel — harder, more chemical-resistant, and better suited to high-exposure situations like beachfront homes or frames copping full western sun. These paints cure through a chemical reaction rather than simple evaporation, producing a tougher film. Lifespan can stretch beyond 12 years with proper prep, though they demand more precise application and carry stricter safety requirements.
For primer, the best paint for aluminum window frames means nothing if the undercoat can't bond to the metal. Three primer types are formulated specifically for aluminium:
- Self-etching primer — contains phosphoric acid that chemically bites into the aluminium oxide layer while depositing a zinc-rich coating. Available in aerosol cans for small jobs. One coat is typically sufficient on freshly sanded surfaces.
- Two-part epoxy primer — the gold standard for adhesion and corrosion resistance, especially in coastal or high-humidity zones. Requires mixing resin and hardener, with a limited pot life once combined.
- Bonding primer (high-adhesion acrylic) — a simpler option for powder-coated frames that still have a stable base coat. Less aggressive than etch primers but easier to apply by brush.
If your frames face salt air or intense UV — think anywhere from Manly to Fremantle — lean toward the epoxy primer and urethane topcoat combination. For sheltered inland frames, a self-etching aerosol primer paired with quality acrylic trim paint delivers a solid result at lower cost. Choosing the right paint for aluminum window frames upfront prevents the frustration of watching your work peel within a year.
Essential Tools and Supplies Checklist
Gather everything before you start. Running to Bunnings mid-project with half-prepped frames exposed to the air invites re-oxidation and dust contamination.
Cleaning and prep:
- Sugar soap or heavy-duty degreaser
- Methylated spirits for final wipe-down
- Scotch-brite pads (grey, ultra-fine) or 320–400 grit sandpaper
- Tack cloths
- Clean lint-free rags
Masking:
- Quality painter's tape (24 mm and 48 mm widths)
- Plastic sheeting or builder's paper
- Drop sheets for sills and flooring
Application:
- Aluminium-specific primer (aerosol or brushable)
- Topcoat paint for aluminium (acrylic or two-pack system)
- Synthetic-bristle brush (50 mm angled sash brush for frames)
- Small foam roller and tray (for flat sections)
- HVLP spray gun or aerosol cans (if spraying)
Safety and cleanup:
- P2 respirator (essential for spray applications)
- Chemical-resistant nitrile gloves
- Safety glasses or goggles
- Solvent for equipment cleaning (mineral turps for oil-based, water for acrylics)
- Sealable waste container for used rags and empty cans
Safety Gear and Australian Environmental Compliance
Paint fumes and overspray carry real health risks — particularly with two-pack systems that release isocyanates during application. Australian workplace health and safety codes require respiratory protection, adequate ventilation, and proper chemical handling even for domestic projects.
Always work in a well-ventilated area. If spraying outdoors, position yourself upwind of the overspray. If working indoors or in a garage, use mechanical ventilation — a box fan exhausting air out of the space at minimum. Two-pack paints containing isocyanates must never be sprayed without a P2 respirator and full skin coverage.
Dispose of paint waste responsibly. Most Australian councils run periodic chemical drop-off days or accept paint cans at designated transfer stations — never pour solvents down stormwater drains. Solvent-soaked rags can self-combust if bundled together; lay them flat to dry outdoors or store in a sealed metal container until disposal.
With your materials sorted and safety gear ready, the real work begins: preparing the aluminium surface so primer and paint have something to grip.
Step 3 Prepare the Surface for Maximum Paint Adhesion
Surface preparation is where most DIY paint jobs on aluminium either succeed or quietly begin to fail. Roughly 80% of paint failures on metal frames trace back to this single phase — not the wrong paint, not the wrong brush, but a surface that wasn't properly cleaned, abraded, or decontaminated before primer went on. If you want the best way to paint aluminium frames that actually lasts in Australian conditions, invest the bulk of your time right here.
Degrease and Clean Every Surface Thoroughly
Years of handling, airborne grease from nearby kitchens, insect residue, and general grime leave an invisible film on aluminium profiles. This film acts as a release agent — paint sits on top of it rather than bonding to the metal. Start by washing every frame surface with a strong sugar soap solution or a dedicated degreaser. Use a stiff nylon brush to work the solution into corners, rebates, and the channel where the frame meets the glass.
Rinse thoroughly with clean water and allow the frames to dry completely. For coastal properties — anywhere from the Central Coast to Adelaide's western suburbs — salt residue demands an additional step. Salt doesn't just sit on the surface; it penetrates micro-pores in oxidised aluminium and continues to draw moisture even after the frame looks dry. Wash coastal frames twice: once with degreaser to cut oils, then again with fresh water to flush dissolved salt from tracks and crevices. Let them dry for at least a few hours in open air before moving to the next step.
Sand and Abrade for Mechanical Adhesion
Aluminium is non-porous. Paint needs something to grip, and that grip comes from thousands of tiny scratches — a mechanical key — created by abrasion. This is the step that transforms a slick metal surface into one that primer can physically lock onto.
Use 320 to 400 grit sandpaper or grey ultra-fine scotch-brite pads. Work in one direction along the length of each profile rather than circular motions, which can create uneven scratch patterns that show through the final coat. The goal isn't to remove metal — it's to dull the sheen and create uniform micro-grooves across the entire surface.
Aluminium is softer than steel, so coarse grits (anything below 240) will gouge the surface and leave visible scratches that no amount of paint will hide. Keep your pressure light and consistent. Pay extra attention to edges, corners, and the flat faces of mullions where paint adhesion is most visible. If you're painting on aluminium that still carries a stable powder coat, scuff sanding the existing finish is enough — you don't need to strip back to bare metal unless the coating is flaking or lifting.
After sanding, you'll notice a fine grey dust clinging to the frames. This dust, combined with any remaining oils from your hands, must be completely removed before primer application.
Final Wipe-Down and Masking Technique
Dampen a clean lint-free rag with methylated spirits and wipe every sanded surface. The methylated spirits evaporate quickly, carrying away dust, fingerprint oils, and any last traces of contamination. Follow immediately with a tack cloth to pick up micro-particles the rag missed. Don't touch the prepared surface with bare hands after this step — even clean skin deposits oils that compromise adhesion.
Masking comes last. Apply quality painter's tape along the glass edge, pressing it firmly to prevent paint creep. Use 24 mm tape for tight reveals and 48 mm for broader areas. Run a fingernail or plastic card along the tape edge to seal it against the glass. Cover the remaining glass with plastic sheeting or builder's paper, taping it securely so wind can't lift it during application. Mask surrounding brickwork, render, or weatherboard with drop sheets.
Precision here pays off. Sloppy masking means tedious scraping later — or worse, paint bridging onto glass where it peels and lifts the finish off the frame edge with it. When you paint aluminium frames with clean, abraded, and properly masked surfaces, you've eliminated the most common failure points before a drop of primer leaves the can.
That prepared surface is now ready for the one product that makes or breaks long-term adhesion: a specialist aluminium primer built to bond where ordinary undercoats cannot.
Step 4 Apply Primer Designed for Aluminium Surfaces
A perfectly prepped surface means nothing if the wrong primer goes over it. Standard acrylic or oil-based undercoats — the kind you'd use on timber trim — simply cannot bond to aluminium's oxide layer. They sit on top like cling wrap on glass, and the first temperature cycle or bump peels them away in sheets. Understanding how to paint metal frame windows that last starts with accepting one non-negotiable rule: use a primer engineered specifically for non-ferrous metal.
Why Specialist Aluminium Primer Is Non-Negotiable
Aluminium forms a microscopically smooth, chemically inert oxide layer within seconds of exposure to air. Standard primers are designed for porous or slightly rough substrates — timber, plaster, ferrous metals — and they lack the chemistry to penetrate or react with this oxide barrier. The result is predictable: peeling, flaking, and bubbling within months.
Self-etching primers solve this by containing a mild acid (typically phosphoric acid) that chemically reacts with the aluminium oxide layer, creating microscopic valleys that the primer resin fills and locks into. Two-part epoxy primers take a different approach — they form a dense, waterproof barrier that mechanically grips the abraded surface and resists moisture penetration. Either system gives you what a general-purpose undercoat never can: a genuine chemical or mechanical bond to the metal itself. When painting metal window frames, this bond is the entire foundation your topcoat relies on.
Apply Primer in Thin Even Coats
Thick primer coats are tempting — they feel like better coverage — but on vertical aluminium profiles they sag, pool in rebates, and trap solvents that prevent proper curing. Thin, even passes are the goal regardless of your application method.
Spray application (aerosol cans or HVLP gun):
- Hold the can or gun 200–250 mm from the surface
- Use steady, overlapping passes — each stroke covering about 50% of the previous one
- Two light coats beat one heavy coat every time
- Aerosol cans suit jobs of one to four windows; an HVLP gun is faster and more economical for larger projects
Brush-on application (synthetic bristle):
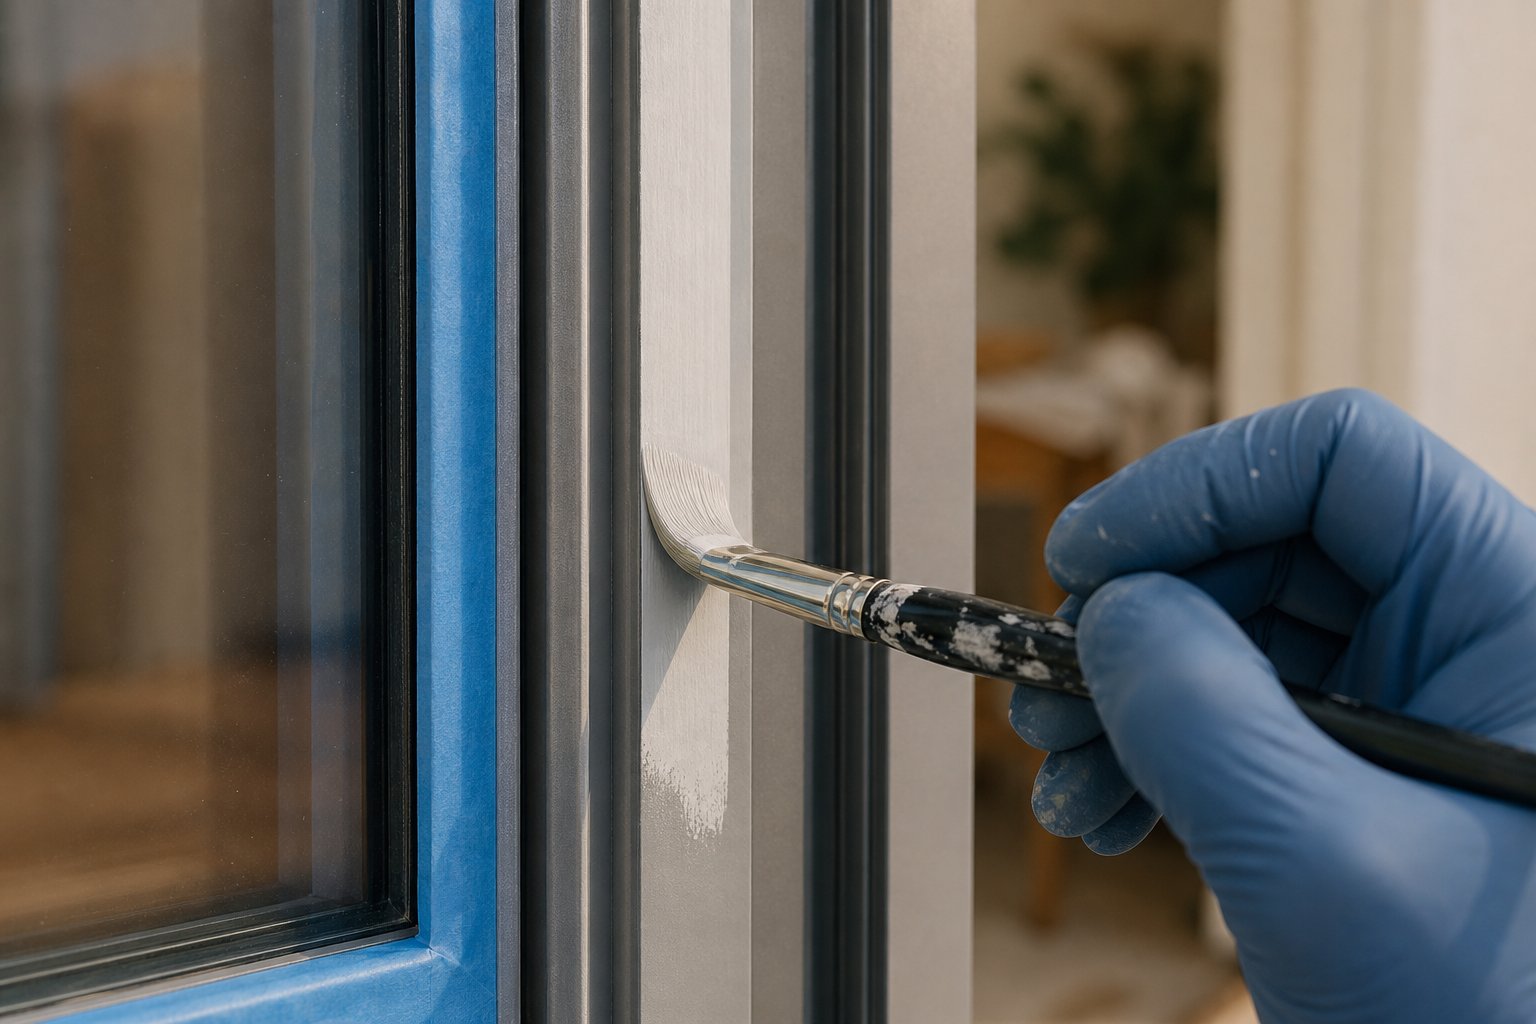
- Use a 50 mm angled sash brush with fine synthetic filaments — these leave fewer brush marks on narrow aluminium profiles
- Load the brush lightly and work in long, even strokes along the frame's length
- Avoid overworking — once the primer starts to tack, leave it alone or you'll drag and create ridges
Whichever method you choose for painting aluminium frames, pay close attention to edges, corners, and the rebate channels where the glass sits. These are the spots most prone to missed coverage — and the first places adhesion failure shows up.
Allow self-etching primers 30 to 60 minutes between coats and at least two hours before topcoating. Epoxy primers need longer — typically four to six hours before recoating, and up to 24 hours before the topcoat goes on. Always check the manufacturer's data sheet; these times shift with temperature.
Ideal Conditions for Primer Application in Australia
Temperature and humidity directly affect how primer cures and bonds. Australian conditions swing between extremes that can sabotage even the best products if you time it wrong.
- Too hot (above 35°C): Primer flash-dries on contact, trapping solvents beneath the surface film. The result looks fine initially but fails weeks later as trapped gases push the coating off. Common on summer afternoons across most of the country.
- Too cold or damp (below 10°C or above 85% humidity): Primer can't cure properly and remains soft. Morning dew in Melbourne, Canberra, and Hobart winters is a frequent culprit — frames that feel dry may carry an invisible moisture film at 7 am.
- Sweet spot: 15–30°C with humidity below 70%. In most Australian regions, this means early to mid-morning in spring or autumn. Avoid full afternoon sun on west-facing frames during summer.
If you're learning how to paint metal window frames in a coastal or tropical zone — think Far North Queensland or Darwin — aim for the dry season and work in the shade where possible. Primer that cures evenly under controlled conditions forms a harder, more uniform film that your topcoat bonds to cleanly.
With primer cured and inspected for full coverage, the next decision shapes your final finish quality: which application method and how many topcoats will deliver the look you're after.
Step 5 Choose Your Method and Apply Paint
Your primer is cured, the surface is uniform, and the masking is tight. The finish you achieve from here depends almost entirely on how you apply the topcoat. Each method — aerosol spray cans, HVLP spray guns, and brush or roller — produces a different result at a different price point. Picking the right one for your project size, skill level, and desired finish quality saves frustration and wasted paint.
Spray Painting Aluminium Frames for a Factory Finish
Can you spray paint aluminium and get a result that rivals a factory powder coat? With the right technique, you can get remarkably close. Spray application lays down thin, even films without brush marks, which matters on narrow aluminium profiles where every imperfection catches the light.
Aerosol cans suit small projects — a bathroom window, a single sliding door, or a set of louvres. Shake the can for a full two minutes, hold it 200–250 mm from the surface, and use steady horizontal passes. Overlap each stroke by about 50% to avoid striping. Build colour gradually with two to three light coats rather than one heavy pass. Each coat dries to touch in 20 to 30 minutes, so a single frame can be finished within a couple of hours.
HVLP (High Volume Low Pressure) spray guns are the better choice when you need to spray paint window frames across an entire house. They atomise paint more finely than aerosols, produce less overspray, and let you adjust fan width and fluid flow to match different profile widths. Set the gun 150–200 mm from the frame, keep your wrist moving at a consistent speed, and maintain the same overlap pattern. The learning curve is steeper than a rattle can, but the payoff is a smoother, more consistent finish across dozens of frames.
Brush and Roller Technique for DIY Without Spray Gear
Not everyone wants to deal with overspray, masking entire walls, or hiring equipment. A quality synthetic-bristle brush delivers a perfectly acceptable finish on aluminium — provided you use the right technique.
Choose a 50 mm angled sash brush with fine synthetic filaments. These hold less paint than natural bristle, which actually works in your favour on narrow frames — less paint means fewer drips. Load the brush by dipping only the bottom third of the bristles, then tap off excess against the inside of the tin rather than wiping across the rim.
Work in manageable sections — one frame rail at a time — to maintain a wet edge. Aluminium profiles are narrow, so paint dries quickly on exposed edges. If you go back over a section that's already started to tack, you'll drag the film and leave visible ridges. Lay the paint on, level it with a single smooth stroke, and move on. A small foam roller works well on flat mullion faces, but stick to the brush for rebates and corners where rollers can't reach.
| Factor | Aerosol Spray Can | HVLP Spray Gun | Brush and Roller |
|---|---|---|---|
| Finish quality | Good — smooth, minimal texture | Excellent — closest to factory finish | Acceptable — slight brush marks possible |
| Cost (materials) | $15–$25 per can; 2–3 cans per window | $150–$400 for gun + paint by the litre | $30–$60 for brushes, roller, and paint |
| Skill level | Beginner-friendly | Intermediate — requires practice | Beginner — familiar technique |
| Speed | Fast per window, slow for large jobs | Fastest for multi-window projects | Slowest overall |
| Best use case | 1–4 windows, touch-ups | Full house (8+ windows), colour changes | Budget projects, single frames, detail work |
| Overspray/mess | Moderate — needs careful masking | Low with proper settings | Minimal — drips only |
How Many Coats You Actually Need
Two topcoats is the standard for painting aluminum window frames that need to withstand Australian UV and weather cycling. The first coat establishes colour coverage and bonds to the primer. The second coat builds film thickness, evens out any thin spots, and delivers the final sheen — whether you've chosen satin, semi-gloss, or full gloss.
Jumping from a dark bronze or brown to white or light grey often demands a third coat to fully block the old colour. Darker transformations — bronze to charcoal or matt black — typically achieve full opacity in two passes. These darker shades also tend to hide minor application imperfections better, making them a forgiving choice if you're learning how to paint aluminum window frames for the first time.
Allow full drying time between coats as specified on the tin — usually four to six hours for acrylics, longer for urethane-modified enamels. Rushing the recoat traps solvents and softens the underlying layer, which leads to wrinkling or poor intercoat adhesion. Patience here is what separates a finish that looks professional from one that feels tacky weeks later.
Colour choice is personal, but the most popular updates across Australian homes right now run from Monument (a deep charcoal), Surfmist (soft white), and Woodland Grey through to matt black for contemporary facades. These Colorbond-adjacent tones blend with modern render, cladding, and roofing — a far cry from the dated bronze that prompted the project in the first place.
With your final coat laid down and looking sharp, the temptation is to peel off the tape and call it done. Resist that urge — how you manage drying and curing over the coming days determines whether your new finish hardens into a durable shell or remains vulnerable to damage.
Step 6 Manage Drying and Curing in Australian Conditions
Your freshly painted frames look fantastic. The colour is even, the sheen is consistent, and the temptation to rip off the masking tape and slide a window open is strong. Don't. The difference between a finish that hardens into a resilient shell and one that scuffs, sticks, or peels within weeks comes down to what happens over the next 7 to 14 days — and Australian conditions make this phase trickier than most guides acknowledge.
Drying vs Curing and Why It Matters
Paint goes through three distinct stages after application, and confusing them is one of the most common mistakes when painting aluminum windows on Australian homes.
- Dry to touch — solvents at the surface have evaporated and the film feels dry under a light fingertip. Typically 30 minutes to 2 hours depending on product and temperature. The paint is still soft underneath.
- Dry to recoat — enough solvent has left the film that a second coat can be applied without lifting or wrinkling the first. Usually 4 to 6 hours for acrylics, up to 16 hours for urethane-modified enamels.
- Full cure — the paint has undergone its complete chemical or coalescent reaction, reaching maximum hardness, adhesion, and chemical resistance. This takes anywhere from 7 to 14 days for most exterior acrylic systems, and up to 21 days for two-pack epoxies in cooler climates.
Why does this matter for window frames specifically? Because windows move. Sliding a sash, turning a handle, or even letting a breeze push against an awning window creates friction and pressure on the painted surface. Before full cure, that film is still soft enough to dent, scuff, or bond to the rubber seal it presses against — a problem called blocking, where two painted surfaces stick together and tear when separated. If you're learning how to paint aluminium windows properly, patience during this curing window is just as important as the prep work that came before it.
Regional Australian Climate Guide for Paint Curing
Australia's climate zones create wildly different curing environments. What works in Melbourne's temperate autumn can fail spectacularly in Darwin's build-up season or on a 40°C afternoon in Western Sydney.
Extreme UV and heat (above 35°C): Australia's UV index regularly hits 11+ in summer across most of the continent. Intense sun bakes the paint surface dry within minutes, forming a skin that traps solvents underneath. The result looks cured but remains soft at the substrate level. Weeks later, those trapped solvents push outward, causing bubbling or adhesion loss. This is especially common on north and west-facing frames painted during summer afternoons.
Tropical humidity (QLD, NT, northern WA): High moisture in the air slows solvent evaporation dramatically. Humidity above 70% can extend cure times by 50% or more, and in extreme cases prevents full cure altogether. Painting exterior metal window frames in Cairns or Darwin during the wet season (November to April) is a recipe for soft, tacky finishes that attract dirt and never fully harden.
Coastal salt air (Sydney, Melbourne, Perth, Adelaide coastal suburbs): Salt particles settle on curing paint and draw moisture from the air, creating micro-pockets of dampness on the film surface. This doesn't just slow curing — it can compromise the bond between topcoat and primer at a molecular level. Coastal projects benefit from painting on calm days with low onshore wind, and covering freshly painted frames with light dust sheets overnight if sea breezes pick up.
| Climate Zone | Best Painting Window | Expected Full Cure Time | Key Considerations |
|---|---|---|---|
| Tropical North (QLD, NT, northern WA) | May to September (dry season) | 10–14 days | Avoid wet season humidity; paint early morning before heat builds |
| Subtropical (SE QLD, northern NSW) | April to October | 7–10 days | Watch for late-season storms; humidity can spike without warning |
| Temperate (Sydney, Melbourne, Adelaide, Perth) | March to May, September to November | 7–14 days | Avoid winter dew and summer extremes; mid-morning start is ideal |
| Arid/Inland (western NSW, SA interior, Goldfields WA) | March to May, August to October | 5–7 days | Summer heat causes flash-drying; low humidity speeds cure but watch for dust |
| Cool Temperate (TAS, VIC highlands, ACT) | October to March | 14–21 days | Short painting season; morning dew and cold nights slow cure significantly |
Across all zones, the ideal conditions for curing sit between 15°C and 30°C with humidity below 65%. Start painting in the early to mid-morning so the first coat has maximum daylight hours to begin its cure cycle without copping the harshest midday UV.
When to Remove Tape and Reassemble Hardware
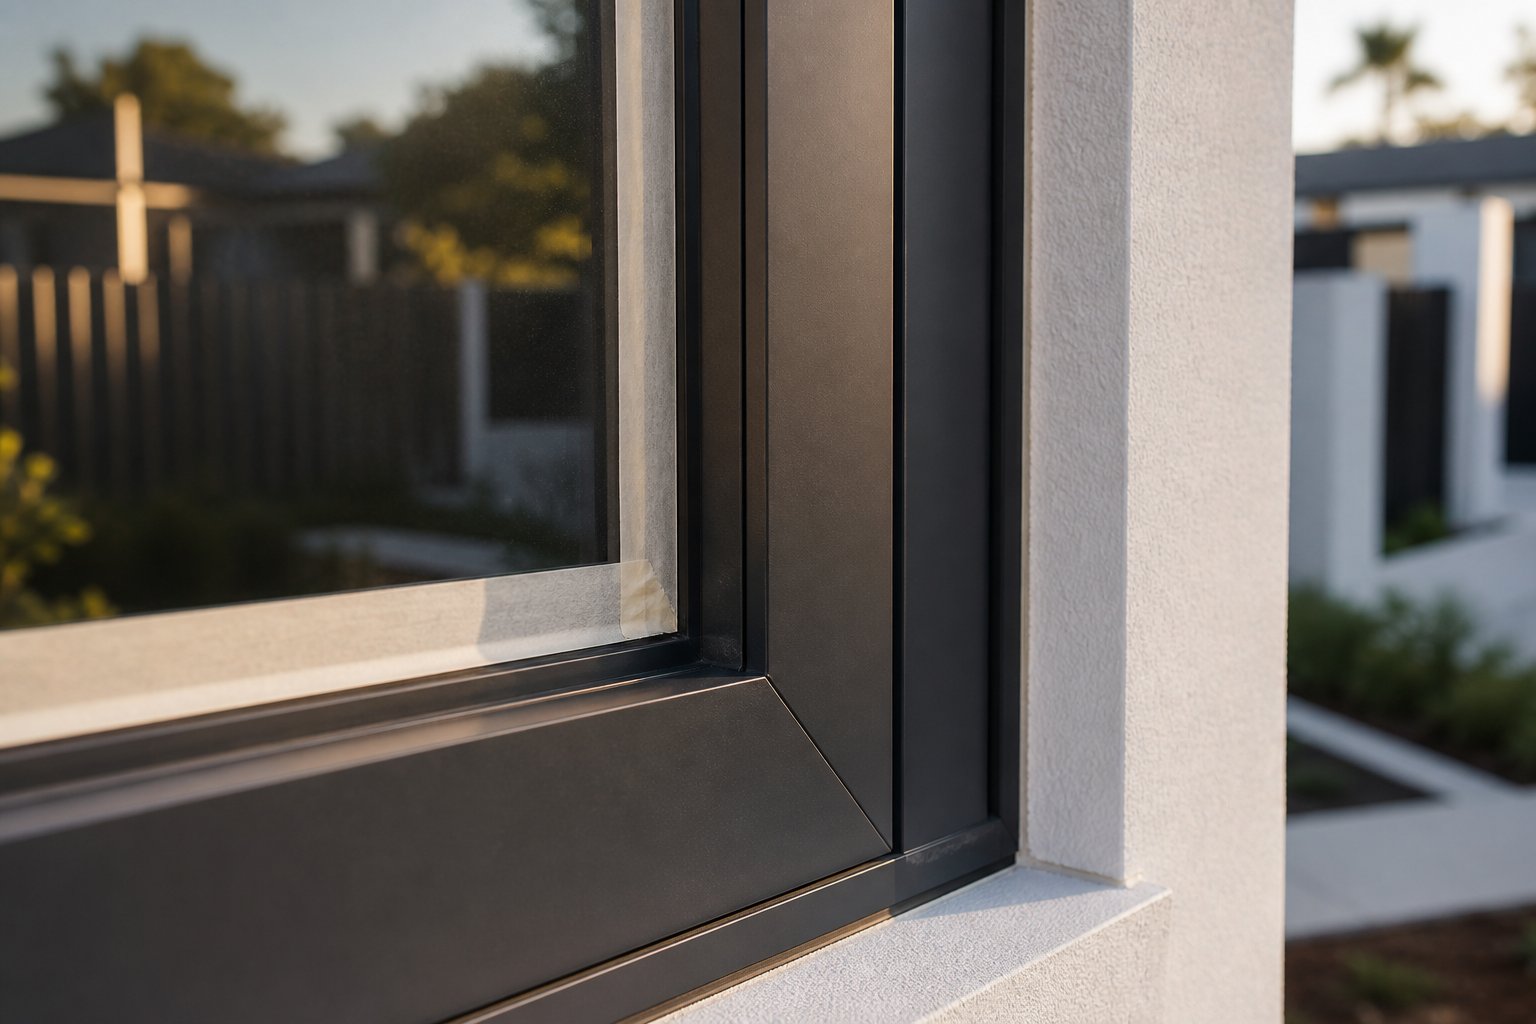
Timing your tape removal incorrectly can undo hours of careful work. Pull too early and wet paint bleeds past the edge. Wait too long and the tape bonds to the cured film, tearing chunks of paint away when you finally peel it.
The sweet spot: remove masking tape when the final coat is dry to touch but not yet fully cured — typically 2 to 4 hours after the last coat in moderate conditions. Pull the tape back on itself at a 45-degree angle, slowly and steadily. This shears the paint film cleanly at the tape edge rather than lifting it. If you notice any resistance or tearing, score along the tape line with a sharp blade before pulling.
Hardware — handles, locks, stays — should wait longer. Reinstall these components only after the paint has reached full cure. Screwing hardware into soft paint compresses the film and creates permanent indentations. The rubber seals on sliding windows also need full cure before the sash is closed against the frame, otherwise blocking will fuse the seal to the paint surface.
For painting exterior metal window frames, this patience is especially critical. Exterior surfaces face immediate UV exposure and temperature cycling that stress the film from day one. A fully cured coating handles these forces; a partially cured one doesn't. Keep windows slightly ajar (without letting them contact the frame) during the cure period, and avoid washing or touching the painted surfaces for at least two weeks.
Even with perfect timing and ideal conditions, paint on aluminium can still fail — and when it does, diagnosing the root cause quickly determines whether you're looking at a simple touch-up or a full strip-back.
Step 7 Troubleshoot Common Failures and Know What to Expect
Paint failures on aluminium rarely announce themselves dramatically. A tiny bubble appears near a corner. A hairline crack forms along a rebate edge. A section of topcoat lifts when you slide the window open for the first time. These early signs tell you something went wrong — but what, exactly? Diagnosing the root cause matters because the fix for each failure is different, and applying a patch over the wrong problem just delays a bigger strip-back later.
If you're noticing issues weeks or months after finishing, work through this diagnostic sequence before picking up a brush again:
- Check adhesion first. Press a strip of strong tape firmly onto the affected area and pull it away sharply. If paint lifts off with the tape, you have a bonding failure — the primer didn't grip the aluminium properly.
- Examine what's underneath. Is bare metal visible, or is the primer still intact with only the topcoat peeling? Topcoat-only failure points to intercoat adhesion issues (recoated too soon, incompatible products, or contamination between coats).
- Look for moisture clues. Bubbles or blisters that contain liquid or appear in clusters near frame joints suggest trapped moisture — common in humid coastal zones from Sydney to the Gold Coast.
- Assess the texture. Orange peel, runs, or uneven sheen indicate application technique problems rather than prep failures. These are cosmetic and fixable without a full strip-back.
- Consider timing. Failure within the first four weeks usually means prep or primer issues. Failure after 12 to 18 months more likely reflects UV degradation, product quality, or environmental attack.
Paint Peeling or Flaking Within Months
This is the most common complaint, and the cause is almost always inadequate surface preparation or the wrong primer. Aluminium's smooth oxide layer rejects coatings that haven't been given a proper mechanical key and chemical bond. If you used a general-purpose undercoat instead of a self-etching or epoxy primer, the paint is essentially sitting on top of the metal rather than gripping it.
Peeling also strikes when frames weren't degreased thoroughly. Invisible oils from fingerprints, silicone residue from old sealants, or salt deposits create a barrier between primer and metal. The fix isn't a quick sand-and-repaint — you need to strip back to bare aluminium, degrease properly, abrade with 320–400 grit, and start again with the correct etch primer. Half-measures here just repeat the cycle.
Adhesion failure on anodised surfaces deserves special mention. Anodised aluminium has a harder, denser oxide layer than raw or powder-coated frames. Standard bonding primers often can't penetrate it. If your 1980s bronze frames are anodised and the paint is sheeting off in clean panels, an etch primer with phosphoric acid is non-negotiable — it's the only product that chemically bites into that toughened oxide.
Bubbling and Adhesion Failure Diagnosis
Bubbles form when moisture or solvent vapour gets trapped beneath the paint film. In Australian coastal areas, this happens more than people expect. Salt-laden air deposits hygroscopic particles on the frame surface during prep. If those particles aren't flushed away with fresh water before priming, they draw moisture through the paint film from the outside — creating blisters that grow over weeks.
High humidity during application causes a similar problem. Painting on a morning with dew still evaporating off the frames, or during a humid Brisbane afternoon, traps water vapour between coats. The trapped moisture can't escape through the cured topcoat, so it pushes outward as a blister instead.
Orange peel texture — that dimpled, citrus-skin look — is purely a spray technique issue. Holding the can or gun too far from the surface (beyond 300 mm), spraying in high heat that flash-dries droplets mid-air, or using too little thinner in an HVLP system all produce this effect. Unlike adhesion failures, orange peel is cosmetic. A light sand with 600 grit and a fresh topcoat usually resolves it without stripping back to primer.
How Long Painted Frames Last in Australian Conditions
Can you repaint aluminium window frames and expect the result to hold up long-term? With proper prep, the right primer system, and quality topcoats, painted aluminium frames typically last 7 to 12 years in temperate Australian climates — Melbourne, Sydney's inner suburbs, Adelaide, and Perth's eastern corridors. Coastal and tropical exposures shorten that window to 5 to 8 years before UV degradation and salt attack dull the finish enough to warrant attention.
These figures assume two topcoats over a specialist primer on well-prepared surfaces. Cut corners on any step and you might see failure within 12 to 24 months. Professional painters working with premium systems sometimes push longevity beyond 12 years on sheltered frames, but that's the upper end for site-applied coatings versus factory powder coating.
When repainting aluminum window frames becomes necessary, the process is simpler the second time around — provided the original system is still well-bonded. A light scuff sand, solvent wipe, and fresh topcoats over the existing primer layer is often enough. Full strip-backs are only needed when the underlying primer has failed or when you're changing colour systems entirely.
Knowing how to repaint aluminium window frames efficiently — and recognising when a full redo is unavoidable — keeps maintenance manageable. But there comes a point where repeated repainting cycles cost more in time and materials than a permanent solution. That's the calculation worth running before you pick up the sandpaper for the third or fourth time.
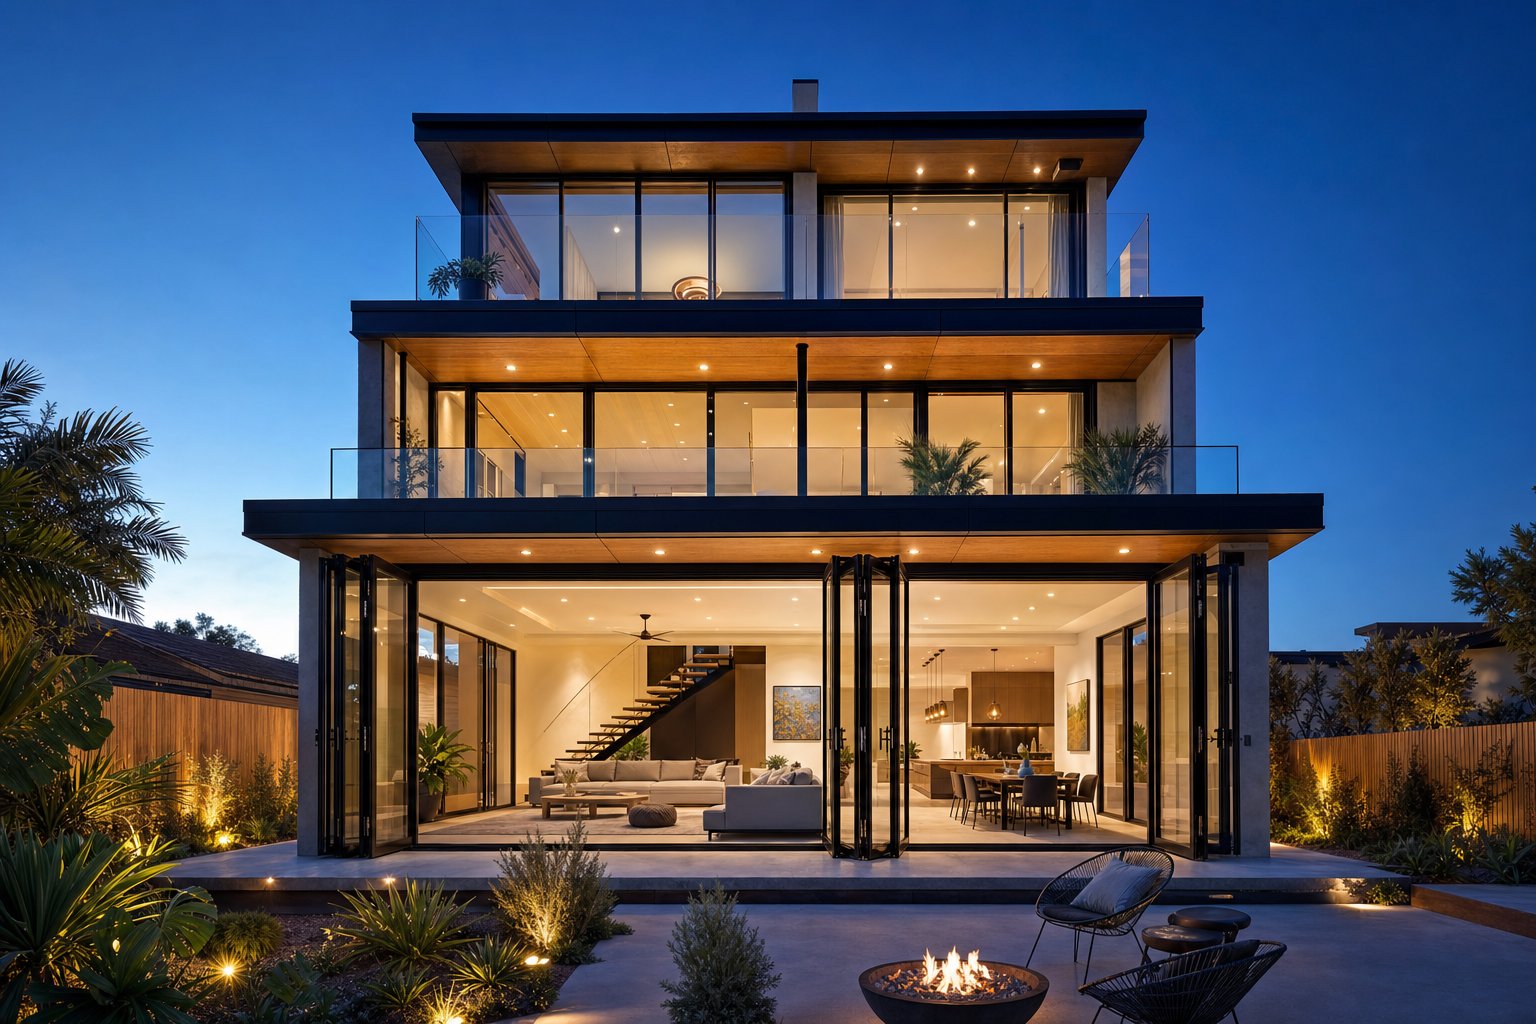
Maintain Your Finish or Upgrade When Repainting No Longer Makes Sense
A freshly painted set of aluminium frames can transform a home's facade overnight. But paint is a consumable finish — it degrades, fades, and eventually needs attention again. How you maintain those painted aluminum window frames over the coming years determines whether you get a full decade of service or find yourself back at the sanding stage in half that time. And at some point, the honest question shifts from "how do I maintain this?" to "is it still worth maintaining at all?"
Maintain Your Painted Frames for Maximum Lifespan
The single best thing you can do for repainting aluminium window frames less often is to keep them clean. Dirt, salt, bird droppings, and airborne pollutants break down paint films faster than UV alone. A gentle wash every three to four months with warm water and a mild detergent — nothing harsher than diluted dish soap — removes contaminants before they etch into the surface. Use a soft microfibre cloth or sponge rather than abrasive pads that scratch the topcoat and expose it to moisture penetration.
For coastal properties from Bondi to Cottesloe, increase that cleaning frequency to every six to eight weeks. Salt residue is hygroscopic — it pulls moisture from the air and holds it against the paint film, accelerating breakdown at a microscopic level. A quick freshwater rinse after heavy onshore winds goes a long way toward extending your finish.
Beyond cleaning, run an annual inspection each autumn before winter rains arrive. Look for:
- Hairline cracks along edges or rebates where the frame flexes
- Chalking — a powdery residue on your hand when you rub the surface, indicating UV degradation of the topcoat binder
- Small chips from impact or hardware contact
- Discolouration or fading on north and west-facing frames that cop the most sun
Catch these early and a targeted touch-up — light sand, spot prime, two coats of matching paint — keeps the system intact for years longer. Ignore them and moisture works into the exposed areas, undermining adhesion across a wider zone until a full strip-back becomes unavoidable.
Signs that a complete repaint is due rather than spot repairs: widespread chalking across multiple frames, topcoat peeling in sheets rather than isolated chips, or colour fade so severe that touch-ups create a patchwork effect. At that point, you're looking at the full prep-and-paint cycle again — and the cost calculation changes.
DIY vs Professional Painter Cost Comparison
Can you paint aluminum windows yourself and save serious money? Absolutely — if you have the time, patience, and access. But the gap between DIY and professional costs narrows quickly once you factor in equipment hire, wasted materials from learning curves, and the value of your weekends. Here's an honest breakdown for a typical Australian single-storey home with 10 to 12 standard aluminium windows.
DIY painting costs (AUD):
- Etch primer (aerosol or brushable): $80–$150
- Topcoat paint (2–3 litres): $120–$200
- Sandpaper, scotch-brite pads, tack cloths: $30–$50
- Brushes, rollers, masking tape, plastic sheeting: $60–$100
- Sugar soap, methylated spirits, degreaser: $20–$40
- Safety gear (respirator, gloves, glasses): $40–$60
- Total materials: $350–$600
- Time investment: 2–4 full days depending on experience
Professional spray painting costs (AUD):
Professional services typically charge $200 to $500 per window depending on size, access difficulty, and surface condition. For a 10 to 12 window home, expect $2,500 to $7,500 all-inclusive — prep, primer, two topcoats, and cleanup. Multi-storey homes requiring scaffold access push toward the higher end, sometimes adding $1,500 to $3,000 for hire and setup alone.
| Factor | DIY Painting | Professional Spray Painting | New Aluminium Window Replacement |
|---|---|---|---|
| Upfront cost (10–12 windows) | $350–$600 (materials only) | $2,500–$7,500 | $15,000–$40,000 |
| Expected lifespan of finish | 5–10 years (skill-dependent) | 10–15 years | 20–30 years (factory powder coat) |
| Finish quality | Good with practice; brush marks possible | Near-factory smooth finish | Factory-perfect powder coat |
| Ongoing maintenance | Touch-ups every 2–3 years; full repaint at 7–10 years | Minimal for 10+ years; touch-ups as needed | Wash only; no repainting required |
| Thermal/acoustic upgrade | No improvement | No improvement | Double glazing, thermally broken frames available |
| Disruption to home | Low — work at your own pace | Low — 1 to 3 days on site | Moderate — multi-day installation, possible wall repairs |
The DIY path delivers genuine savings for homeowners comfortable with detailed prep work and patient enough to follow each step properly. Professional spray painting makes sense when you want a factory-quality result without the learning curve, or when access issues (second-storey frames, steep rooflines) make DIY impractical or unsafe. Both options assume the underlying frames are structurally sound — straight, uncorroded, and functioning correctly.
When New Aluminium Windows Are the Smarter Investment
Repainting aluminium windows works brilliantly as a one-off refresh. It's cost-effective, relatively quick, and delivers a dramatic visual upgrade. But run the numbers over a 20-year horizon and the picture shifts. A DIY repaint every 7 to 10 years means three full cycles — each requiring a weekend or more of prep, materials, and effort. Professional repaints every 10 to 12 years still add up to $5,000–$15,000 over two decades, with no improvement to thermal performance, acoustic insulation, or hardware function.
Replacement becomes the smarter long-term investment when:
- Frames show structural issues — warping, deep corrosion pitting, or failed corner joints that no amount of paint will fix
- You need performance upgrades — thermally broken profiles, double glazing for NatHERS compliance, or improved acoustic ratings for busy roads
- The home is multi-storey — scaffold costs for repainting aluminium window frames on a two-storey home can push a single repaint cycle to $8,000–$12,000, closing the gap with replacement
- You have 15 or more openings — the sheer volume of prep and paint time makes repeated DIY cycles impractical
- A flawless, maintenance-free finish matters — site-applied paint, no matter how well done, never quite matches the durability and uniformity of factory powder coating baked onto fresh aluminium profiles
Factory powder-coated aluminium windows carry finish warranties of 15 to 20 years and typically last well beyond that with basic cleaning. There's no repainting cycle, no primer adhesion to worry about, and no weekend sacrificed to sanding. For homeowners who've reached the point where repainting aluminium window frames feels like diminishing returns, purpose-built replacement windows eliminate the maintenance loop entirely.
Suppliers like MEICHEN Aluminium Windows offer standard colour ranges alongside custom powder coating to match any facade — from the popular Monument and Surfmist tones through to bespoke RAL colours. Their design support helps homeowners move from a dated frame layout to modern configurations (larger panes, slimmer sightlines, improved ventilation options) without the guesswork. It's the logical next step for anyone who's assessed their frames, run the cost comparison, and concluded that ongoing repainting no longer delivers value for their situation.
Whether you pick up a brush this weekend or decide it's time for a permanent upgrade, the principles remain the same: understand your frames, respect the prep, and choose the path that balances cost, effort, and the result you actually want to live with for the next decade.
Frequently Asked Questions About Painting Aluminium Window Frames
1. How long does paint last on aluminium window frames in Australia?
With proper surface preparation, a specialist etch or epoxy primer, and two quality topcoats, painted aluminium frames typically last 7 to 12 years in temperate Australian climates like Melbourne, Sydney, and Perth. Coastal and tropical exposures shorten this to 5 to 8 years due to salt air and intense UV. Cutting corners on prep or using the wrong primer can cause failure within 12 to 24 months. Factory powder-coated replacement windows, by comparison, carry finish warranties of 15 to 20 years with no repainting required.
2. What is the best paint for aluminium window frames in Australian conditions?
Two topcoat systems work well in Australia. A 100% exterior acrylic latex labelled for metal and trim suits most residential projects under moderate exposure, offering 8 to 12 years of service. For beachfront homes or frames facing full western sun, a two-pack epoxy or urethane-modified enamel provides superior hardness and UV resistance, lasting beyond 12 years. Both require a specialist aluminium primer underneath — either a self-etching primer for bare or anodised aluminium, or a bonding primer for stable powder-coated surfaces.
3. Can you paint anodised aluminium window frames?
Yes, but anodised aluminium has a harder, denser oxide layer than raw or powder-coated frames, making it more difficult to paint successfully. Standard bonding primers often cannot penetrate this layer. You need a self-etching primer containing phosphoric acid that chemically reacts with the anodised surface to create a bond. Without this step, topcoats tend to sheet off in clean panels. A thorough solvent wipe before priming is also essential, as anodised surfaces hold contaminants that block adhesion.
4. Is it cheaper to paint or replace aluminium window frames?
DIY painting costs roughly $350 to $600 in materials for a 10 to 12 window home, while professional spray painting runs $2,500 to $7,500. Full replacement ranges from $15,000 to $40,000 but delivers a factory powder-coated finish lasting 20 to 30 years with zero repainting. Over a 20-year horizon, two to three repaint cycles can approach replacement cost — especially for multi-storey homes where scaffold hire adds $1,500 to $3,000 per cycle. Replacement also offers thermal and acoustic upgrades that painting cannot provide.
5. What causes paint to peel off aluminium window frames?
The most common cause is inadequate surface preparation — failing to degrease, abrade, and decontaminate the aluminium before priming. Using a general-purpose primer instead of a specialist etch or epoxy primer designed for non-ferrous metal is the second major culprit. Other causes include painting over salt residue on coastal frames, applying coats in high humidity that traps moisture beneath the film, and recoating before the previous layer has fully dried. Fixing peeling paint usually requires stripping back to bare aluminium and restarting the entire prep and primer process.